
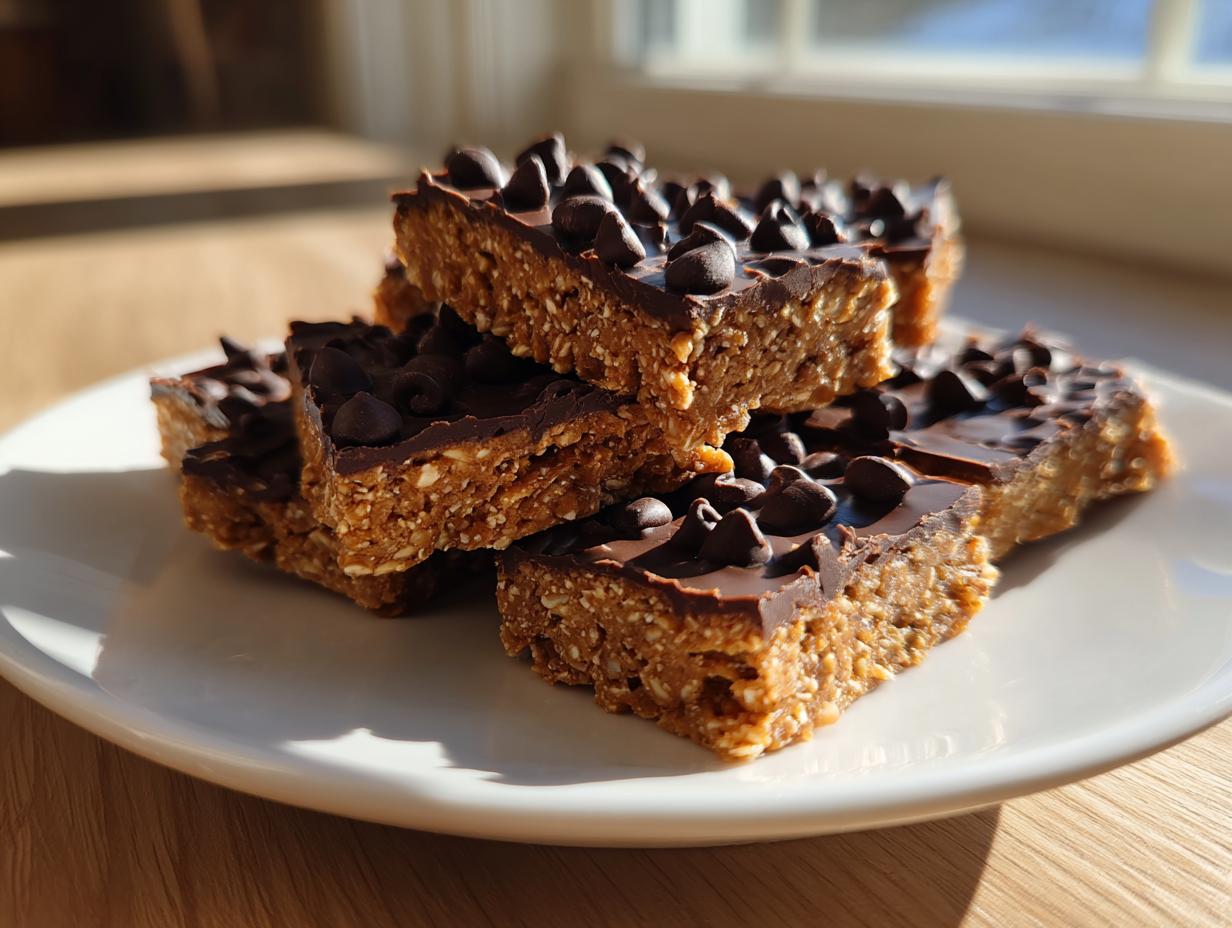
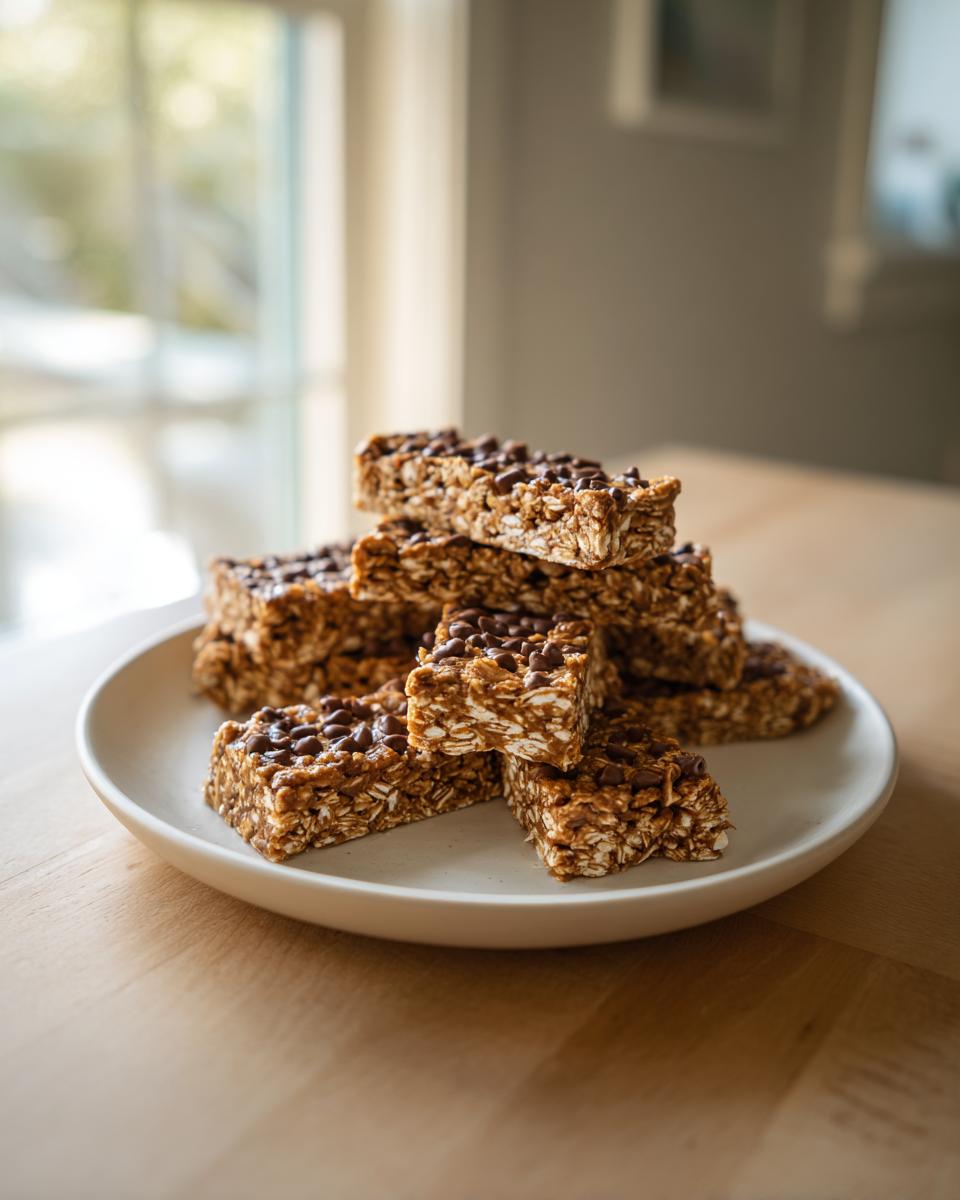
Oh, I get it. Walking down the snack aisle feels like wading through a minefield of sugar bombs disguised as ‘healthy fuel.’ Right? Those store-bought protein bars always taste like chalk mixed with cardboard, or they’re loaded with ingredients I can’t even pronounce. Honestly, that’s why I stopped buying them altogether! When I left my marketing hustle, I swore I’d only eat things I controlled. That’s how these homemade protein bars became my absolute lifeline. They’re unbelievably easy—truly no-bake—and they taste like a creamy peanut butter treat, not a science project you have to choke down. I perfected this method so you can have the best homemade protein bars ready for that 3 PM slump without ever turning on the oven. Trust me, this is the simplest, most satisfying recipe you’ll ever need.
- Why These Homemade Protein Bars Are Your New Favorite Quick Protein Snacks
- Gathering Ingredients for Your Peanut Butter Protein Bars
- Step-by-Step Guide: Making No Bake Protein Bars
- Tips for Success with Homemade Protein Bars
- Storage and Make Ahead Protein Bars for Meal Prep
- Variations: Customizing Your High Protein Snacks
- Serving Suggestions for Protein Bars
- Estimated Nutritional Information for Protein Bars
- Your Kitchen Questions About Protein Bars Answered
Why These Homemade Protein Bars Are Your New Favorite Quick Protein Snacks
Listen, I’ve tried every single store-bought version out there, and they always fail on two counts: either the texture is awful, or the sugar is way too high. These protein bars skip all that nonsense! The secret is that everything just mixes right in one bowl. You get chewy, satisfying energy without any baking time—zero stress! They are truly the ultimate high-protein snack for keeping in the fridge for those chaotic days.
- Just 5 core ingredients needed!
- 10 minutes prep time—seriously!
- Perfectly chewy, never dry or chalky.
- Ideal for easy batch cooking and meal prep bars.
Key Attributes of Our Easy Protein Bars
We’re talking ultimate simplicity here. We keep the ingredient list short because why complicate something so essential? Since these are no bake protein bars, you avoid oven mess and cooling time drama. The combination of peanut butter and protein powder works like a liquid glue, ensuring that when you press them down, they set up perfectly chewy. That satisfying bite is what makes these easy protein bars better than anything you can grab on the run.
Gathering Ingredients for Your Peanut Butter Protein Bars
To get these amazing protein bars ready, you barely need a shopping list! Seriously, gather these five things, and you are set for the week. Remember, when you’re making something high-protein like this, the quality of your binder really matters. That’s why I insist on natural peanut butter—the kind that gets a little oily on top, not the sugary stuff. Make sure your oats are just standard rolled oats, no quick-cook nonsense here either. Everything else is straightforward!

- 1 cup rolled oats
- 1/2 cup natural peanut butter
- 1/2 cup protein powder (vanilla or unflavored)
- 1/4 cup honey or maple syrup
- 1/4 cup dark chocolate chips (only if you feel like treating yourself!)
Ingredient Notes and Substitutions for Protein Bars
Here’s where we get a little hands-on with your options. If you’re aiming for a completely plant-based treat, switch that honey out for maple syrup—it works just as well for binding everything up. Also, when it comes to the powder, I usually use whey since I tolerate it well, but feel free to use your favorite plant-based powder. Just know sometimes vegan powders can soak up a little more liquid, so be ready to add a tiny splash of water if needed. Mastering this simple protein bar ingredients guide means you can swap things around to fit your goals.
Step-by-Step Guide: Making No Bake Protein Bars
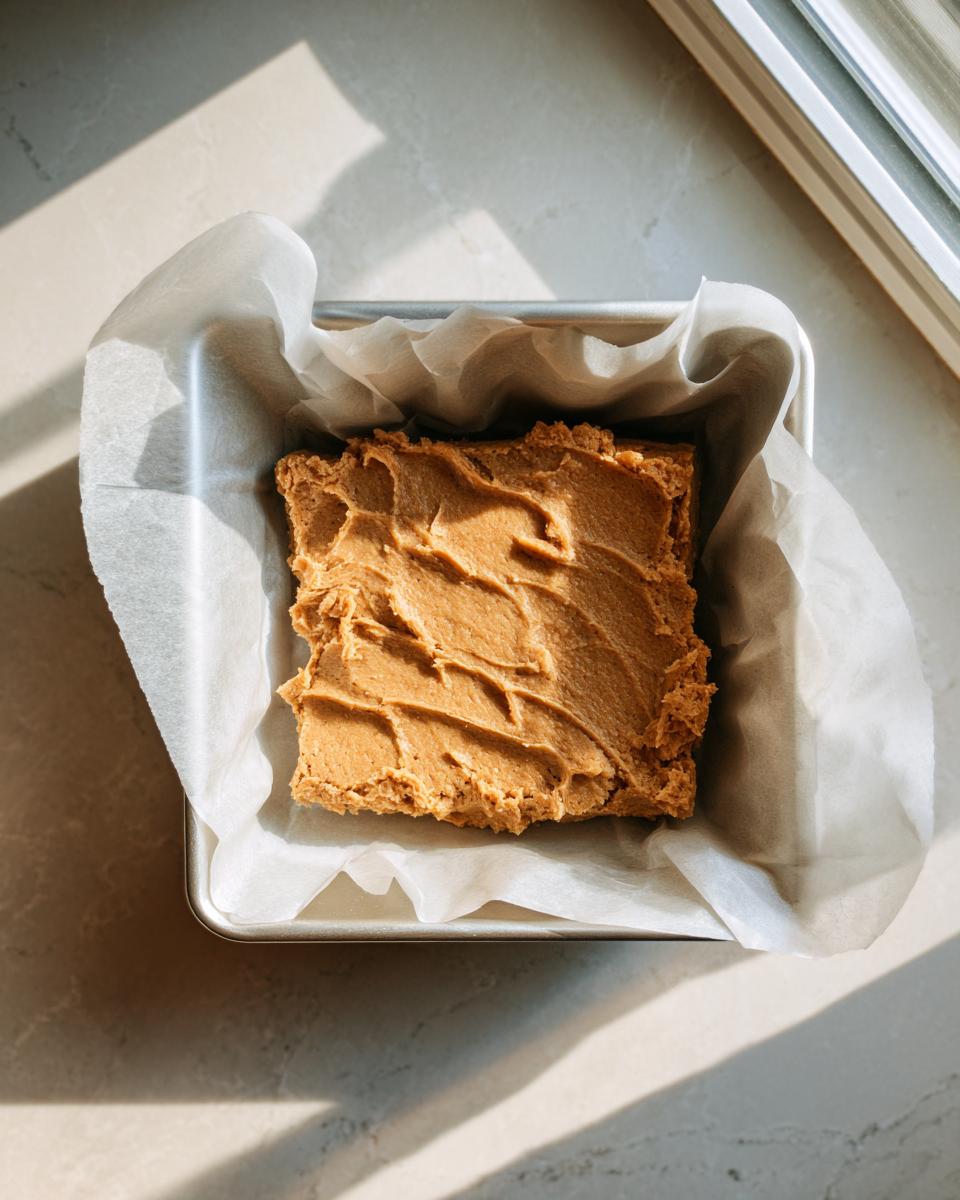
Okay, this is the fun part where zero cooking is involved—my favorite kind of cooking! First things first, grab that 8×8 pan. I don’t want any sticking drama later, so line it with parchment paper, making sure you leave a little overhang on the sides. That overhang is your handle for lifting the whole block out later, trust me on this one.
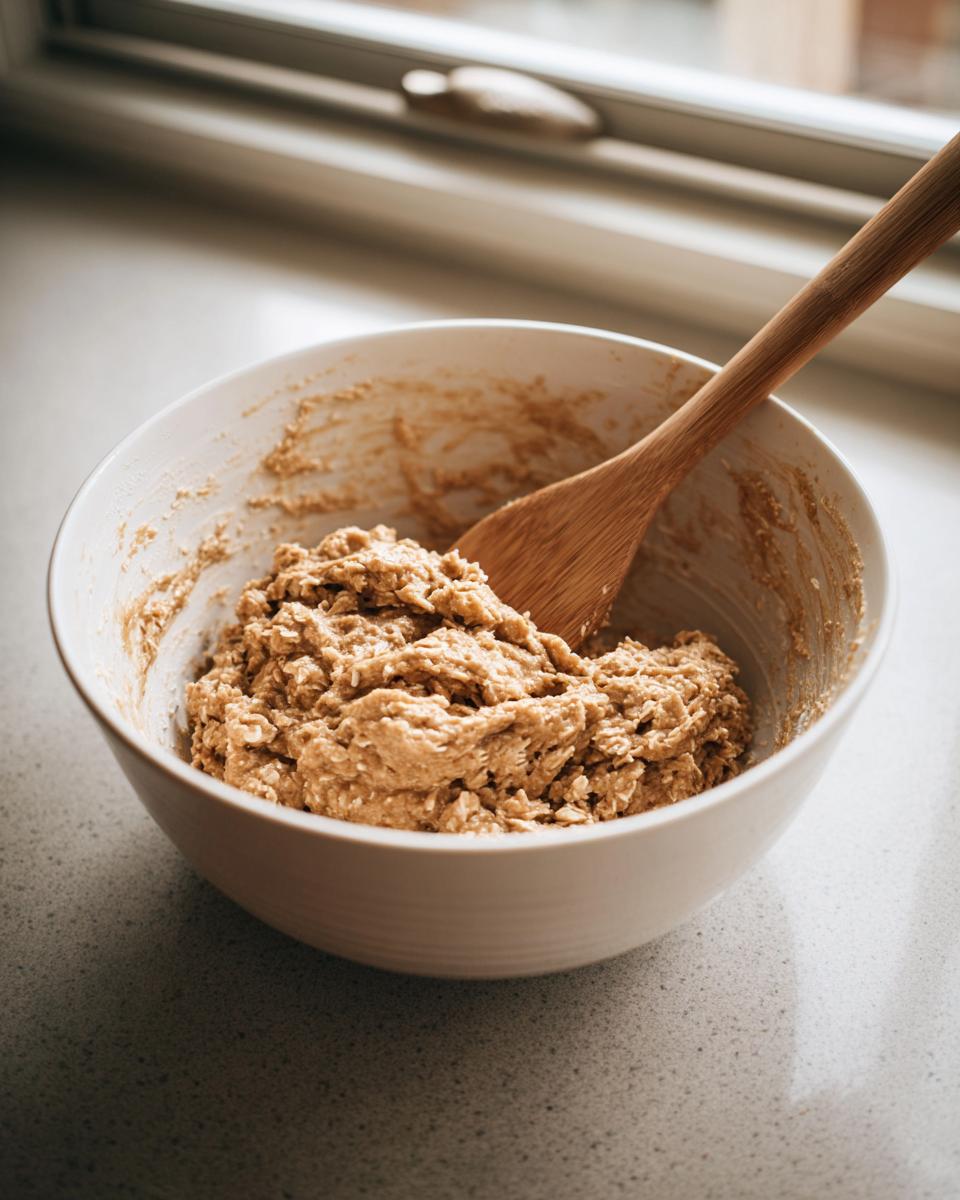
Next, toss the oats, your protein powder, and that gorgeous peanut butter into a big bowl. Now, pour in your sweetener—honey or maple syrup, whichever you prefer for your protein bars. Start mixing this up. It’s going to look crumbly at first, like wet sand. Keep stirring! You need to mash it together until it forms a thick, uniform dough. If you see dry pockets, just add water one teaspoon at a time until it barely holds itself together. Don’t make it soupy!
- Prep your 8×8 pan with an overhang of parchment paper.
- Combine the dry ingredients, peanut butter, and sweetener in a bowl.
- Mix until a thick, cohesive dough forms—add water slowly if it’s too dry.
- Press the dough firmly into the prepared pan. If you want beautiful, even squares, grab the bottom of a flat measuring cup and really press down hard.
- If you’re going for that extra chocolate finish, melt those chips and spread them gently over the top.
- The magic step: Pop the whole thing in the fridge! It needs at least two hours to set up nice and firm.
Achieving the Perfect Texture in Your No Bake Protein Bars
The texture is everything when you’re making no bake protein bars; nobody likes a crumbly mess! The most crucial part is pressing. Use something heavy and flat—I use my half-cup measuring cup for this—and compact that dough down into the pan until it cannot possibly be flatter. This compression keeps them from falling apart when you cut them later. And please, be patient with the chilling! Those minimum two hours in the fridge are non-negotiable; that’s what turns goo into a solid, satisfying bar.
Tips for Success with Homemade Protein Bars
When you’re whipping up these homemade protein bars, a few little tricks I learned over the years can make the difference between perfection and a sticky mess. First, when you grab your peanut butter from the pantry, make sure it’s totally room temperature. If it’s too cold, it won’t incorporate smoothly into the dry stuff, and you’ll end up stirring forever trying to fix dry patches later!
I spent ages trying to fix batches that were too crumbly until I figured out the water trick. If the dough seems too dry, don’t panic and dump in more sweetener; that just adds unnecessary sugar. Drizzle in water, just one teaspoon at a time, until it starts to clump nicely. On the flip side, if it feels way too mushy, add another tablespoon of protein powder. The goal is a stiff dough that holds its shape when squeezed. For storage, always keep them airtight in the fridge; they stay fresh and firm for up to a week, making grab-and-go ridiculously easy! For more on keeping those homemade snacks perfect, check out some great tips here: homemade protein bars.
Storage and Make Ahead Protein Bars for Meal Prep
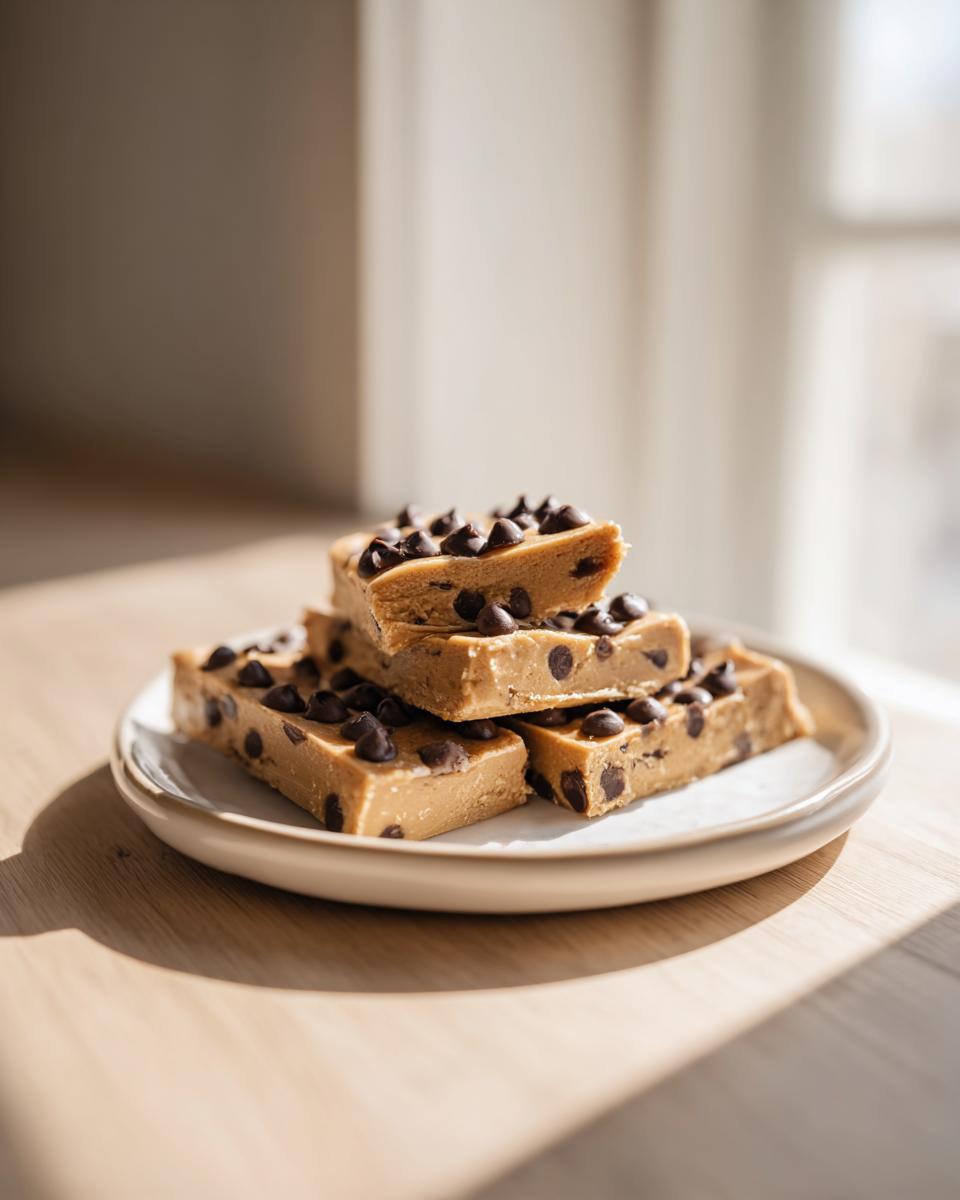
This is truly where these treats shine for my busy weeks! Since these are protein bars and contain no baking, they are perfect for making ahead. Once they are completely chilled and set (remember that two-hour minimum!), use those parchment paper handles to lift the entire brick out of the pan. Place it on a cutting board and cut into even squares. I usually aim for 10 substantial bars.
For keeping them fresh, airtight storage is the absolute key. Pop your cut bars into a good container and keep them tucked away in the refrigerator. They stay firm and delicious for a solid week this way. Keeping them cold prevents them from getting too sticky at room temperature. It’s honestly the simplest form of make ahead protein bars you can stock in your kitchen for quick energy!
Variations: Customizing Your High Protein Snacks
The base recipe is glorious, I know, because it’s simple, but honestly, sometimes I get bored just staring at peanut butter and chocolate! The beauty of these high protein snacks is that the ratios are forgiving enough for you to get creative. If you want a warm flavor, try adding about half a teaspoon of cinnamon or even a tiny pinch of cardamom to the dry mix. It completely changes the vibe!
You can swap out that natural peanut butter for almond butter or sunflower seed butter if you have an allergy or just want a different nutty profile. While I haven’t tested seeds instead of oats yet—I worry about the texture—feel free to play around with different extracts like almond or even a touch of maple extract if you find it. Getting creative with your mix-ins is half the fun of making your own protein bars homemade! For more fantastic ideas on keeping the ingredient list short and sweet, check out what they are doing over here: 4-Ingredient Protein Bars Recipe.
Making Keto Protein Bars or Vegan Protein Bars
Adapting these for specific diets is surprisingly easy once you nail the base structure. If Keto is your goal, ditch the honey or maple syrup immediately. You’ll need to swap that for a zero-calorie sweetener like erythritol or monk fruit blend that measures cup-for-cup like sugar. This keeps the binding power without the carbs. For vegan protein bars, the substitution is simpler: just ensure you use maple syrup, not honey, and verify your protein powder is completely plant-based, usually pea or soy based.
Serving Suggestions for Protein Bars
These protein bars are seriously versatile, which is why I make them every Sunday! They are my go-to grab-and-go fuel. If I’m heading out for a morning hike or need something quick before my afternoon meetings, these are perfect pre-workout boosters. Honestly, I sometimes crush one up over a bowl of yogurt for a quick protein snacks-style dessert after dinner too. They pair absolutely perfectly with a strong black coffee or a crisp apple slice. Don’t overthink it; just enjoy the fact that you made something delicious and healthy!
Estimated Nutritional Information for Protein Bars
You know, when I developed this recipe, I wasn’t aiming for strict carb counting, but I always track the essentials because I want to make sure these homemade protein bars actually fuel me properly. Because we’re using natural ingredients and very few items overall, the numbers are actually pretty clean for something this satisfying!
Please remember that these numbers are just estimates, right? That’s just how cooking works—your peanut butter brand or the exact scoop of protein powder you use can shift things slightly. But for a standard cut bar with minimal chocolate chips mixed in, here is what you are generally looking at:
- Serving Size: 1 bar (yields about 10)
- Calories: Around 200
- Protein: 12 grams (That’s why we’re here!)
- Fat: 11 grams (Mostly the good stuff from the nuts)
- Carbohydrates: 18 grams
- Fiber: 2 grams
What I love most is that you’re getting a solid 12 grams of protein in a truly chewy, no-bake format. That’s fantastic for a pre-workout hit or crushing that mid-afternoon slump when you usually reach for something sugary. It’s a balanced, high-protein snack that really delivers!
Your Kitchen Questions About Protein Bars Answered
When I started experimenting with different batches of these protein bars homemade, I had a million questions pop up, and I bet you do too! It’s all about knowing how to keep these healthy snack bars exactly how they’re supposed to be—chewy, firm, and delicious. So, let’s tackle the common roadblocks right now so your next batch turns out perfectly.
Why are my homemade protein bars crumbly instead of chewy?
This is the number one issue people run into, and I guarantee it has to do with moisture control. If your mix is too dry, they’ll crumble. Your protein powder might be super absorbent, or perhaps your peanut butter was too stiff. The solution is always to add liquid *slowly*—one teaspoon of water or an extra tiny drizzle of honey at a time—while mixing until the dough truly holds together when you squeeze a handful. You want it stiff enough to press, not runny enough to pour!
Can I use almond butter or cashew butter instead of peanut butter?
Oh yes, absolutely! Feel free to swap out the peanut butter for any other natural nut or seed butter you prefer. Almond butter works wonderfully and gives these energy bars homemade a slightly different, maybe richer, flavor profile. Just remember the same rule applies: use natural, creamy butter. If you’re trying out sunflower seed butter for an allergy reason, know that it can sometimes be a little thinner, so you might need an extra sprinkle of protein powder to keep the consistency right.
How long can I store these quick protein snacks?
Since these are no bake protein bars, they rely on refrigeration to stay firm. You must keep them airtight in the fridge, and they’ll be good for up to one week. I usually make a batch on Sunday, and they last me through the next weekend without any issue! If you want them to last longer, you can absolutely freeze them. I wrap mine individually in wax paper and then put them in a freezer-safe bag. They thaw out perfectly in about 15 minutes on the counter, making them prime make ahead protein bars!
Do I have to use chocolate chips on top?
Not at all! The chocolate is simply my favorite little indulgence. If you want to keep the sugar or calories lower, just skip the chips completely. Or, if you want to see more innovative topping ideas for your high protein snacks, you can check out some great approaches other bakers use over here: Peanut Butter Protein Bars. But honestly, a light dusting of cocoa powder or just leaving the top plain works great too!
If you run into any snags or have ideas you want to share, don’t hesitate to reach out to me directly—I love chatting kitchen troubleshooting! You can always find my contact info here: Contact Aria Sterling.
PrintEasy 5-Ingredient No-Bake Peanut Butter Protein Bars
Make these simple, high-protein bars at home. This no-bake recipe uses five basic ingredients to create chewy, satisfying snacks perfect for meal prep or quick energy.
- Prep Time: 10 min
- Cook Time: 0 min
- Total Time: 2 hr 10 min
- Yield: 10 servings 1x
- Category: Snack
- Method: No-Bake
- Cuisine: American
- Diet: Vegetarian
Ingredients
- 1 cup rolled oats
- 1/2 cup natural peanut butter
- 1/2 cup protein powder (vanilla or unflavored)
- 1/4 cup honey or maple syrup
- 1/4 cup dark chocolate chips (optional topping)
Instructions
- Line an 8×8 inch baking pan with parchment paper, leaving an overhang on the sides for easy removal.
- In a large bowl, combine the rolled oats, protein powder, and peanut butter.
- Pour in the honey or maple syrup.
- Mix all ingredients thoroughly until a thick, uniform dough forms. If the mixture is too dry, add one teaspoon of water at a time until it holds together.
- Press the mixture firmly and evenly into the prepared pan. Use the back of a measuring cup to flatten the surface.
- If using, melt the chocolate chips slightly and spread them evenly over the top layer.
- Place the pan in the refrigerator and chill for at least 2 hours, or until the bars are firm.
- Use the parchment paper overhang to lift the block out of the pan. Cut into 10 to 12 equal bars.
- Store the homemade protein bars in an airtight container in the refrigerator for up to one week.
Notes
- For a vegan option, ensure you use maple syrup instead of honey and a plant-based protein powder.
- If you want a richer chocolate flavor, use chocolate protein powder instead of vanilla.
- These bars are excellent for meal prep; they hold their shape well when kept cool.
Nutrition
- Serving Size: 1 bar
- Calories: 200
- Sugar: 8
- Sodium: 120
- Fat: 11
- Saturated Fat: 3
- Unsaturated Fat: 8
- Trans Fat: 0
- Carbohydrates: 18
- Fiber: 2
- Protein: 12
- Cholesterol: 0