
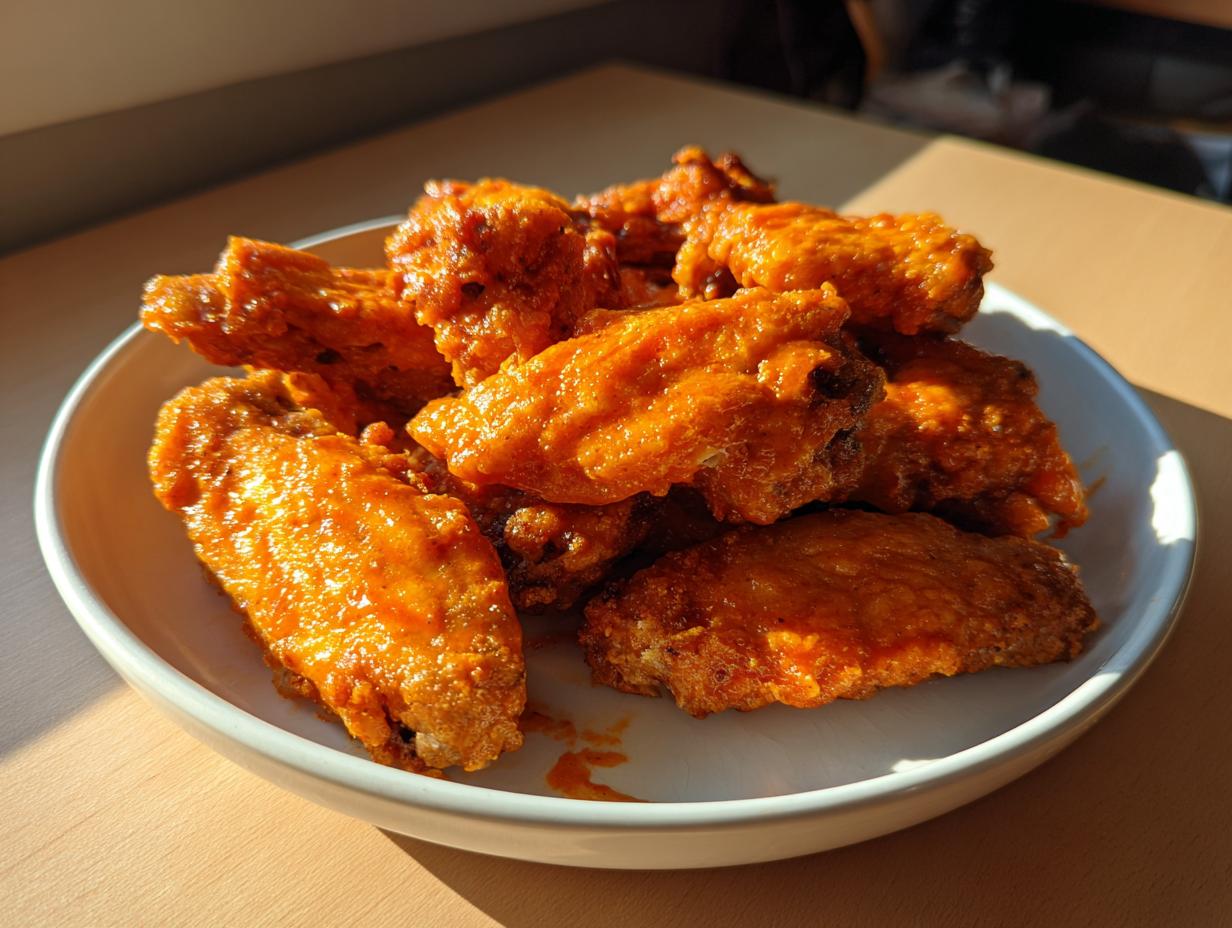
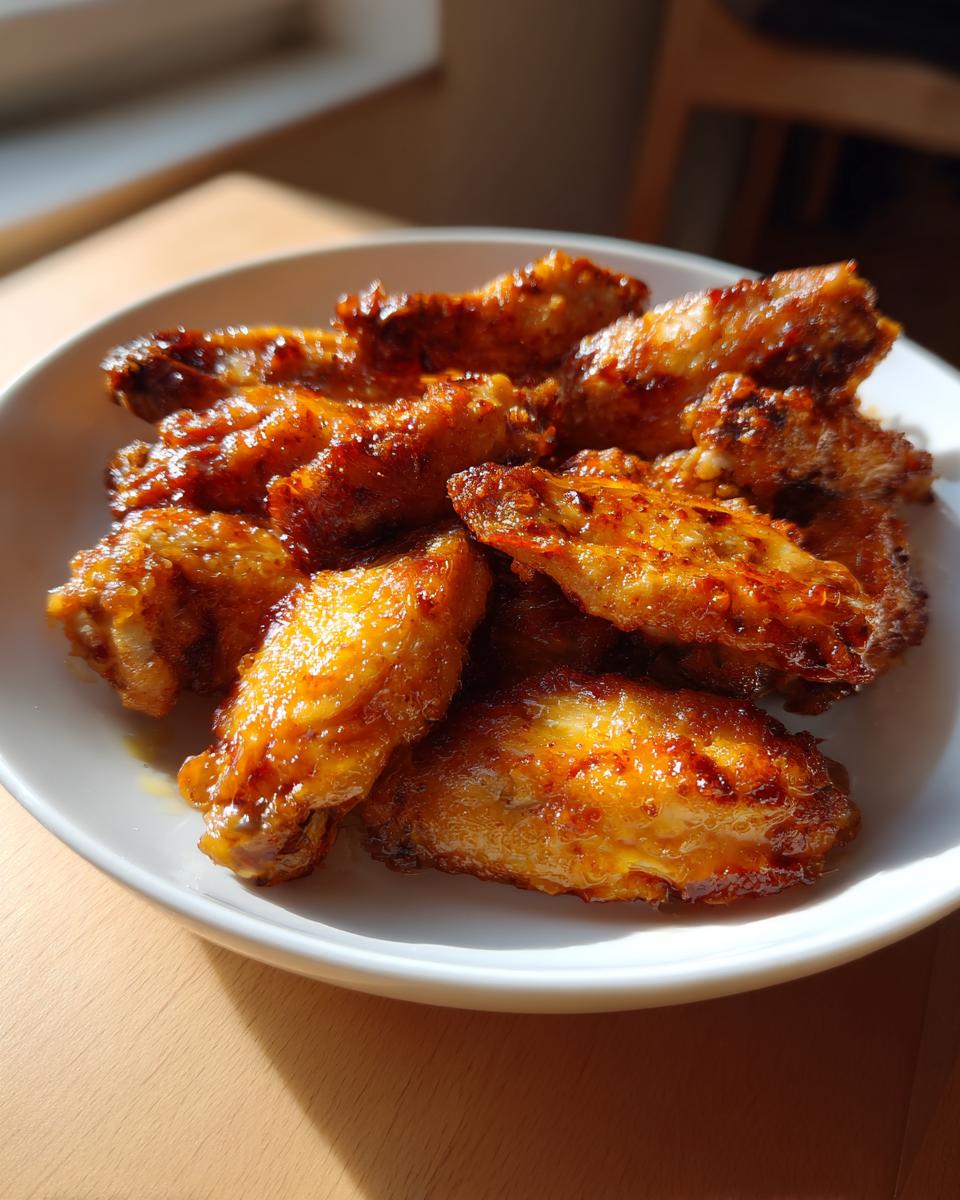
Oh, I know the frustration! You crave that perfect game-day snack—golden, crackling, restaurant style wings—but when you bake them at home, they come out sort of rubbery and pale. It’s just not satisfying, is it? Well, friend, let me tell you: I spent years in my kitchen refining this. Long before Seventh Flavour was even a dream, I was testing every temperature and seasoning combination to crack the code. This guide is my absolute best for extra crispy baked chicken wings using a simple, no-fry oven method. Trust me, this technique creates the most satisfyingly juicy chicken wings with skin that actually snaps. We’re chasing that Seventh Flavour of pure, crispy joy!
- Why You Will Love These Extra Crispy Baked Chicken Wings
- The Science Behind Restaurant Style Crispy Baked Chicken Wings
- Ingredients Needed for the Best Chicken Wings Recipe
- Step-by-Step Instructions for Juicy Chicken Wings
- Flavor Variations: Making Garlic Parmesan Wings and Honey BBQ Wings
- Tips for Success When Making Party Wings Recipe
- Storing and Reheating Your Crispy Baked Chicken Wings
- Frequently Asked Questions About Oven Baked Chicken Wings Recipe
- Share Your Homemade Chicken Wings Experience
Why You Will Love These Extra Crispy Baked Chicken Wings
Honestly, this recipe is a year-round superhero. You get that fantastic crunch you usually only find at a sports bar, but without heating up the deep fryer. That’s a win-win, right? People always ask me how I make my chicken wings so addictively crispy in the oven.
- They are shockingly easy—just toss and bake!
- You ditch the oil, making them a much lighter choice.
- We use a secret weapon blend to guarantee that golden, crackling texture.
- They come out juicy inside every single time.
If you want to see the full breakdown of the science, check out my deeper dive on the ultimate crispy baked chicken wings recipe guide.
The Science Behind Restaurant Style Crispy Baked Chicken Wings
Okay, so this is where we stop just following instructions and start becoming kitchen scientists, which I love! Getting that crackling texture at home without deep frying isn’t luck; it’s chemistry, folks. The secret weapon here is undoubtedly the baking powder. Don’t skip it! When you toss the wings in it, the baking powder raises the skin’s pH level, which actually helps break down proteins. That process encourages the skin to brown beautifully and dry out perfectly during the bake. Combine that pH change with making sure your chicken wings are utterly bone-dry before seasoning, and you are well on your way to achieving those coveted restaurant style wings at home.
Seriously, drying the moisture off the skin is non-negotiable. Excess water turns into steam, and steam makes things soggy. We want crispy, not steamed! Once you master the drying and the baking powder application, you’ve solved the biggest hurdle in making chicken wings amazing without the fryer. For a deeper dive into why this works so well, take a peek at my guide on crispy baked chicken wings recipe guide.
Essential Equipment for Perfect Oven Baked Chicken Wings Recipe
You don’t need fancy gadgets for this, but you do need the right setup so the air can circulate. If you just lay them flat on a pan, the bottoms will steam, guaranteed. You absolutely need these two things for success:
- A sturdy baking sheet that’s large enough so the wings don’t touch.
- A wire cooling rack that fits inside that baking sheet. This lifts the wings off the pan so heat hits the bottom just as well as the top!
If you need a little reminder on gear, I talk about my must-haves over on my baking essentials page.
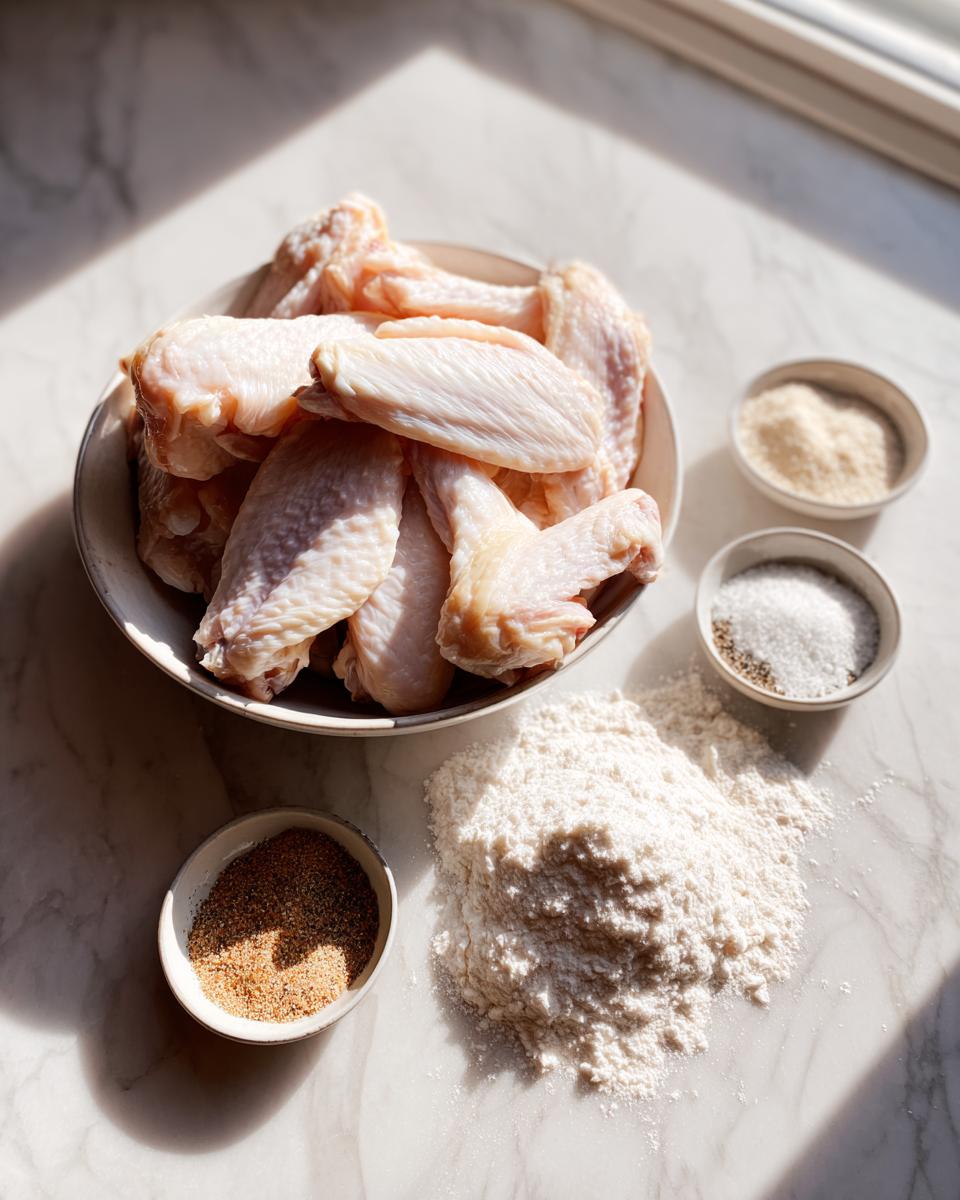
Ingredients Needed for the Best Chicken Wings Recipe
Okay, let’s talk ingredients! This base recipe—the one that gets them perfectly crispy every time—is shockingly simple. You probably have most of this stuff hanging out in your pantry right now. I always stress the importance of good quality ingredients, especially when we aren’t drowning the flavor in oil. For this foundational recipe for chicken wings, you’re really just combining the meat with a very specific dry rub. We keep the fats and sugars separate so they don’t prevent that beautiful crispiness we worked so hard to achieve earlier.
If you’re looking for ideas on making a fantastic dipping sauce later, I’ve got a great recipe for easy homemade garlic butter that pairs wonderfully!
- 3 lbs chicken wings (make sure you separate the flats and the drumettes!)
- 2 tablespoons baking powder (I really push for aluminum-free here; it just tastes cleaner!)
- 1 teaspoon salt
- 1 teaspoon black pepper, freshly cracked if you can swing it.
- 1 teaspoon garlic powder
- 1 teaspoon onion powder
- 1/2 teaspoon paprika (sweet, not smoked, for this basic profile)
Then, of course, we have the optional finishing touches. If you’re planning on making Buffalo or Honey Butter variations, hold off on these until the wings are fully baked. They are added right at the end for coating.
Step-by-Step Instructions for Juicy Chicken Wings
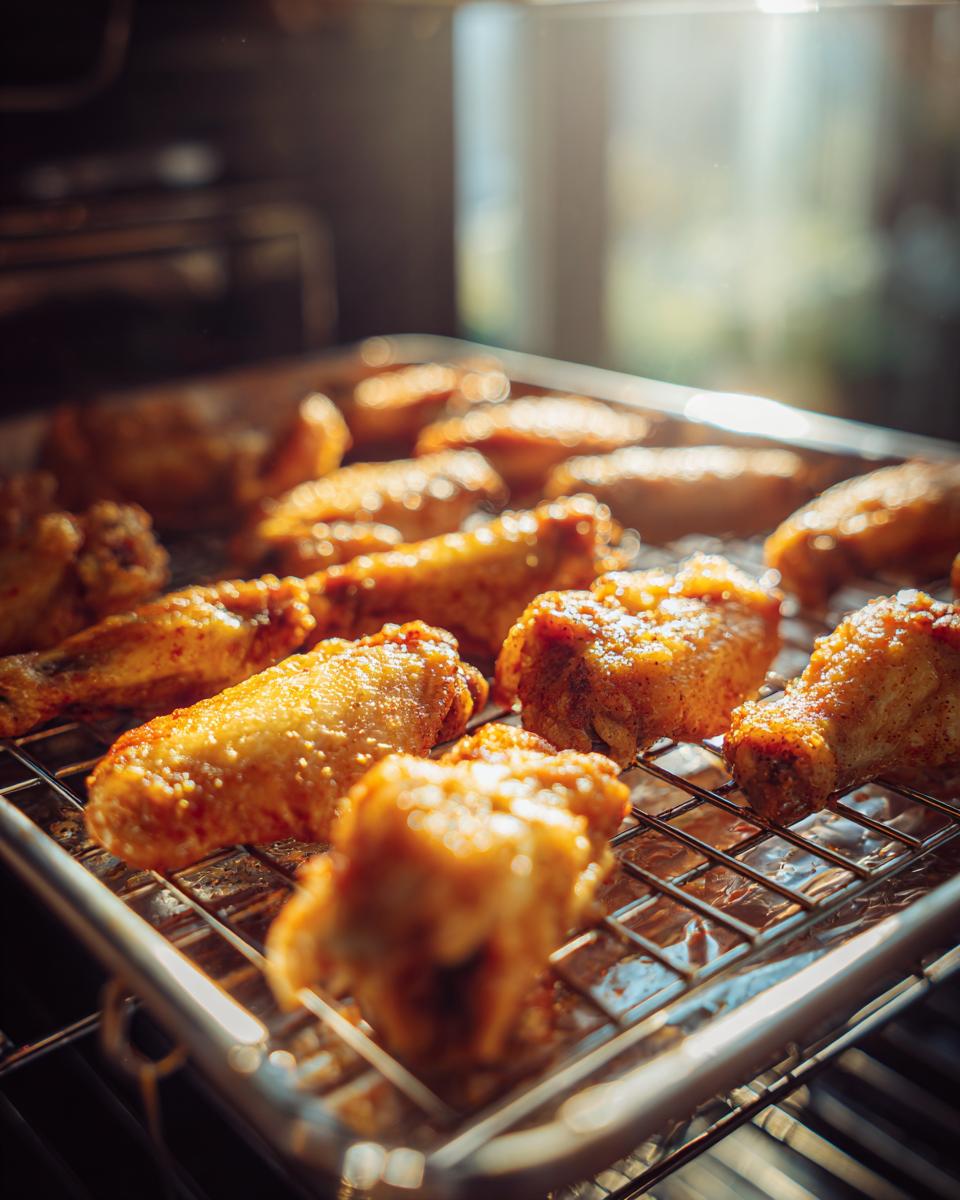
Alright, let’s get these babies tossed and into the heat! Remember, patience in the prep stage equals crispy success later. First things first: preheat your oven! We need it hot—think 425°F (220°C). Set up your baking sheet by lining it with foil, and then, super important, place a wire rack directly on top of that foil. This setup is what lets the heat surround our chicken wings perfectly.
Now comes the dual-bake timing. We bake them hot at first to start tightening the skin, then we flip them so the other side gets baked hard too. I find that about 50 minutes total is the golden number for flats and drumettes, but you gotta keep an eye on them for that deep golden color. For more on how to keep your wings tender and flavorful overall, check out my guide on the best all-purpose chicken marinade for juicy flavor. Once they are done, move fast if you plan on saucing them!
The Crucial Drying and Coating Technique for Crispy Baked Chicken Wings
If you skip this part, you might as well stop right now, honestly! You need paper towels—a whole bunch of them—to pat every single wing completely dry. I mean bone-dry, like you’re drying a newborn baby. Get rid of every bead of moisture you can find. Once they look dry, it’s coating time!
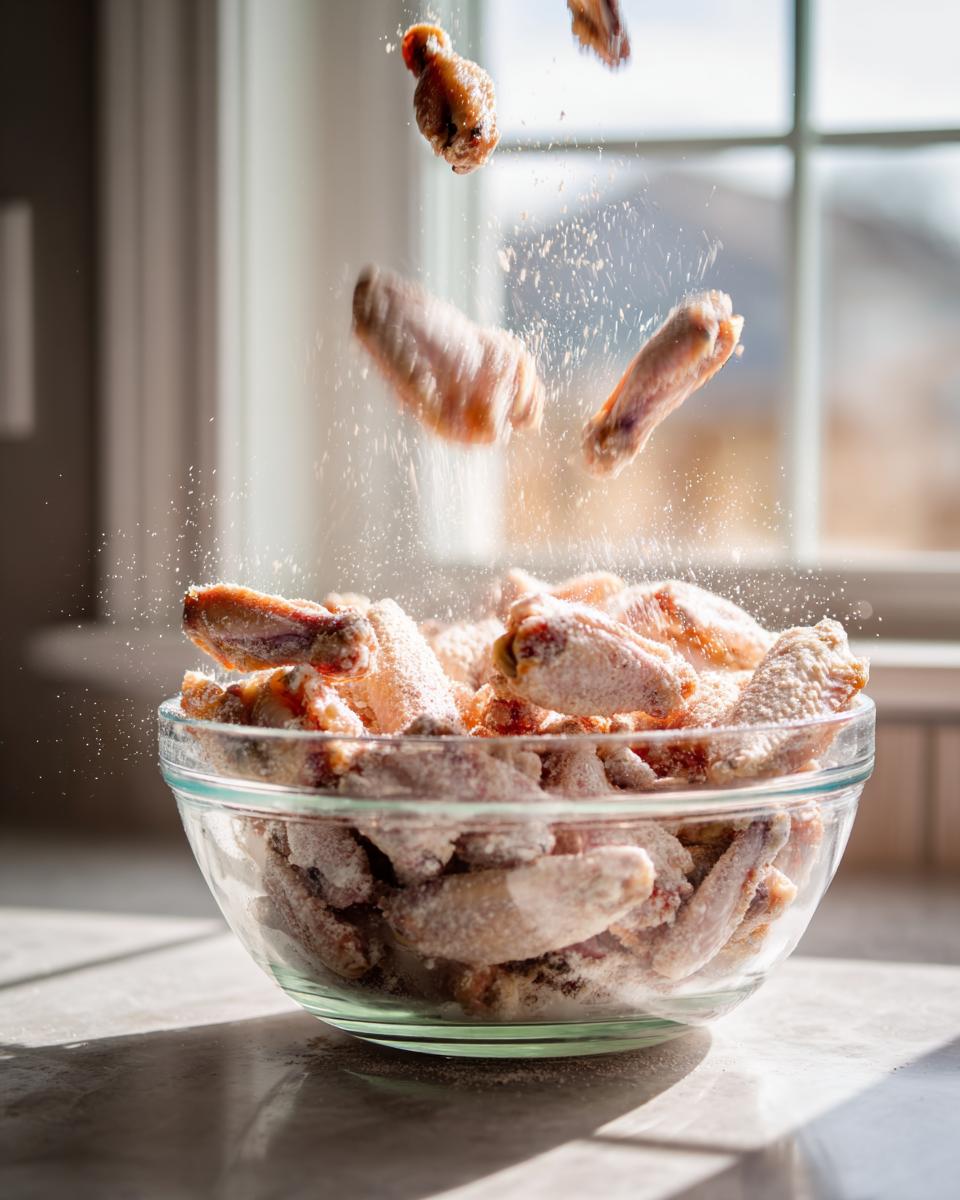
In a big bowl, mix that dry rub we talked about—baking powder, salt, pepper, garlic powder, etc. Add the dry wings right in there. Toss them around until every nook and cranny is coated evenly. That light dusting of baking powder is what achieves those amazing crispy baked chicken wings we are aiming for. It’s magic! Arrange them on that rack we prepared, making sure none of them are touching. They need their space to crisp up!
Flavor Variations: Making Garlic Parmesan Wings and Honey BBQ Wings
Now that you’ve mastered the art of the crispy base, it’s time to have some real fun! This plain, crispy foundation we built is the perfect blank canvas for practically any flavor you can imagine. People always ask me about coating them in Buffalo sauce or making those decadent Garlic Parmesan wings; it’s super straightforward after they come out of the oven.
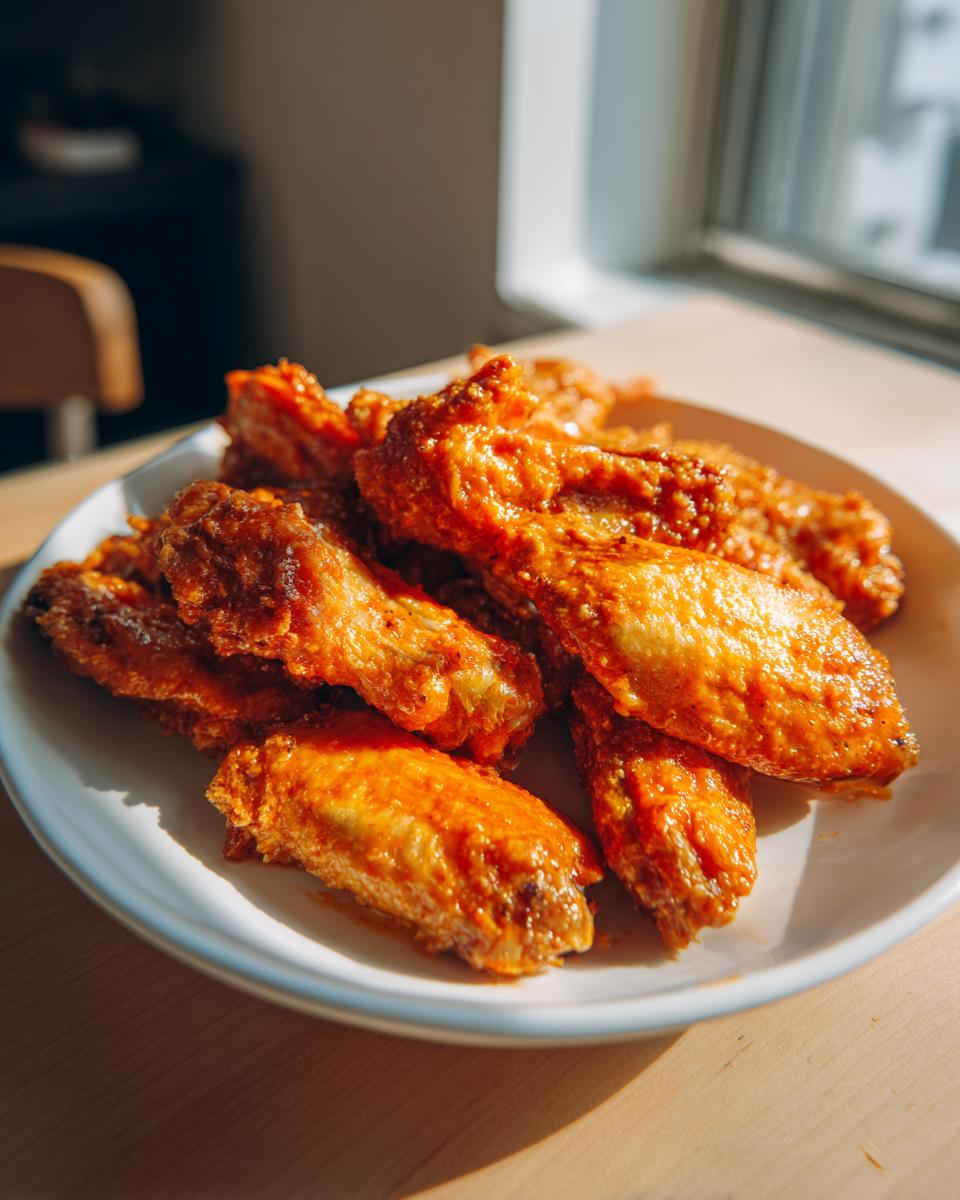
For classic Buffalo, just toss the piping hot wings right away in a mixture of your favorite sauce and a bit of melted butter—that little bit of fat helps the sauce adhere perfectly. If you prefer one of those sweeter, stickier styles, like Honey BBQ wings, I recommend tossing them in the sauce right after they finish baking. If you want that nice, slightly caramelized glaze to set up, pop them under the broiler for just a minute or two, watching *very* carefully so they don’t burn!
If you want to see my dedicated recipe for rich, savory flavors, you should definitely check out my garlic parmesan chicken bake—the principles are similar! Making these simple adjustments means your chicken wings are never boring. For quick cleanup after saucing, everyone loves the tips on crispy baked chicken wings cleanup!
Tips for Success When Making Party Wings Recipe
You’ve nailed the high heat and you used the baking powder—fantastic! But before you serve those beauties, here are a few pro-tips I learned the hard way while developing this recipe for my friends during major game day chicken wings spreads. First, that baking powder—insist on the aluminum-free stuff! I tested both, and the regular powder leaves this tiny, metallic aftertaste that just ruins the savory flavor profile. It’s a small ingredient swap that makes a huge difference.
Second, if you have the time, which I know isn’t always easy between work and life, try this trick: after you toss them in the seasoning, put the wings uncovered on the rack in the fridge for an hour. Seriously! That extra resting time lets the baking powder truly get to work drying out every bit of surface moisture. It seems overly elaborate, but I promise these chicken wings will shatter when you bite into them. For more insights on keeping them perfect, read my full guide on crispy baked chicken wings recipe guide. And if you’re looking for backup methods, check out the great tips over at toppinkitchen.com!
Storing and Reheating Your Crispy Baked Chicken Wings
Now, let’s talk about the sad part: leftovers! If you happen to have any left after your party, the biggest mistake you can make is grabbing the microwave. The microwave is the sworn enemy of crispiness, turning gorgeous skins into rubbery disasters in seconds. Don’t do it to yourself!
If you want that satisfying crunch back, you have to use dry heat. An oven set to about 375°F (190°C) works brilliantly—just lay them on a sheet for about 8 minutes until warmed through and crisp again. Even better? Pop them in the air fryer on 350°F for 4 to 5 minutes. They will resurrect themselves instantly, ready for round two!
Frequently Asked Questions About Oven Baked Chicken Wings Recipe
I get so many emails asking about tweaks and troubleshooting when people first try this method. It’s totally normal! Getting the texture right takes a little bit of know-how, but once you learn the secrets, you’ll never go back to frying. Here are the top things folks always ask me about when they are making their chicken wings this way.
Can I use baking soda instead of baking powder?
Oh, that’s a common mix-up! Please don’t substitute baking soda for the baking powder in this recipe. Baking powder is specially formulated with a mild acid, which is what actually helps dry out the skin properly without giving you that harsh, soapy taste. Baking soda alone is too alkaline and will definitely leave a bitter flavor behind—we want savory, not bitter!
How long do I cook these in the air fryer?
I know everyone loves their air fryer, and yes, this method works wonders in one too! If you are using the same baking powder coating, you can cook them at 380°F (about 195°C). You’ll need about 20 minutes total, flipping them halfway through. They cook a little faster because the air circulation is more intense than a standard oven setup. For more air fryer fun, check out my tips on air fryer salmon!
What if my chicken wings start out frozen?
If you’re in a pinch and need easy chicken wings right now, you have to thaw them first. Putting frozen wings into a hot oven or air fryer just traps all that ice moisture inside, leading to that dreaded rubbery interior. I recommend placing them in the fridge overnight to thaw slowly. If you’re in a hurry, put them in a sealed bag in a bowl of cold water, changing the water every 30 minutes until they are totally thawed.
Share Your Homemade Chicken Wings Experience
Honestly, seeing your creations brings me so much joy! I truly hope this recipe helps you bring that satisfying crunch into your home. Did you go classic Buffalo, or did you try a crazy new flavor combo? Please drop a comment below and let me know how your batch of chicken wings turned out! Don’t forget to rate the recipe so other home cooks can find this crispy magic too. You can always reach out via my contact page if you have questions!
PrintThe Ultimate Guide to Extra Crispy Baked Chicken Wings (No Fry Method)

Achieve restaurant-style crispy baked chicken wings using this simple, no-fry oven method. These wings are juicy inside with perfectly golden, crackling skin, making them ideal for game day or your next party.
- Prep Time: 15 min
- Cook Time: 50 min
- Total Time: 65 min
- Yield: 4 servings 1x
- Category: Appetizer
- Method: Baking
- Cuisine: American
- Diet: Low Fat
Ingredients
- 3 lbs chicken wings (flats and drumettes separated)
- 2 tablespoons baking powder (aluminum-free recommended)
- 1 teaspoon salt
- 1 teaspoon black pepper
- 1 teaspoon garlic powder
- 1 teaspoon onion powder
- 1/2 teaspoon paprika
- 1/4 cup Buffalo sauce (optional, for tossing after baking)
- 2 tablespoons melted butter (optional, for tossing after baking)
Instructions
- Preheat your oven to 425°F (220°C). Line a large baking sheet with aluminum foil and place a wire cooling rack on top of the foil. This setup allows air to circulate completely around the wings.
- Pat the chicken wings completely dry using paper towels. This step is crucial for crispiness.
- In a large bowl, combine the baking powder, salt, pepper, garlic powder, onion powder, and paprika.
- Add the dried chicken wings to the bowl and toss thoroughly until every piece is evenly coated with the dry rub mixture. The baking powder helps dry out the skin.
- Arrange the coated wings in a single layer on the wire rack, ensuring they do not touch each other.
- Bake for 25 minutes.
- Flip each wing over carefully. Return the pan to the oven and bake for another 20 to 25 minutes, or until the skin is deeply golden brown and very crispy.
- Remove the wings from the oven. If you are making Buffalo or Garlic Parmesan wings, toss them immediately in a separate bowl with your desired sauce or melted butter mixture until coated.
- Serve your extra crispy baked chicken wings immediately with ranch or blue cheese dressing.
Notes
- Use aluminum-free baking powder for the best flavor; regular baking powder can sometimes leave a metallic taste.
- For the crispiest results, do not skip drying the wings thoroughly before seasoning.
- If you prefer Honey BBQ wings, toss them in your favorite BBQ sauce during the last 5 minutes of cooking, or toss them after baking and broil for 1-2 minutes to set the glaze.
- For an even crispier texture, place the wings in the refrigerator uncovered for at least one hour before seasoning and baking.
Nutrition
- Serving Size: 4 wings
- Calories: 280
- Sugar: 0
- Sodium: 350
- Fat: 18
- Saturated Fat: 5
- Unsaturated Fat: 13
- Trans Fat: 0
- Carbohydrates: 1
- Fiber: 0
- Protein: 27
- Cholesterol: 90