
Oh, there is just nothing, and I mean *nothing*, that beats the sound of a truly crusty loaf coming out of the oven. That tiny crackle as it cools? That’s the sound of success! I’m Aria Sterling, and I believe every single person can bake amazing bread without ruining their entire Saturday. That’s why I perfected this Seventh Flavour staple: the Crusty No-Knead Homemade Italian Bread. Forget those tricky recipes that demand endless kneading; this loaf gives you that incredible, bakery-quality golden crust and that wonderfully soft, airy interior you dream about, all while asking almost nothing of you.
- Why This Crusty No-Knead Homemade Italian Bread Works
- Ingredients for Your Homemade Italian Bread
- How to Make Crusty No-Knead Homemade Italian Bread
- Tips for Success with Your Rustic Italian Bread
- Variations: Making Italian Herbs and Cheese Bread
- Serving Suggestions for Your Italian Bread for Dipping
- Storage and Reheating Instructions for Leftover Italian Bread
- Frequently Asked Questions About Baking Italian Bread
- Nutritional Estimate for This Homemade Bread
- Share Your Baking Results
Why This Crusty No-Knead Homemade Italian Bread Works
When you’re baking bread from scratch, you want payoff without the payback in labor, right? This recipe delivers exactly that. It hits all the right notes that make a **Homemade Italian Bread** truly special, and honestly, it’s my go-to for weeknights because the prep is practically zero.
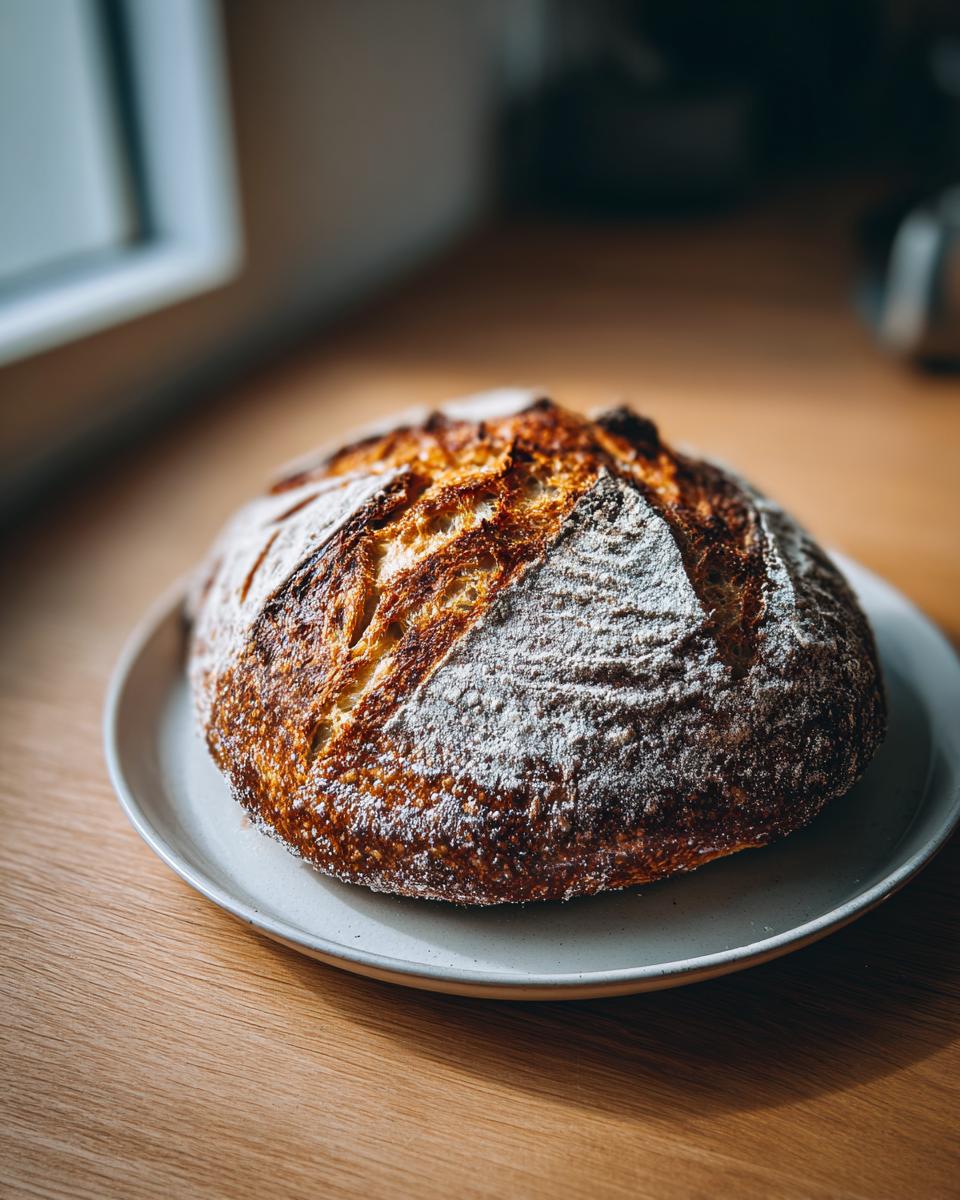
- You get that superior, crunchy **Artisan Bread Recipe** exterior you usually only find at the bakery.
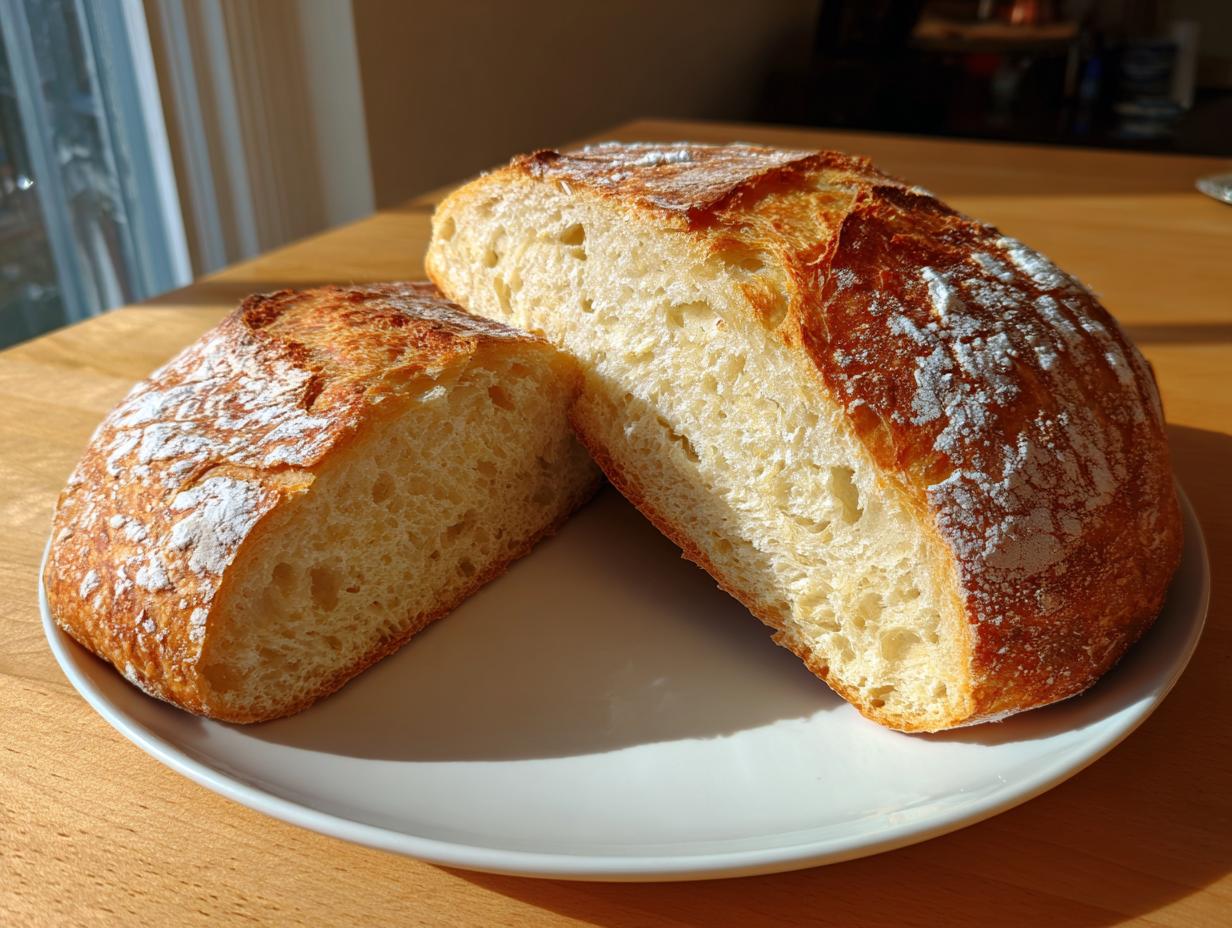
- The inside remains spectacularly soft and airy, giving you that perfect **Soft Interior Bread** texture for dipping.
- There is virtually no hands-on work involved!
Achieving the Perfect Artisan Bread Recipe Exterior
The secret to that incredible, shatteringly crisp crust is steam! We bake this loaf inside a preheated Dutch oven. Think of it like trapping a miniature sauna around the dough for the first half of the bake. This steam keeps the surface of the dough moist, allowing it to expand fully before the crust sets hard. Once I remove the lid, BAM! Instant golden color and that beautiful crackle.
The Magic of No Knead Italian Bread
This sounds too good to be true, but the 12 to 18-hour rest time is doing all the heavy lifting you’d normally do with kneading. That long, slow fermentation is crucial because it allows the yeast time to work magic, developing deep flavor and strengthening the gluten network all by itself. You just mix the flour, water, salt, and yeast, cover it up, and walk away. It’s the easiest way to get glorious **No Knead Italian Bread**.
Ingredients for Your Homemade Italian Bread
Okay, this is where you need to pay attention because while this is a no-knead recipe, precision in measuring is everything when you’re relying on slow fermentation. Don’t just eyeball your flour! Because we aren’t kneading away excess moisture, the amounts have to be just right for that perfect shaggy dough that magically transforms overnight. Trust me, getting these ratios perfect makes this recipe foolproof.

Essential Components for Authentic Italian Bread
Keep these few simple players ready to go. You’re going to be shocked how much flavor develops from so little! Here’s exactly what you need for one beautiful, rustic loaf:
- 3 cups All-Purpose Flour
- 1 1/2 teaspoons Salt
- 1/4 teaspoon Instant Yeast
- 1 1/2 cups Cool Water
- 1 tablespoon Olive Oil (for brushing)
See? Minimal fuss! But please note: we really, really need that *Instant Yeast*. It’s designed to start working right away when mixed cold, which is exactly what this long-fermentation method requires. Don’t even think about getting fancy with active dry yeast here unless you want to change the first step!
How to Make Crusty No-Knead Homemade Italian Bread
This is where the patience pays off, although the active work time is maybe ten minutes total. The beauty of this **Homemade Italian Bread** is that the bulk of the work happens while you’re sleeping or out running errands! The long rest is non-negotiable for that chewy, open interior texture we are aiming for, so set yourself up the night before you want fresh bread. This recipe, paired with something rich like my easy homemade garlic butter recipe, is my go-to for absolute comfort.
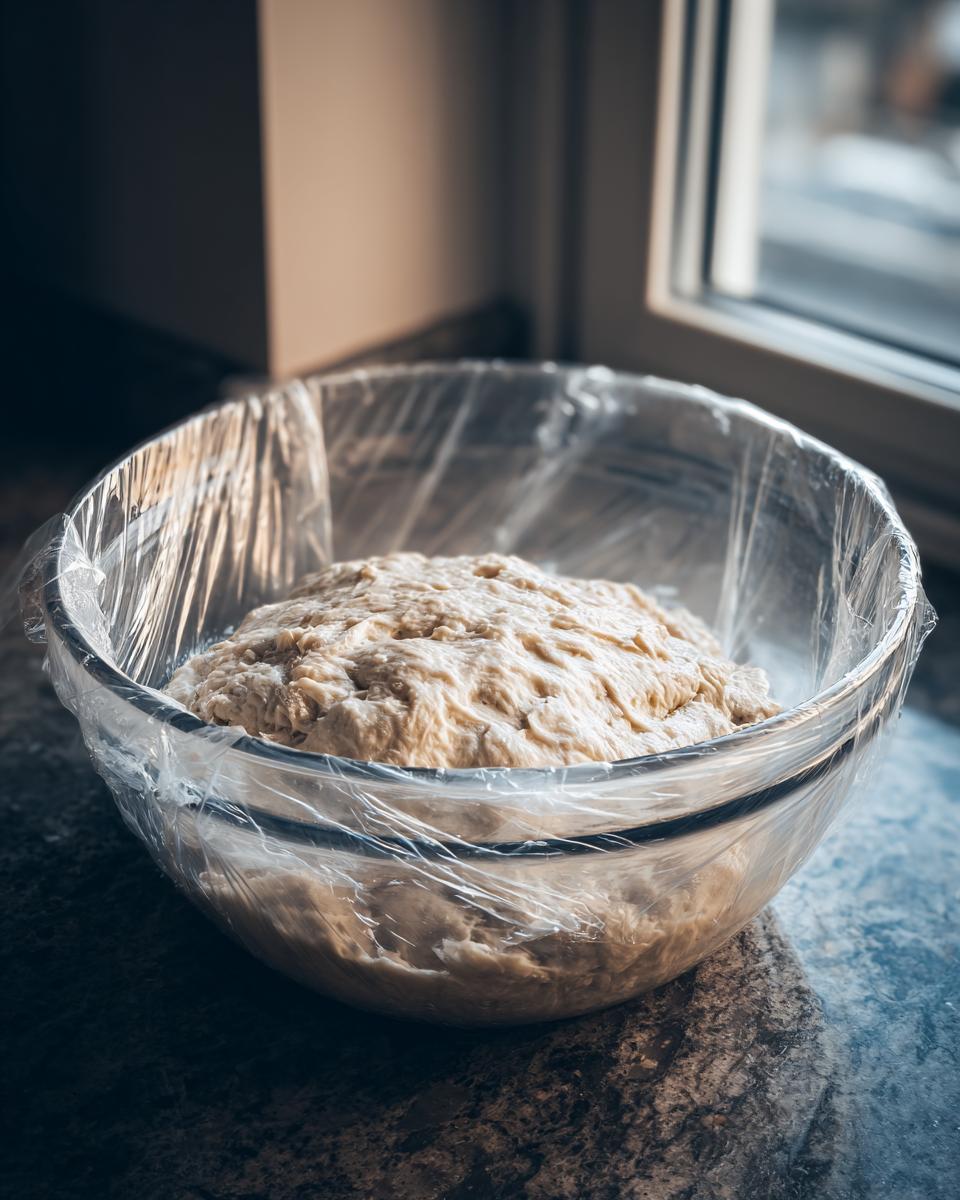
Mixing and the Long Fermentation Rest
First up, take a big bowl and whisk together your flour, salt, and that tiny bit of instant yeast. Get those dry ingredients perfectly combined. Then, pour in the cool water. Now, resist the urge to turn on an electric mixer! Just use a wooden spoon and mix until it looks messy and sticky—that’s the definition of a shaggy dough. Stop mixing when you don’t see any dry flour patches left. Cover that bowl tight with plastic wrap and forget about it for 12 to 18 hours. This slow process is what builds the best structure for your **Artisan Bread Recipe**.
Shaping and Second Rise
Once your dough has rested all night and looks bubbly and expanded, it’s time to gently wake it up. Flour your counter lightly. Carefully tip the whole sticky mass out onto the surface. Don’t punch it down! Just fold the edges into the center a few times to shape it into a rough ball. This little bit of folding tightens up the surface tension just enough. Pop that dough ball onto a square of parchment paper, cover it loosely, and let it chill out for one more 30-minute rest while you manage the oven.
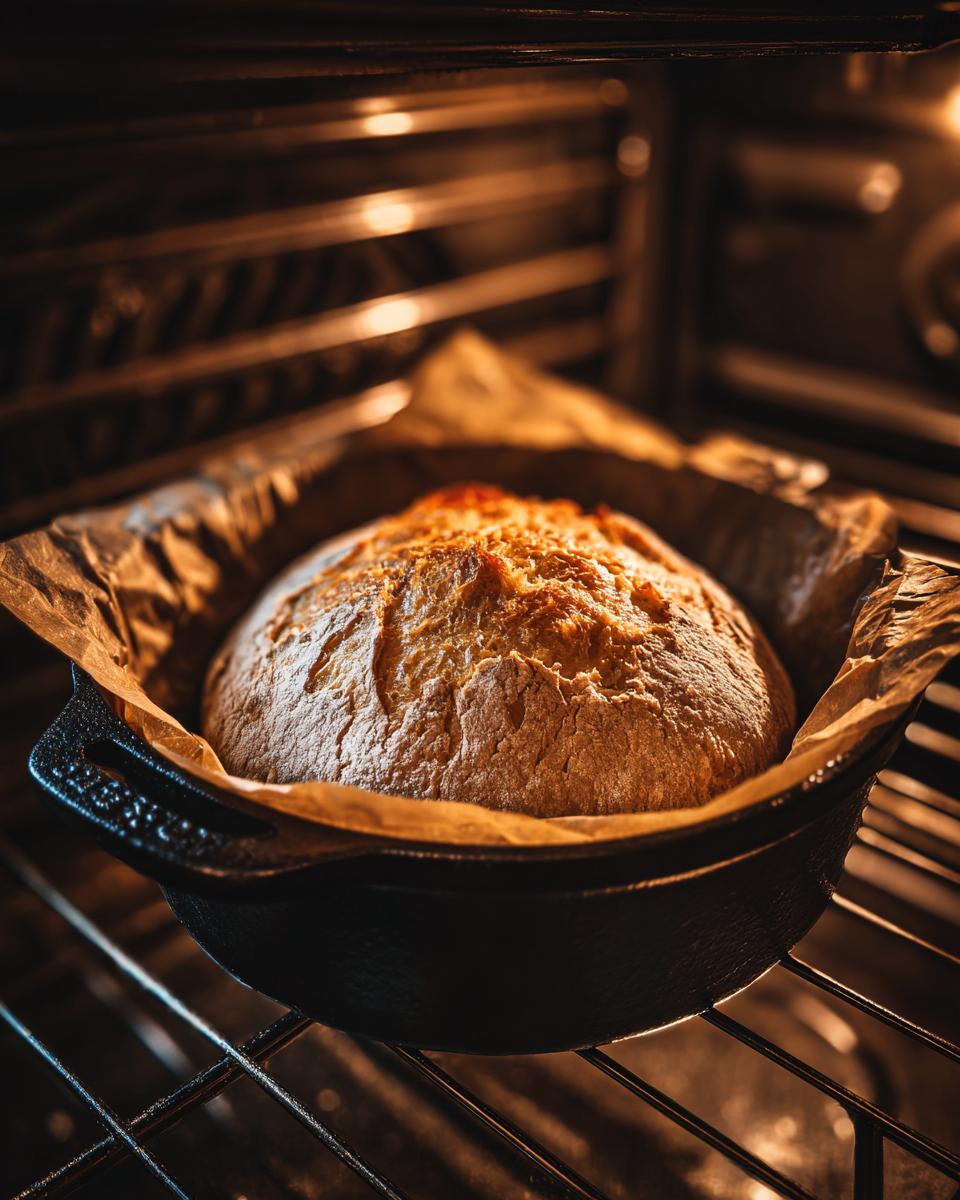
Baking the Italian Bread for Maximum Crust
About 20 minutes before that second rise is up, put your Dutch oven—lid and all—into the oven and set the temp to 450 degrees Fahrenheit. It needs to get smoking hot! Carefully remove the Dutch oven (use serious mitts!) and use the parchment paper sling to gently lower your dough right into the hot pot. Brush the top with that tablespoon of olive oil. Bake it covered for 30 minutes; this traps the steam for the wonderful crust. Then, take the lid off and bake for another 10 to 15 minutes until it’s deep brown. Seriously, let it cool on a wire rack until it’s *completely* cool before slicing, or you’ll ruin that beautiful **Italian Bread for Dipping** texture inside!
Tips for Success with Your Rustic Italian Bread
I know the goal is that amazing, crackly, **Crusty Italian Loaf**, but sometimes you’re serving this bread to little ones, or maybe you just prefer a texture that’s slightly softer for sandwiches. Since this recipe is so reliable now that you’ve mastered the long ferment, experimenting with the finish is totally fun!
Adjusting Crust Texture for Soft Interior Bread
If you pull that loaf out after the lid comes off and it looks a *little* too rugged for your taste, don’t panic! The initial 30 minutes covered in the Dutch oven locks in most of the moisture, which is the important part. To dial back the final crunch, just remove the bread from the hot pot for the last 10 minutes of baking and place it directly onto the oven rack. This lets the residual steam escape a bit quicker, resulting in a less intensely hard shell, still golden, but much more tender. It’s a trick I use when I know the bread needs to hold up to soup later instead of just being dipped!
Temperature and Water Quality
You might be wondering why we specifically call for *cool* water, especially since yeast likes warmth! It’s all about control over that 18-hour clock. Using cool or even tap-cold water slows down the yeast activity just enough at the beginning so that it doesn’t burn out before the 12-hour mark. If you use warm water, expect your dough to be ready in 8 hours instead of overnight, and frankly, the flavor won’t be as deep. Also, while the recipe calls for All-Purpose Flour because it’s accessible, if you really want a chewier, more European texture in your **Soft Interior Bread**, try swapping out one cup of the AP for Bread Flour next time. Bread flour just has higher protein content, giving those gluten strands extra strength!
Variations: Making Italian Herbs and Cheese Bread
Look, once you nail down the base **Crusty No-Knead Homemade Italian Bread**, you’re basically unlocking the entire universe of savory bread! If you want to lean into that comforting, deli-style flavor, transforming this into an amazing **Italian Herbs and Cheese Bread** is dead simple. You just add your flavor right at the beginning with the dry ingredients. Mix about one tablespoon of good dried Italian herbs—oregano, basil, a pinch of rosemary—right in with the flour and salt before you add the water.
For the cheese part, wait until you’ve done the initial 30-minute second rise when you’re getting ready to put the dough into the Dutch oven. Gently fold in about a cup of shredded, low-moisture mozzarella or provolone. You don’t want the cheese adding too much liquid or it’ll ruin the gluten structure you worked so hard to build!
If you’re feeling extra decadent, brush the top with some melted butter mixed with garlic powder right before you bat it in the hot pot. It’s heavenly alongside my easy homemade garlic butter recipe!
Serving Suggestions for Your Italian Bread for Dipping
Now that you have this gorgeous, crackling loaf—probably still warm, don’t pretend you’re waiting for it to cool completely!—you might wonder what to do with it besides eating half the loaf plain in the kitchen. That’s the beauty of a good **Italian Dinner Bread; it complements almost anything savory. This loaf seriously elevates Tuesday dinner night!

My very favorite way to serve it is super classic and simple, hitting that “dipping” intent perfectly. Just put a small ramekin of good quality extra virgin olive oil right in the center of the table. Add a dash of coarse sea salt and some freshly cracked black pepper right into the oil. If you want to take it up a notch, mix in finely minced fresh rosemary or a pinch of red pepper flakes. That crust is just designed to scoop up every last oily bit.
But let’s talk about main courses. This bread is a champion at mopping up sauces. If you’re making anything rich and tomato-based—think Bolognese or a hearty marinara—this loaf is essential. It needs to be there to soak up all those beautiful, flavorful juices.
And soup! Oh wow. If I’m making a creamy tomato soup or maybe one of my quicker weeknight recipes like my easy chicken marsala, it always needs a sturdy sidekick. Tearing off a chunk of this crusty loaf and dunking it into a hot bowl of soup is my definition of comfort. It handles the heat and moisture so much better than flimsy sandwich bread. Seriously, don’t even look at store-bought garlic bread when you have this waiting!
Storage and Reheating Instructions for Leftover Italian Bread
Okay, let’s be real. Sometimes, you actually *do* have leftover bread. But if you’ve gone through all the effort to create that phenomenal, shatteringly crisp crust on your **Crusty No-Knead Homemade Italian Bread**, you totally don’t want it turning into a sad, chewy doorstop by morning. I have rules for leftovers, and they are strict!
The enemy here is moisture being trapped. If you wrap this golden loaf up tight in plastic wrap while it’s still warm, you are basically steaming the crust into submission. Don’t do it! You need to let it cool completely, preferably overnight, on a wire rack uncovered. Once it’s fully cool, you can wrap it loosely in a clean, dry kitchen towel and leave it on the counter. That keeps it tasting great for almost two days.
How to Revive That Crusty Exterior
If your loaf is looking a little less crunchy the next day, don’t despair. We can bring it back to life! This is the absolute best trick for refreshing any rustic loaf. You need heat, but you also need a little bit of steam energy back to crisp up that exterior.
Preheat your oven again—I usually go for 350 degrees Fahrenheit. Take your leftover **Italian Bread** and give it a light, quick spritz of water. Just a gentle mist, not a soaking! You want to dampen the crust slightly, not soak the inside. Wrap the dampened loaf loosely in aluminum foil—this traps *just* enough steam to soften the crumb underneath without getting the crust gummy.
Bake it wrapped for about 10 minutes. Then, unwrap it quickly and pop it back in the bare oven for another 3 to 5 minutes. When you pull it out, the crust will be loud, crackly, and fresh again. It’s like magic, but it’s just good surface tension management!
Storing Slices for Sandwiches
If you know you won’t finish the loaf in two days, slice it first. Slice it thick, because everything tastes better on this bread! Store the slices in a heavy-duty zip-top bag, pressing out as much air as you can before sealing. These slices freeze beautifully because they are already separated. When you want toast or a sandwich, they thaw remarkably fast on the counter, or you can pop them straight into the toaster oven for a quick crisp-up. No waste, maximum flavor retention!
Frequently Asked Questions About Baking Italian Bread
I get so many great questions about this process—it’s surprising how many people are dipping their toes into **Baking Bread From Scratch** for the first time! I’ve pulled together the most common things folks ask after they’ve tried this **Easy Homemade Bread** recipe. I want you to feel totally confident when you step up to that bowl!
Can I use Active Dry Yeast instead of Instant Yeast in this No Knead Italian Bread Recipe?
That is such a common question! Yes, you totally can use active dry yeast, but because it needs a little encouragement to wake up, you can’t just toss it in with the dry flour like you do with the instant kind. Remember, for this **Yeast Bread Recipe**, we need the yeast to be happy right from the start. So, here’s your tweak: Take the 1 1/2 cups of cool water and warm it *slightly*—it should feel warm to your wrist, not hot, maybe 105°F. Stir in the 1 teaspoon of sugar (which you can pull from your regular recipe amount) and sprinkle the active dry yeast over the top. Let it sit for about 5 to 10 minutes until it gets foamy and looks like a little creamy layer formed. That means your yeast is alive! Then, you use that entire bubbly mixture *in place* of the cool water in the main recipe. Don’t forget to cover it and let it rest for the full 12 to 18 hours!
What if I need a Quick Italian Bread Recipe and cannot wait 18 hours?
Oh, the eternal struggle between craving bread *now* and having to wait for fermentation! If you are in a true pinch and need a **Quick Italian Bread Recipe**, you can definitely shorten that 12-18 hour rest. When I’m desperate, I use slightly warmer water (around 85°F) and let the dough sit in a slightly warmer spot in my kitchen for maybe 3 or 4 hours, checking it frequently. However, I have to give you a fair warning: you will sacrifice depth of flavor! That long, slow cold ferment builds that complex, tangy, authentic taste—the short rest just won’t give you the same profile. You’ll get structurally sound **Homemade Italian Bread**, but it won’t have that same deep, satisfying flavor that makes it truly **Artisan Bread Recipe** quality.
How do I ensure my bread has that signature Rustic Italian Bread crackle?
This comes down entirely to steam management during the bake, the same trick I use for my **Rustic Italian Bread**! You must, must, *must* use a heavy, preheated Dutch oven for the first phase. The dough needs to bake in a heavily steamy environment for the first 30 minutes while covered. This steam keeps the outer layer pliable, allowing the bread to expand to its maximum volume before the crust sets. If that crust sets too soon, it stops expanding and you get a sad, dense loaf instead of a beautiful, big **Crusty Italian Loaf**.
When you take that lid off for the final 10–15 minutes, you are essentially blasting the dough with dry, intense heat, which caramelizes the sugars on the surface and locks in that beautiful, crisp texture. Don’t skip preheating that heavy pot—it’s the single most important step for the crust!
If you’ve tried this, I’d love to hear how it went! Feel free to drop any other questions below, or reach out via my contact page if you run into any weird dough issues. Happy baking!
Nutritional Estimate for This Homemade Bread
Now, when we talk about baking bread from scratch, we’re really embracing pure comfort, and sometimes, we don’t want to overthink the macros! But just so you know what you’re getting yourself into with this amazing **Homemade Bread**, I looked up the rough estimates for a single slice based on the recipe measurements. Remember, since this is an artisan loaf and sizes vary wildly when you slice it by hand, these are just ballpark figures, okay? My goal is always flavor first, but it’s good to have an idea!
This information comes from calculating the total recipe yield (one large loaf) broken down into standard servings for reference. This **Easy Homemade Bread** is surprisingly simple on the sugar front!
- Serving Size: 1 slice
- Calories: 185
- Total Fat: 1.5g (with only 0.2g being Saturated Fat)
- Carbohydrates: 38g
- Protein: 6g
- Sugar: Only about 0.5g!
See? Because we aren’t adding cups and cups of sugar like some of those fluffier sandwich loaves require, this **Yeast Bread Recipe** is surprisingly low in sugar—perfect for serving alongside a big bowl of soup or dipping in olive oil without feeling weighed down. Every time I bake this **Crusty Italian Loaf**, I’m just happy knowing I skipped all the mystery additives you find in the grocery store!
Share Your Baking Results
Alright, friend, now you have the secret weapon for making incredible, crispy-on-the-outside, cushiony-on-the-inside bread anytime you want. You’ve gone through the patient overnight rest and you’ve used that Dutch oven magic—I am so excited for you to pull that golden beauty out of your oven!
But my kitchen isn’t the only place this recipe should be shining! I absolutely live for seeing your bakes. When you make this loaf, please take a picture! I want to see those crusts crackling. Tag me on social media so I can cheer you on. Knowing that this recipe is making its way onto your dinner tables and into your family traditions—that’s the Seventh Flavour I’m chasing. That’s why I do all this testing!
If you loved the simplicity of this no-knead process, please do me a huge favor and come back here and leave a rating. Five stars tells me that this **Easy Homemade Bread** is reliable, and it helps other nervous bakers feel confident enough to try **Baking Bread From Scratch** for the first time. It keeps my mission alive!
Did you have a question about the timing? Did you try adding cheese and want to brag about it? Or maybe you just want to share which Italian dipping sauce you paired the loaf with? Drop a comment down below! I read every single one, and I’m here to help troubleshoot any issues you run into. Remember, baking should be fun, not frustrating, and I’m happy to help you review the terms of making great food with me.
Now go ahead, slice into that warm loaf, and enjoy the silence that follows the first bite!
PrintCrusty No-Knead Homemade Italian Bread
Make bakery-quality artisan Italian bread at home with this easy, no-knead recipe. You achieve a wonderfully crisp, golden crust and a soft, airy interior perfect for dipping in oil or serving with dinner.
- Prep Time: 10 min
- Cook Time: 45 min
- Total Time: 13 hours 5 min
- Yield: 1 large loaf 1x
- Category: Bread
- Method: Baking
- Cuisine: Italian
- Diet: Vegetarian
Ingredients
- 3 cups All-Purpose Flour
- 1 1/2 teaspoons Salt
- 1/4 teaspoon Instant Yeast
- 1 1/2 cups Cool Water
- 1 tablespoon Olive Oil (for brushing)
Instructions
- In a large bowl, whisk together the flour, salt, and instant yeast.
- Pour in the cool water and mix with a wooden spoon until a shaggy, sticky dough forms. Do not overmix; stop when no dry flour remains.
- Cover the bowl tightly with plastic wrap. Let the dough rest at room temperature for 12 to 18 hours. This long, slow fermentation develops flavor and structure without kneading.
- After the long rise, lightly flour a work surface. Gently scrape the dough out of the bowl. Fold the dough over itself a few times to form a rough ball.
- Place the dough ball on a piece of parchment paper. Cover loosely with plastic wrap or a clean kitchen towel. Let it rest for a second rise for 30 minutes.
- About 20 minutes before baking, place a Dutch oven (with the lid on) into your oven. Preheat the oven to 450 degrees Fahrenheit (232 degrees Celsius).
- Carefully remove the hot Dutch oven from the oven. Lift the dough using the parchment paper and gently place it inside the hot pot. Brush the top lightly with olive oil.
- Cover the Dutch oven and bake for 30 minutes.
- Remove the lid and continue baking for another 10 to 15 minutes, until the crust is deep golden brown and crisp.
- Carefully remove the bread from the pot and let it cool completely on a wire rack before slicing. This step is key for the final crust texture.
Notes
- For a savory loaf, mix 1 tablespoon of dried Italian herbs into the dry ingredients before adding the water.
- If you want a softer crust, remove the bread from the Dutch oven for the last 10 minutes of baking and place it directly on the oven rack.
- This bread is excellent for making sandwiches or dipping into olive oil and balsamic vinegar.
Nutrition
- Serving Size: 1 slice
- Calories: 185
- Sugar: 0.5
- Sodium: 350
- Fat: 1.5
- Saturated Fat: 0.2
- Unsaturated Fat: 1.3
- Trans Fat: 0.0
- Carbohydrates: 38
- Fiber: 1.5
- Protein: 6
- Cholesterol: 0