
Oh, I know that feeling! We all crave that comforting, classic banana bread, but sometimes you want something a little kinder to your waistline without sacrificing that deep, satisfying flavor. For years, I struggled to find that perfect middle ground—something *moist* enough, but without feeling heavy or loaded with unnecessary fat. That quest for better-for-you baking is what brought me to this absolutely glorious **greek yogurt banana bread** recipe. When I stepped away from marketing and fully dove into creating the Seventh Flavour philosophy, recipes like this became my touchstone. It’s about connection, comfort, and making honest, delicious food accessible to everyone in their own kitchen. If you’re looking for more ideas for those busy mornings, be sure to check out my collection of easy breakfast recipes. Trust me when I say this loaf is unbelievably tender and everything you ever wanted in a satisfying snack.
- Why This greek yogurt banana bread is Your New Favorite Quick Bread Recipes
- Gathering Ingredients for greek yogurt banana bread
- Step-by-Step Instructions for Your greek yogurt banana bread
- Tips for Success: Making the Best greek yogurt loaf
- Serving Suggestions for Your Banana Yogurt Bread
- Storage and Make-Ahead Tips for This greek yogurt banana bread
- Variations: Customizing Your Wholesome Banana Dessert
- Frequently Asked Questions About Making a Healthy Banana Bread
- Nutritional Snapshot of This Guilt Free Sweet Treats Loaf
- Share Your Baking Creations
Why This greek yogurt banana bread is Your New Favorite Quick Bread Recipes
Honestly, the swap from traditional butter or sour cream to Greek yogurt is what makes this the ultimate baking magic trick. It ticks every box if you’re looking for satisfying homemade bread without the fuss. It’s fast enough for a Tuesday morning, but delicious enough that you’ll want to save the leftovers for a mid-day pick-me-up! This recipe joins my list of favorite healthy snack ideas because it truly delivers on flavor and function.
Achieving That Signature Moist Banana Bread Texture
The yogurt is like a moisture insurance policy! Because it’s thicker than milk, it clings to the flour particles without dissolving them, preventing that over-developed gluten structure that makes things tough. This is why, even when it cools, you still get that amazing moist banana bread result. My biggest advice here? As soon as you add the flour, stop mixing! Seriously. Mix only until you see no more dry streaks. Overmixing is the quickest way to lose that incredible tenderness we’re chasing.
The Healthier Twist: A Protein Packed Breakfast Loaf
Forget the overly dense, sugary loaves of the past. By using Greek yogurt, we ditch some of the heavy fats—it’s a closer comparison to a no butter banana bread alternative, but way richer tasting! It ramps up the protein content significantly, turning this treat into a proper breakfast contender. It holds up beautifully, too, which is key for a great protein packed breakfast loaf that actually keeps you full until lunch.
Gathering Ingredients for greek yogurt banana bread
Part of embracing the Seventh Flavour philosophy is using real ingredients that you can easily find. No truffle oil or obscure extracts here! For this amazing loaf, you mostly just need pantry staples plus those unavoidable, slightly sad, spotty bananas that are hiding on your counter. Seriously, the browner they look, the better they perform in this recipe. Don’t you dare throw those away!
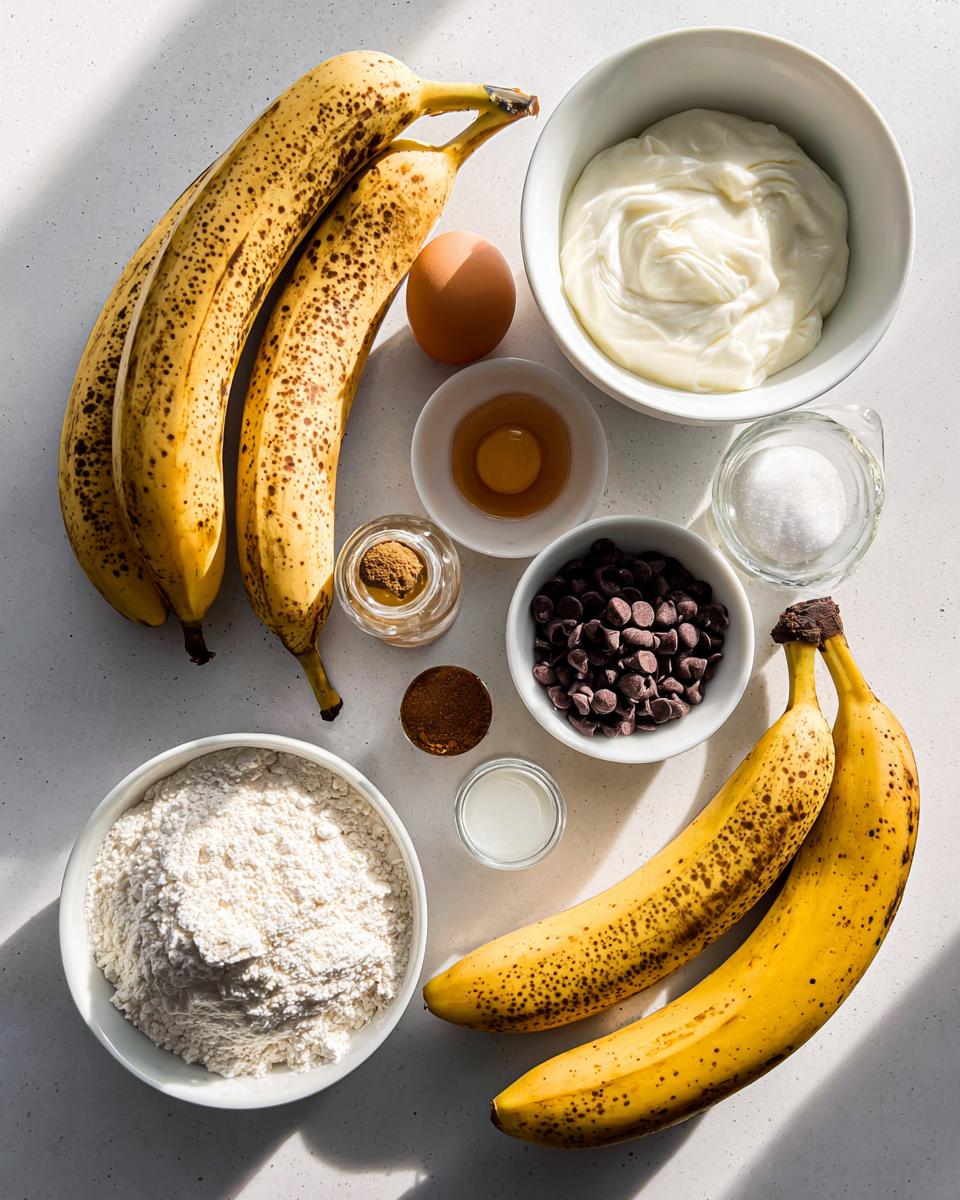
Here’s what you’ll need:
- 3 very ripe medium bananas, mashed
- 1 cup plain Greek yogurt (full-fat or 2%)
- 1/2 cup packed light brown sugar
- 1/4 cup granulated sugar
- 1 large egg
- 1 teaspoon vanilla extract
- 1/3 cup melted coconut oil or vegetable oil
- 1 3/4 cups all-purpose flour
- 1 teaspoon baking soda
- 1/2 teaspoon baking powder
- 1/2 teaspoon salt
- 1 teaspoon ground cinnamon
- 1/2 cup chocolate chips (optional)
Ingredient Notes and Substitutions for Tender Baked Goods
Let’s talk yogurt for a second, because this is crucial for anyone looking for those using ripe bananas recipes. I always recommend using full-fat or 2% Greek yogurt. It has enough necessary fat content to keep the crumb rich and tender. If you reach for fat-free yogurt, your loaf might taste surprisingly healthy—which isn’t bad, but it won’t be as decadent or hold that soft structure as well. Also, remember the flour! Don’t scoop directly into your bag; that packs it too tightly. Gently spoon the flour into your measuring cup and then level it off with a straight knife. This simple step guarantees you aren’t adding too much flour, which ruins any chance of getting tender baked goods.
Step-by-Step Instructions for Your greek yogurt banana bread
Okay, this is where the real fun starts! Don’t be intimidated by the steps; this is truly a quick bread that comes together faster than you might think. First thing’s first: get that oven fired up to 350°F (175°C). While it preheats, you need to ready your pan—I use a standard 9×5 inch loaf pan. You can grease and flour it like normal, but if you’re like me and hate leaving bits of cake stuck on the sides, line it with parchment paper instead. It makes removal a breeze. If you need inspiration for other simple techniques, I always share my secrets for things like simple preparations in other posts!
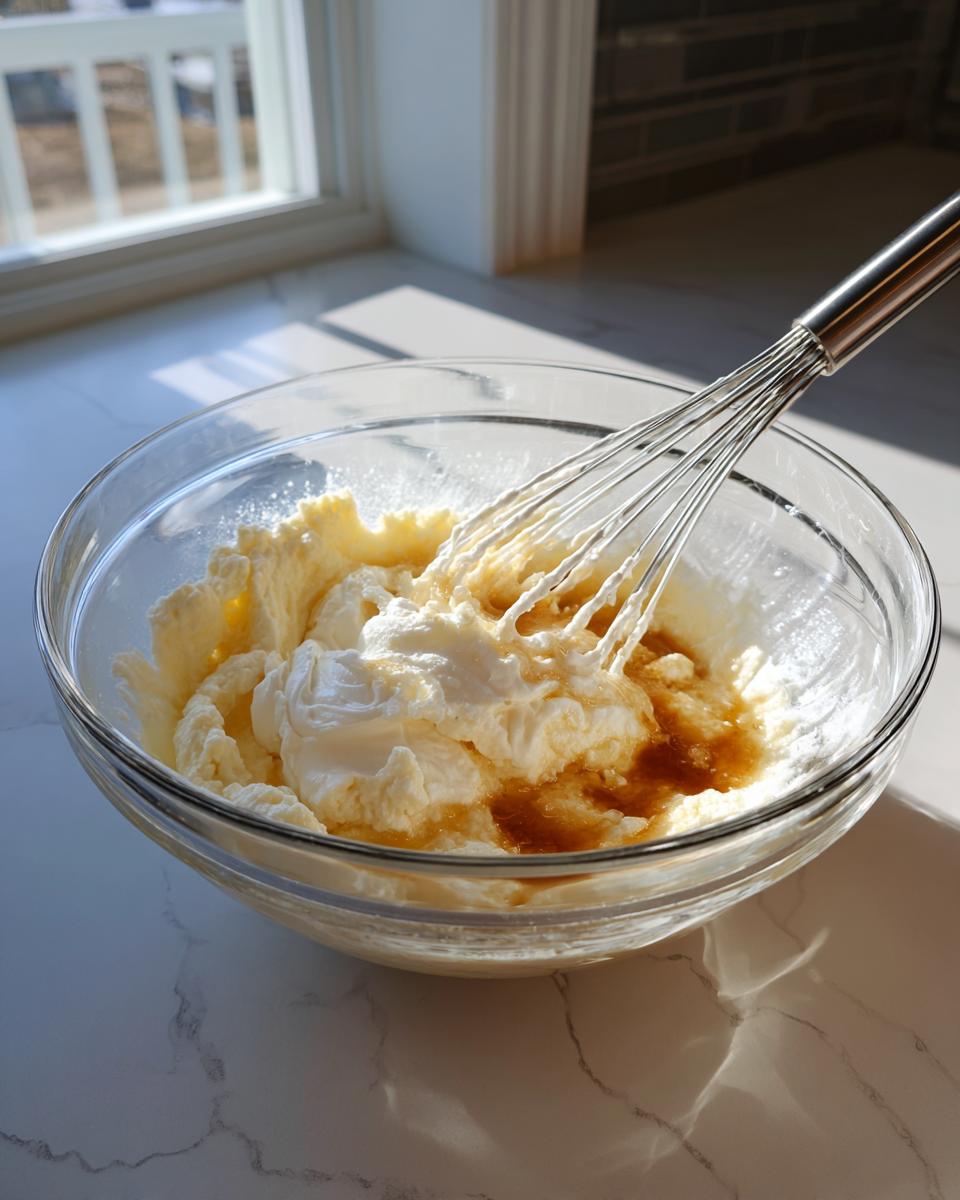
Mixing Wet and Dry Components for the Best Banana Bread with Yogurt
Grab your biggest bowl for the wet stuff. Start by mashing those spotted bananas—get them good and mushy. Then, toss in the Greek yogurt, both sugars, the egg, and the vanilla. Whisk this until everything looks happy and combined.
Now, in a separate bowl, whisk your dry ingredients: flour, baking soda, baking powder, salt, and cinnamon. You want the dry ingredients well mixed so the leaveners are evenly distributed.
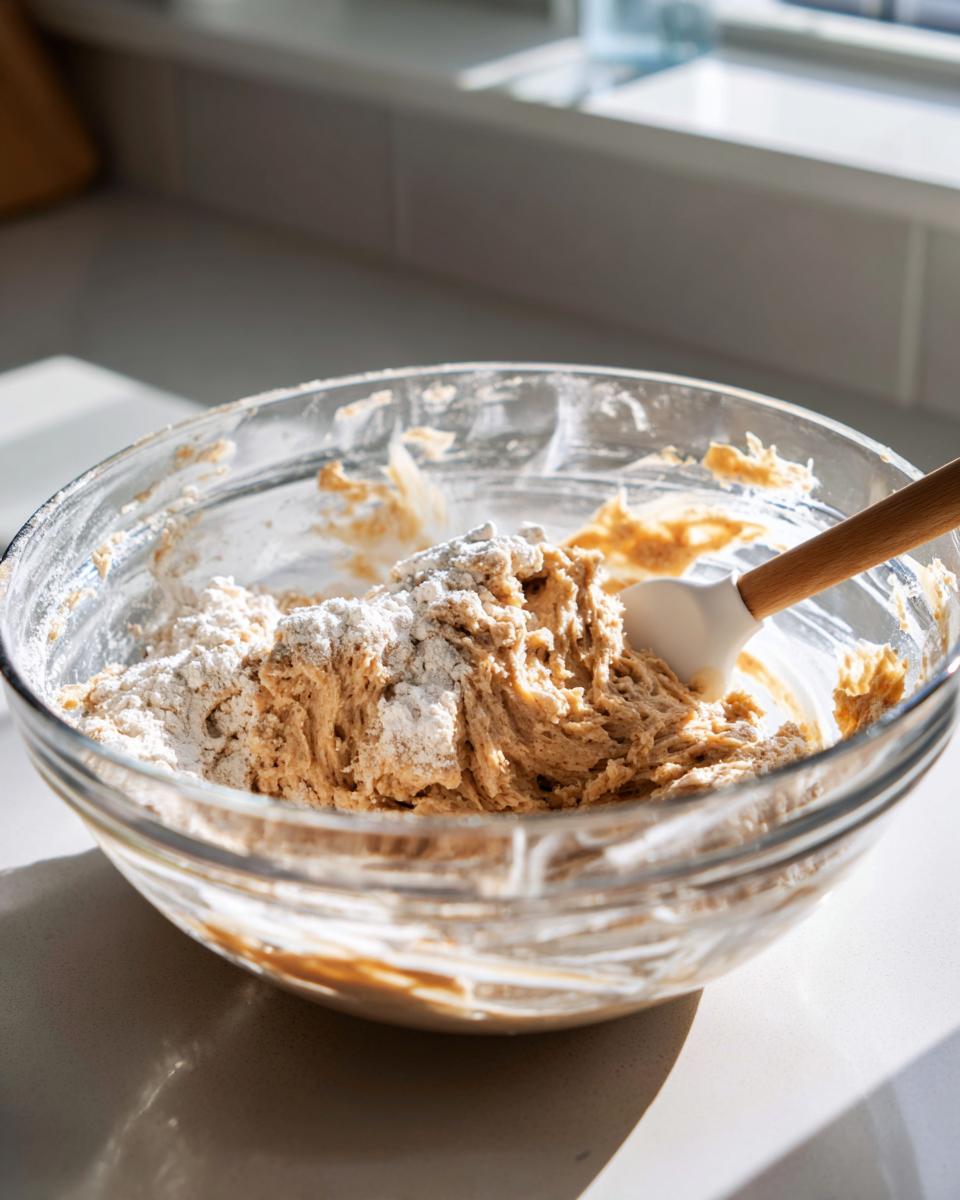
This next part is critical for getting that amazing result we talked about: take your dry mix and add it to your wet bowl *all at once*. Now, take a spatula—not your electric mixer!—and fold it in gently. I mean it, fold until you *just* see the flour disappear. If you see a tiny streak or two of flour, stop immediately! That patience guarantees you get those tender baked goods we are famous for across the site.
Baking Times and Testing for Doneness
Gently spoon that beautiful batter into your prepared pan and try to smooth the top off gently. Pop it into that preheated oven. Now, plan for about 50 to 60 minutes of baking time. Ovens truly vary, so you need to keep an eye on it after the 50-minute mark. Forget just the toothpick test alone! First, look to see if the edges are starting to pull away from the pan slightly—that’s a good visual cue.
Then, insert a toothpick right into the center. If it comes out totally clean, you might have gone too far and dried it out a bit. We are looking for moist crumbs clinging to the wooden pick. That tells you the center is set, but there’s still plenty of moisture left in your banana bread with yogurt. Let it sit in that hot pan for about ten minutes before carefully turning it out onto a wire rack to cool completely. Resist the urge to slice it hot—it will crumble!
Tips for Success: Making the Best greek yogurt loaf
I’ve messed this recipe up so many times in the early days that I feel like I practically have a Ph.D. in fixing beginner banana bread mistakes. When you’re trying to achieve that perfect, plush texture in a banana nut muffin or loaf style, attention to detail really pays off. Success here isn’t about complicated chemistry; it’s about respecting the ingredients, especially those bananas.
My number one non-negotiable rule? The bananas have to look borderline offensive. Remember that time I tried to rush it and used bananas that were just yellow with a few brown spots? Ugh. The bread was dense, dry, and barely sweet enough. It was edible, but it certainly wasn’t the rich, **moist banana bread** that makes people ask for the recipe. Use bananas so spotty they look like they’ve been through a tiny fruit fight! Those spots mean the starches have converted fully to sugar, which is pure liquid gold for moisture.
Another thing that trips people up is impatience during cooling. I get it, the aroma filling your kitchen is intoxicating, and you want a slice immediately. But you absolutely cannot saw into this loaf straight out of the oven. When you take it out, that remaining heat is still setting the structure. If you slice it early, the steam escapes too fast, and the tender crumb structure collapses into a sad, gummy mess. Giving it that full 10 minutes in the pan—as I noted in the instructions—is the bare minimum. Then, transfer it to a wire rack. Letting air circulate underneath prevents the bottom from getting soggy while the interior finishes setting up perfectly. Patience leads to the **best greek yogurt loaf**!
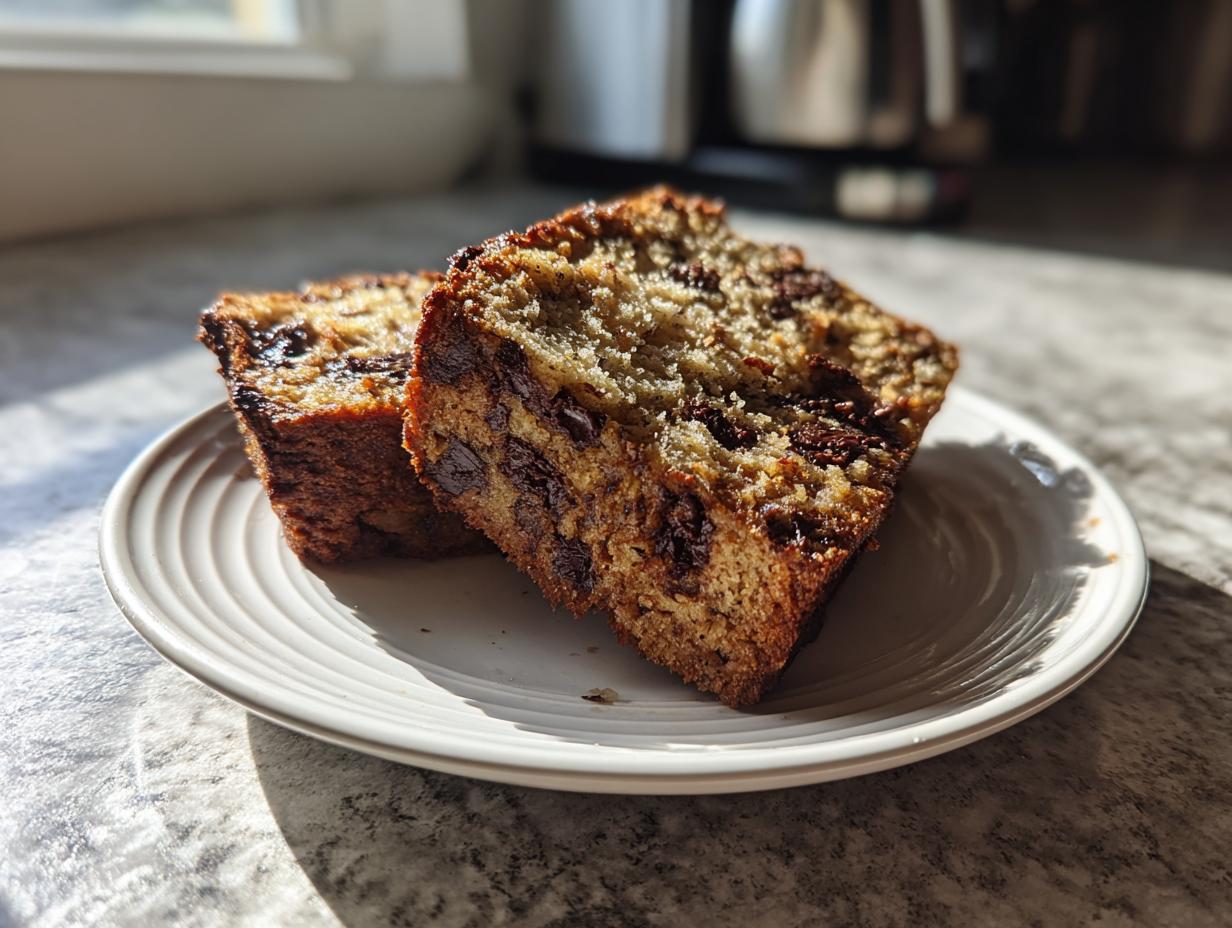
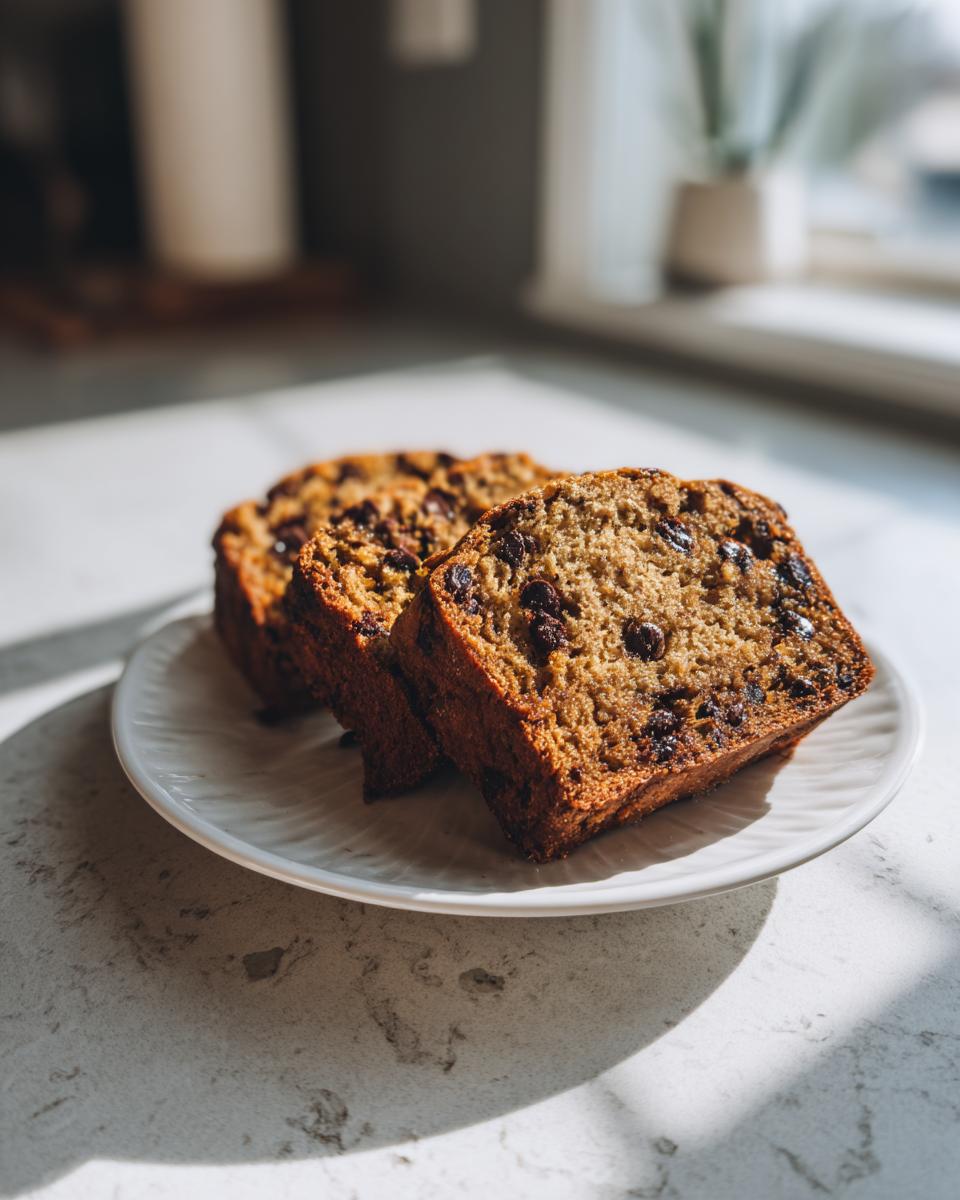
Serving Suggestions for Your Banana Yogurt Bread
So, you’ve pulled this gorgeous, golden loaf out of the oven—what now? Honestly, the beauty of this banana bread is that it barely needs anything! Served warm, maybe spread with just a tiny smear of good quality butter or cream cheese, it’s perfect for breakfast. However, if you want to keep it on the lighter side, it’s fantastic completely plain, too. It’s so wonderfully moist that you don’t need heavy toppings at all. For a true snack cake experience, let the slices cool to room temperature, which really lets that cinnamon aroma shine through in your **Banana Yogurt Bread**.
Storage and Make-Ahead Tips for This greek yogurt banana bread
One of the best things about making a loaf like this is that it’s inherently good for planning ahead! I love having loaves of baked goods in the kitchen because it means I’m set for grab-and-go breakfasts or quick snacks all week long. This recipe is wonderful for that kind of simple homemade baking because it handles storage like a champ.
For short-term storage—say, the first two or three days—you just need to keep it wrapped tightly. Once the bread is completely cool (and I mean *stone cold*—no residual warmth allowed!), wrap the whole loaf or individual slices tightly in plastic wrap first. Then, I like to toss that plastic-wrapped loaf into an airtight container or a gallon-sized zip-top bag. Keep it on the counter at room temperature. The tightly wrapped plastic keeps that glorious moisture locked in, and the container prevents outside air from drying it out. It stays delightfully tender this way!
Now, for the long haul, freezing is your best friend. This is where we reinforce those notes in the recipe card! Once cooled, wrap the loaf first in plastic wrap, then follow up with a layer of aluminum foil. That double wrap is your barrier against freezer burn. You can freeze the entire loaf or slice it first so you can thaw just what you need. It freezes beautifully for up to three months—seriously! When you’re ready to eat it, just let it thaw on the counter for a few hours, or give those slices a quick 15-second zap in the microwave if you want it warm and soft again. It comes out tasting like you just pulled it from the oven!
Variations: Customizing Your Wholesome Banana Dessert
One of the joys of baking something this versatile is the ability to tweak it season after season. While I stand by the simplicity of the base recipe that gives you that amazing **healthy banana bread**, sometimes you need to shake things up! Since this loaf is so sturdy and moist thanks to the yogurt, it handles mix-ins like a dream, turning it into the perfect snack cake recipes base.
If you’re feeling nutty, pecans or walnuts are wonderful additions. I usually toast mine lightly in a dry skillet for about five minutes before folding them in. Toasting just wakes up their flavor, making them far more interesting than plain raw nuts. Fold in about 3/4 cup after you’ve combined your wet and dry mixtures, right before pouring it into the pan.
Spice lovers, listen up! The original recipe has lovely cinnamon, but if you want to deepen that warmth, try swapping out the cinnamon entirely for 1 1/2 teaspoons of pumpkin pie spice. Or, if you want a brighter flavor profile, try adding the zest of one small orange to the wet ingredients. It wakes up the banana beautifully!
For those who decided to skip the chocolate chips, you can easily transform this into something that feels a little more elegant. Instead of a heavy frosting, I love making a simple powdered sugar glaze. Just whisk together one cup of powdered sugar with about two tablespoons of milk and 1/2 teaspoon of vanilla until it’s pourable but thick enough to pool nicely on top. Drizzle that over the loaf once it’s cooled completely. It gives you that look of a **wholesome banana dessert** but with a tiny, sweet finish!
Frequently Asked Questions About Making a Healthy Banana Bread
I always tell people that the sign of a truly great recipe is how many questions it inspires! It means you’re excited to get baking. Since this **greek yogurt banana bread** is a healthier twist on your old favorite, a few common questions pop up often. Don’t worry if you need to swap an ingredient; we can usually make it work while keeping that wonderful moist texture.
Can I use non-fat Greek yogurt instead of full-fat or 2%?
You certainly can! If you are prioritizing lowering the fat content in your **healthy banana bread**, non-fat Greek yogurt will work. Just know that the texture will be slightly less rich and velvety. The fat plays a role in mouthfeel, even when we’re using oil, so just manage your expectations slightly! This remains a fantastic healthy baking option either way.
Do I absolutely have to use oil, or can I substitute applesauce?
Ah, the classic swap for those looking for a true no butter banana bread alternative! You can substitute applesauce for the oil, but I won’t lie—it changes things. Applesauce adds moisture, yes, but it often makes the final product taste a little gummy or cake-like rather than truly tender. Since we already have yogurt providing amazing moisture, I recommend keeping the oil or simply using melted coconut oil for the best flavor and texture payoff.
How brown do the bananas really need to be?
This is the single most important question for any banana bread, ours included! For the *best* results in this **banana bread with yogurt**, the bananas should be nearly black on the outside. If they look like something you’d feed to your compost bin, they are PERFECT. If they are still mostly yellow, they don’t have enough converted sugar to provide the necessary sweetness and moisture, meaning your final loaf might need more added sugar and could still taste a little lackluster. You can read more about how other bakers handle theirs over at iFoodReal, but trust me: wait for the spots to take over!
Nutritional Snapshot of This Guilt Free Sweet Treats Loaf
Now, I know that when we talk about Seventh Flavour, we focus on that lovely feeling a meal gives you, but I also know many of you are tracking ingredients and wanting to keep things balanced. Since this **greek yogurt banana bread** keeps the fat lower than traditional recipes, it’s a wonderful choice for a satisfying snack!
These numbers below are just helpful estimations based on using 2% Greek yogurt and standard all-purpose flour, without any optional chocolate chips included. Every kitchen performs a little differently, so treat these as a good general guide for your **healthy banana bread**.
Here’s the breakdown per slice (yielded 10 slices):
- Calories: Approximately 245
- Protein: 5g (That’s the yogurt doing the heavy lifting!)
- Fat: 8g (Much lower than butter-based loaves!)
- Carbohydrates: 41g
- Sugar: 18g (Mostly from the fruit and brown sugar)
Because we’re using real fruit and yogurt, this loaf offers a much better nutritional profile than that dense, sugary snack cake you might grab on the go. It’s a **wholesome banana dessert** you can genuinely feel good about enjoying!
Share Your Baking Creations
That’s it! You’ve successfully baked the most moist, protein-packed, and satisfying **greek yogurt banana bread** I’ve ever had the pleasure of sharing. Seriously, I hope the aroma filling your kitchen right now is making you unbelievably happy. That feeling—that cozy, accomplished feeling—is the Seventh Flavour I chase every single time I bake!
Now, here comes my favorite part! I absolutely live to see what you all create. Did you add walnuts? Did you skip the sugar completely? Did you make a double batch because your family devoured the first loaf in an hour? Don’t keep those triumphs to yourself!
When you get a moment, please leave a rating right here below the recipe. A 5-star rating helps other home bakers find this recipe and realize they too can master this incredibly easy loaf. And if you managed to snap a picture of your beautifully golden crust, please share it with me! You can always reach out through my contact page; I love hearing directly from you and seeing how you bring these recipes to life in your own kitchens. Happy baking, my friends!
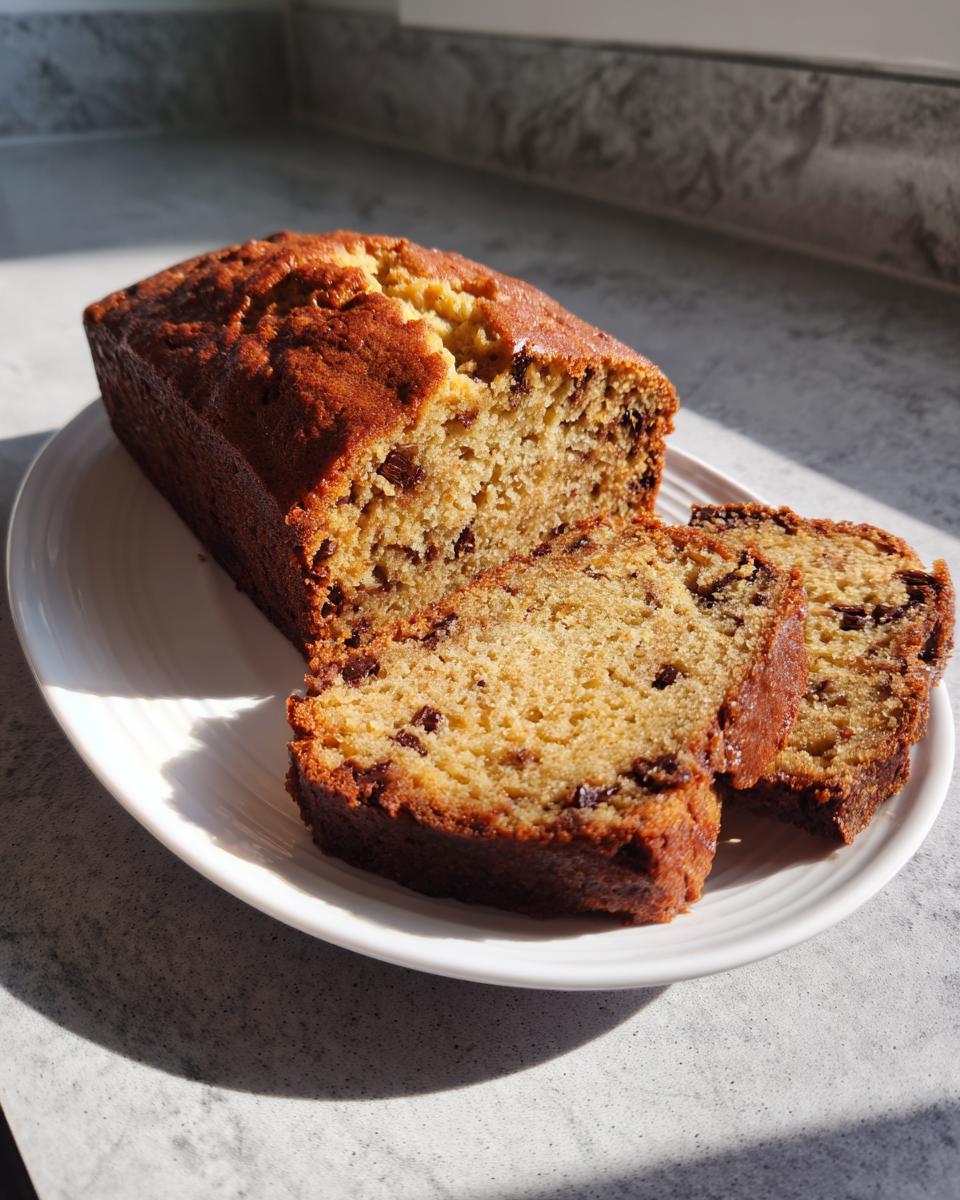
PrintMoist Greek Yogurt Banana Bread
This recipe uses Greek yogurt to create an incredibly moist and tender banana bread loaf. It is an easy, protein-packed alternative to classic recipes, perfect for breakfast or a satisfying snack.
- Prep Time: 15 min
- Cook Time: 55 min
- Total Time: 70 min
- Yield: 1 loaf (about 10 slices) 1x
- Category: Breakfast
- Method: Baking
- Cuisine: American
- Diet: Vegetarian
Ingredients
- 3 very ripe medium bananas, mashed
- 1 cup plain Greek yogurt (full-fat or 2%)
- 1/2 cup packed light brown sugar
- 1/4 cup granulated sugar
- 1 large egg
- 1 teaspoon vanilla extract
- 1/3 cup melted coconut oil or vegetable oil
- 1 3/4 cups all-purpose flour
- 1 teaspoon baking soda
- 1/2 teaspoon baking powder
- 1/2 teaspoon salt
- 1 teaspoon ground cinnamon
- 1/2 cup chocolate chips (optional)
Instructions
- Preheat your oven to 350°F (175°C). Grease and flour a 9×5 inch loaf pan, or line it with parchment paper.
- In a large bowl, mash the ripe bananas until mostly smooth.
- Add the Greek yogurt, brown sugar, granulated sugar, egg, and vanilla extract to the mashed bananas. Whisk until combined.
- Pour in the melted oil and mix until just incorporated.
- In a separate medium bowl, whisk together the flour, baking soda, baking powder, salt, and cinnamon.
- Gradually add the dry ingredients to the wet ingredients. Mix with a spatula until just combined. Do not overmix; a few streaks of flour are acceptable.
- If using, gently fold in the chocolate chips.
- Pour the batter into the prepared loaf pan and spread evenly.
- Bake for 50 to 60 minutes, or until a toothpick inserted into the center comes out clean or with moist crumbs attached.
- Let the bread cool in the pan for 10 minutes before carefully transferring it to a wire rack to cool completely before slicing.
Notes
- Using very ripe, spotty bananas provides the best natural sweetness and moisture for this loaf.
- For a lower-fat option, you can use non-fat Greek yogurt, but the texture may be slightly less rich.
- This bread freezes well. Wrap the cooled loaf tightly in plastic wrap and then foil for up to three months.
Nutrition
- Serving Size: 1 slice
- Calories: 245
- Sugar: 18g
- Sodium: 210mg
- Fat: 8g
- Saturated Fat: 4g
- Unsaturated Fat: 4g
- Trans Fat: 0g
- Carbohydrates: 41g
- Fiber: 2g
- Protein: 5g
- Cholesterol: 25mg