
Honestly, once you taste real, fresh mayonnaise, you can never go back to the stuff in the jar—it’s just worlds apart! I used to think making it from scratch was a messy ordeal that only chefs attempted. When I traded the corporate marketing world for focusing 100% on creating reliable home recipes here at Seventh Flavour, mastering the homemade mayonnaise was high on my list. You can read more about how we got started on our About page if you’re curious!
I wanted something quick, something I could whip up in literally three minutes, and something that delivered that rich and smooth mayo texture every single time. This recipe, the Easy 5-Ingredient Creamy Homemade Mayonnaise, is the result of countless kitchen tests: it’s foolproof, uses basic pantry items, and brings that deep, satisfying flavor that elevates everything you put it on. Trust me, this is the condiment you absolutely need in your rotation.
- Why This is the Best Mayonnaise Recipe You Will Ever Make
- The 5 Essential Ingredients for Homemade Mayonnaise
- Quick Mayo From Scratch: Step-by-Step Blender Mayonnaise Tutorial
- Tips for Success Making Mayo Foolproof
- Serving Suggestions for Your Creamy Mayonnaise Recipe
- Storage and Shelf Life for Your Fresh Condiment Recipes
- Frequently Asked Questions About Homemade Mayonnaise
- Understanding the Nutrition in This 5 Ingredient Mayonnaise
- Share Your Kitchen Creations
Why This is the Best Mayonnaise Recipe You Will Ever Make
I hear people say they’re scared of making mayo because they think it’s going to separate into a greasy mess. Been there! That fear stops people from making the best mayonnaise recipe they could possibly have in their kitchen. This method eliminates all that stress right away.
Here’s why I stand by this particular formula:
- It’s ridiculously fast—we’re talking under three minutes total.
- It only requires five incredibly common ingredients, making it one of the best easy homemade condiments out there.
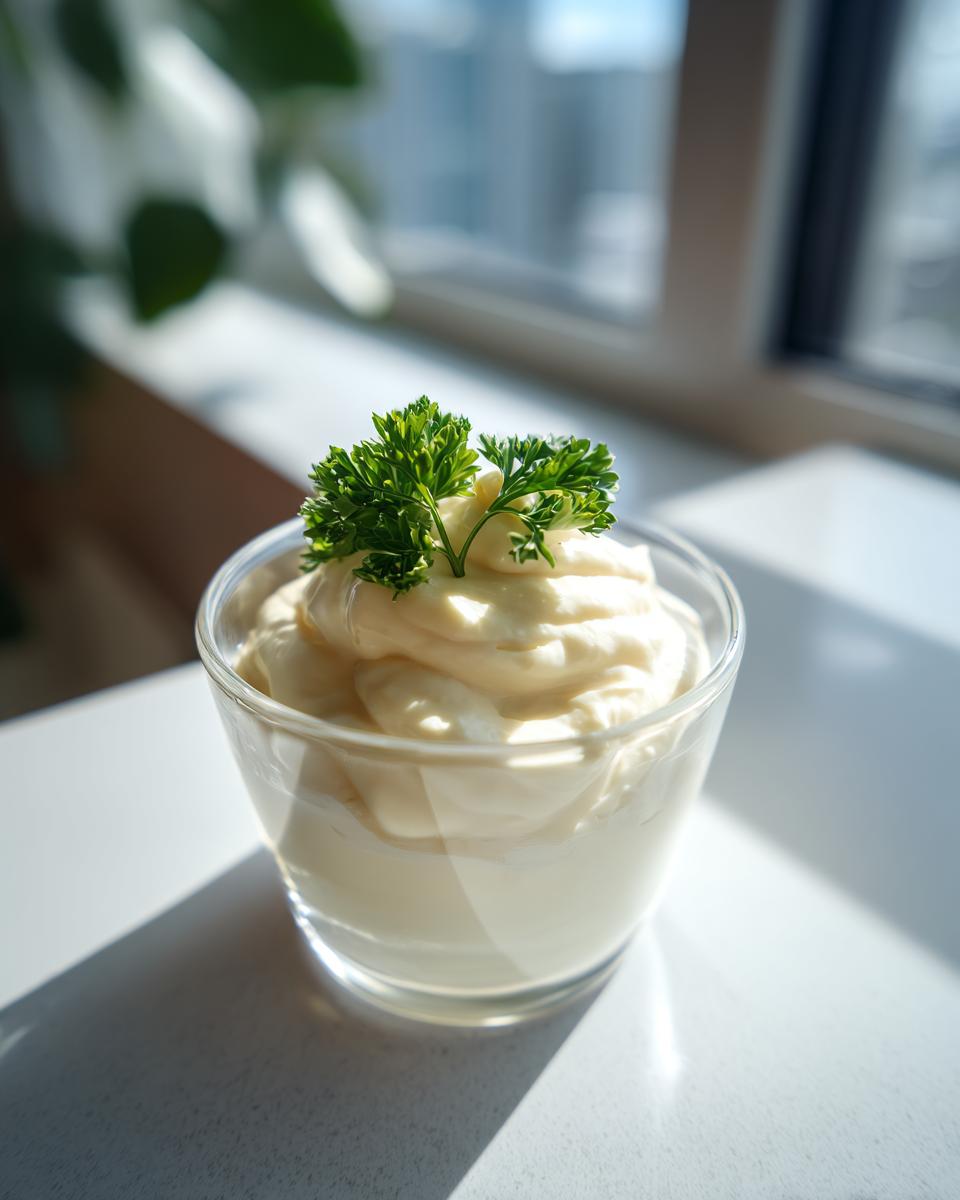
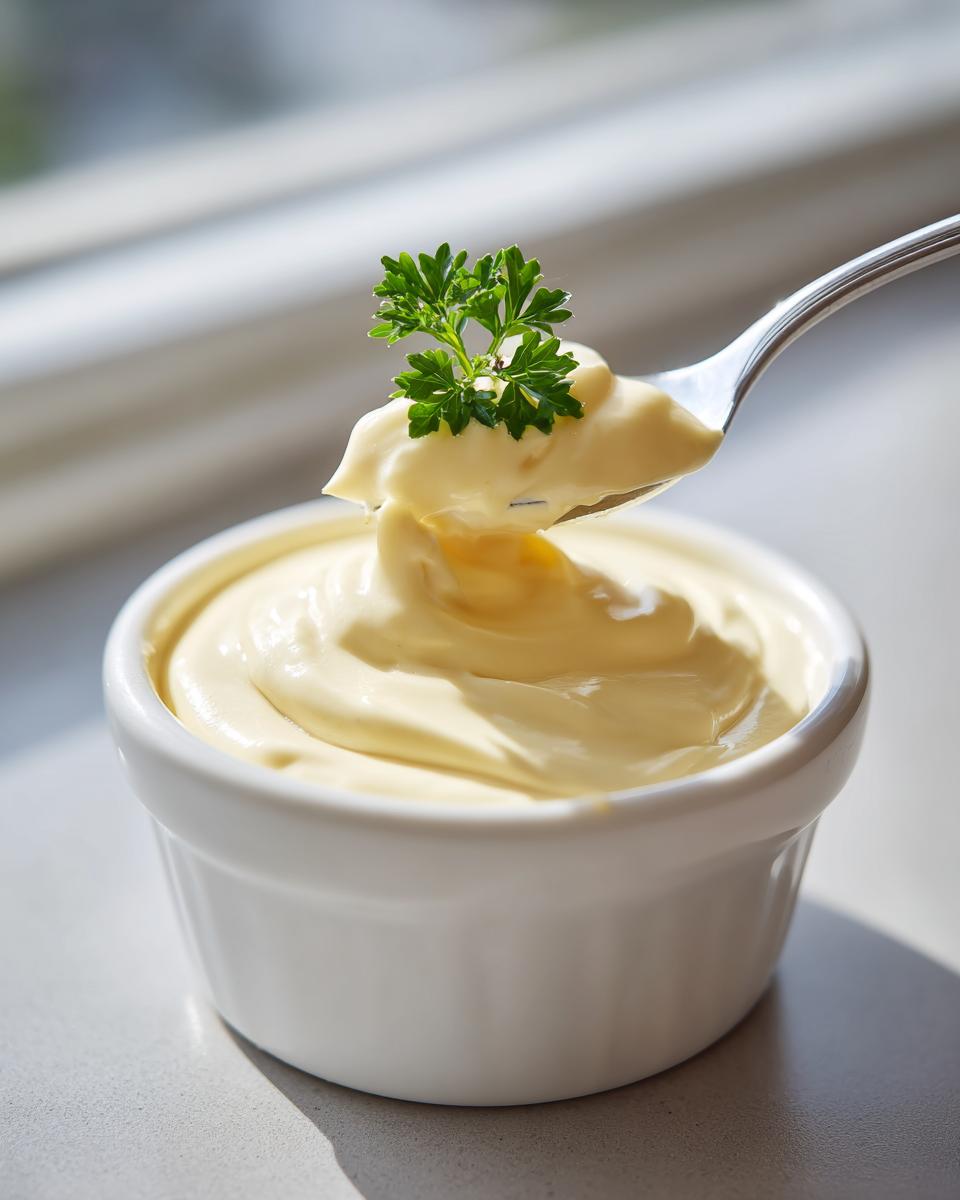
- The texture is unmatched; it’s thick, velvety, and absolutely perfect.
Achieving Rich and Smooth Mayo Every Time
The secret to getting that foolproof, rich and smooth mayo texture isn’t luck; it’s the technique. Whether you use the immersion blender or a standard blender, the key is how you add the oil. With the immersion blender, you hold the power head down firm! This gently forces the initial emulsion to form without breaking, which is the biggest hurdle people face when learning how to make mayo without separating. This little trick makes the whole process feel like magic.
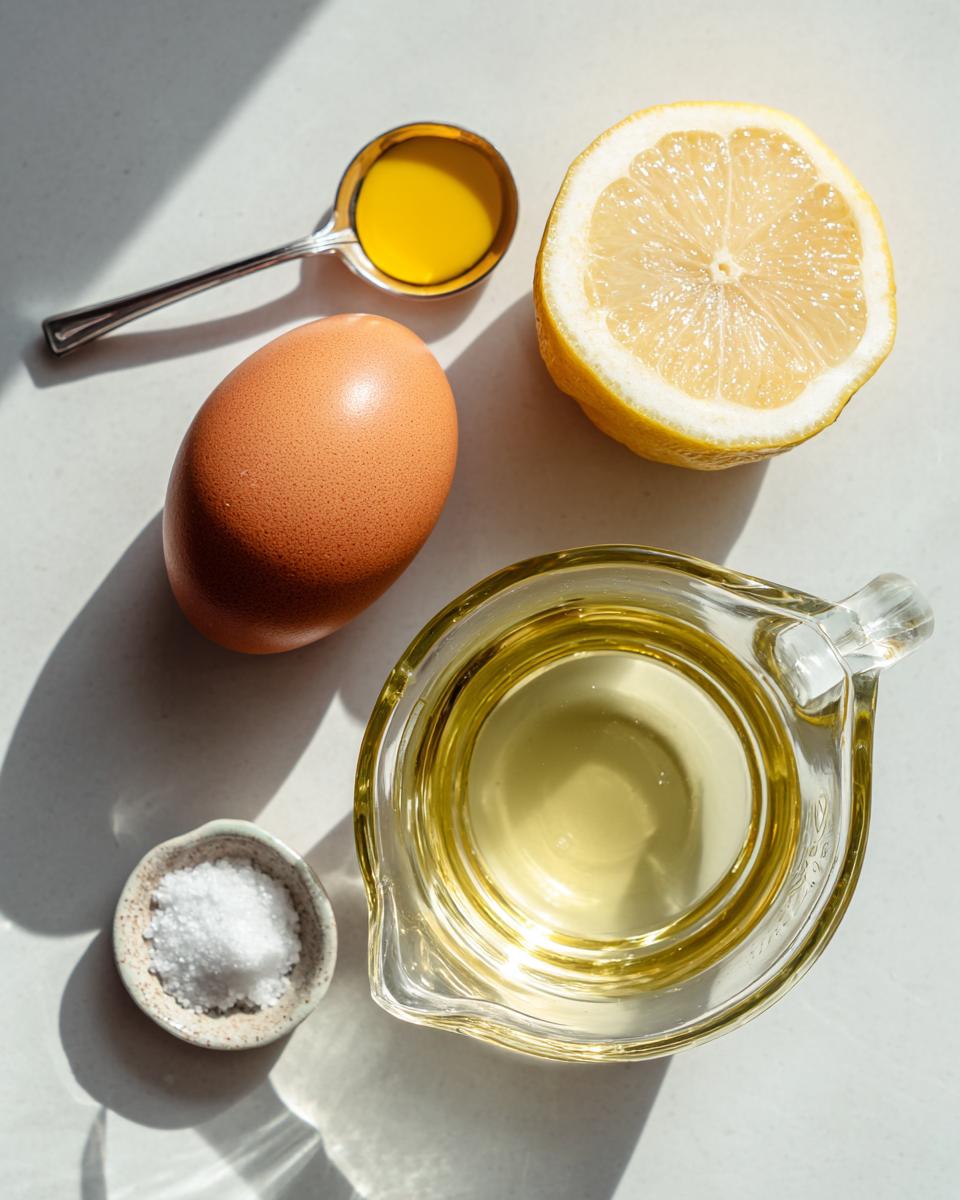
The 5 Essential Ingredients for Homemade Mayonnaise
You might think making a condiment this good requires a long shopping list, but I promise you, it doesn’t! This recipe truly shines because it relies only on five core elements. When you are aiming for that perfect 5 ingredient mayonnaise, every single component has to pull its weight, so precision matters! You’ll notice I’m using room temperature ingredients—don’t skip that, it’s non-negotiable for success.
The egg yolk is the emulsifier, the mustard helps it hold hands with the oil, the salt keeps things bright, the lemon juice adds that necessary tang, and then, of course, there’s the oil. That’s it! Forget those chemical-laden jars on the shelf; these fresh components create something truly special.
Ingredient Notes and Substitution Tips
Let’s talk specifics, because small details in this quick mayo from scratch are huge. First, that egg absolutely must be at room temperature. Seriously, if you pull it straight out of the fridge, the cold temperature shocks the oil and the egg, and that’s when you get that dreaded, sad separation. I usually leave mine on the counter for an hour before I even think about touching the blender.
For the oil, you have choices, but I strongly recommend going neutral for your first few tries. Canola, grapeseed, or even sunflower oil are fantastic because they let the brightness of the lemon and the richness of the egg come through. If you use a strong, fruity extra virgin olive oil, it can taste a little bitter in the final product unless you love that flavor profile. Light olive oil works too, but use it sparingly at first! Dijon mustard is crucial here—it contains an emulsifying agent that really helps stabilize everything. Don’t substitute it with plain yellow mustard; you need that Dijon power!
Quick Mayo From Scratch: Step-by-Step Blender Mayonnaise Tutorial
If you are looking for a truly quick mayo from scratch experience, throw away any images of whisking frantically over a double boiler! We are using power tools here, folks. This blender mayonnaise tutorial is the only way I teach people how to make their first batch of homemade mayonnaise because it’s so fast and virtually fail-proof. Get your immersion blender ready, or the standard one if that’s what you have—I use both depending on how fast I need my fresh condiment recipes ready.
The secret is adding everything *before* you start blending, which is different from recipes that make you stand there dripping oil forever. It’s incredibly satisfying to watch that thick, creamy texture form beneath the blades.
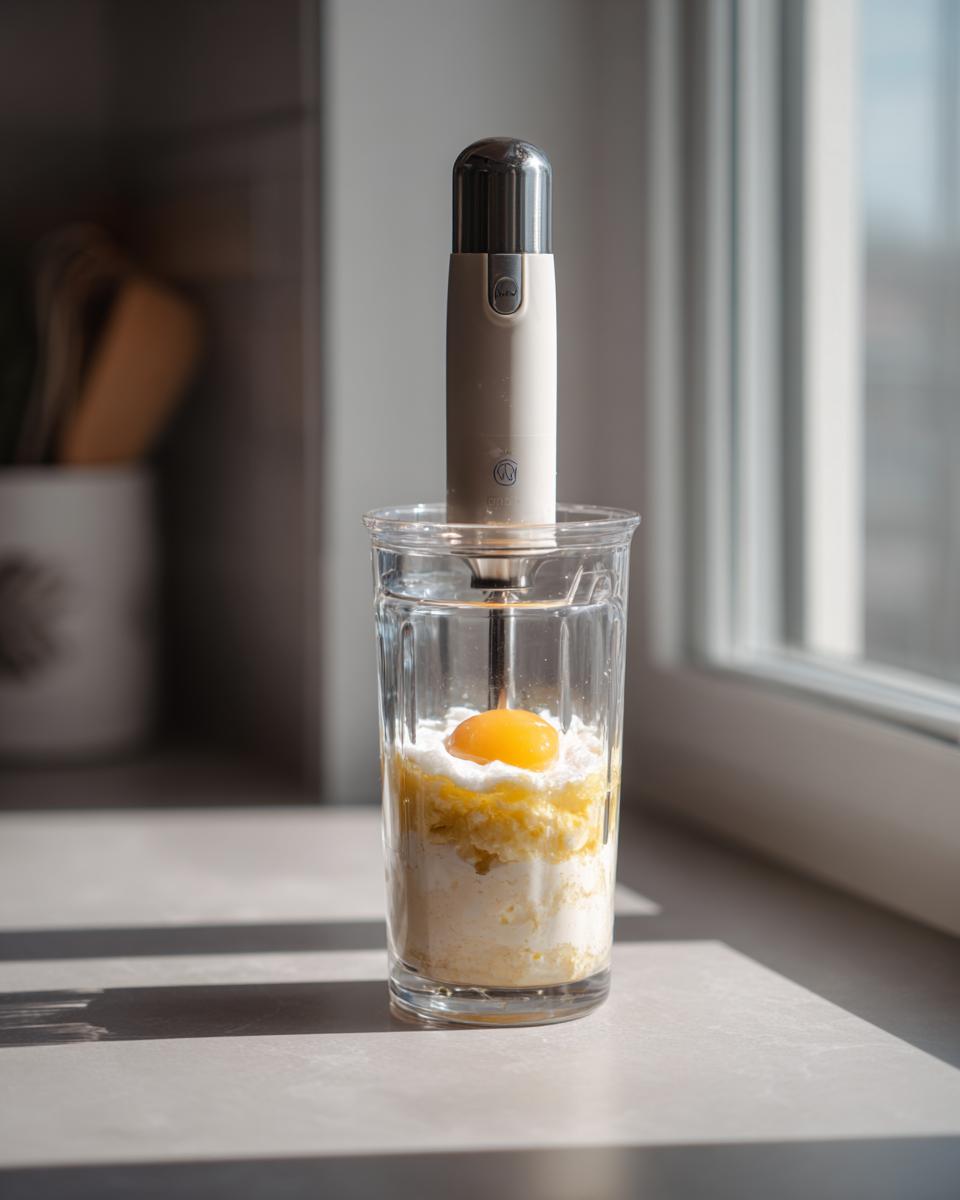
Mastering the Emulsion: Immersion Blender Technique
This is my favorite method for the fastest results. Dump your egg, mustard, lemon juice, and salt into the narrow jar. Then, pour all one cup of oil right on top—don’t peek or stir! Place your immersion blender head flat on the bottom of the jar. Turn it on high, and hold it steady right there for about 15 seconds. You’ll see the magic start to happen instantly as it pulls the oil up from the base.
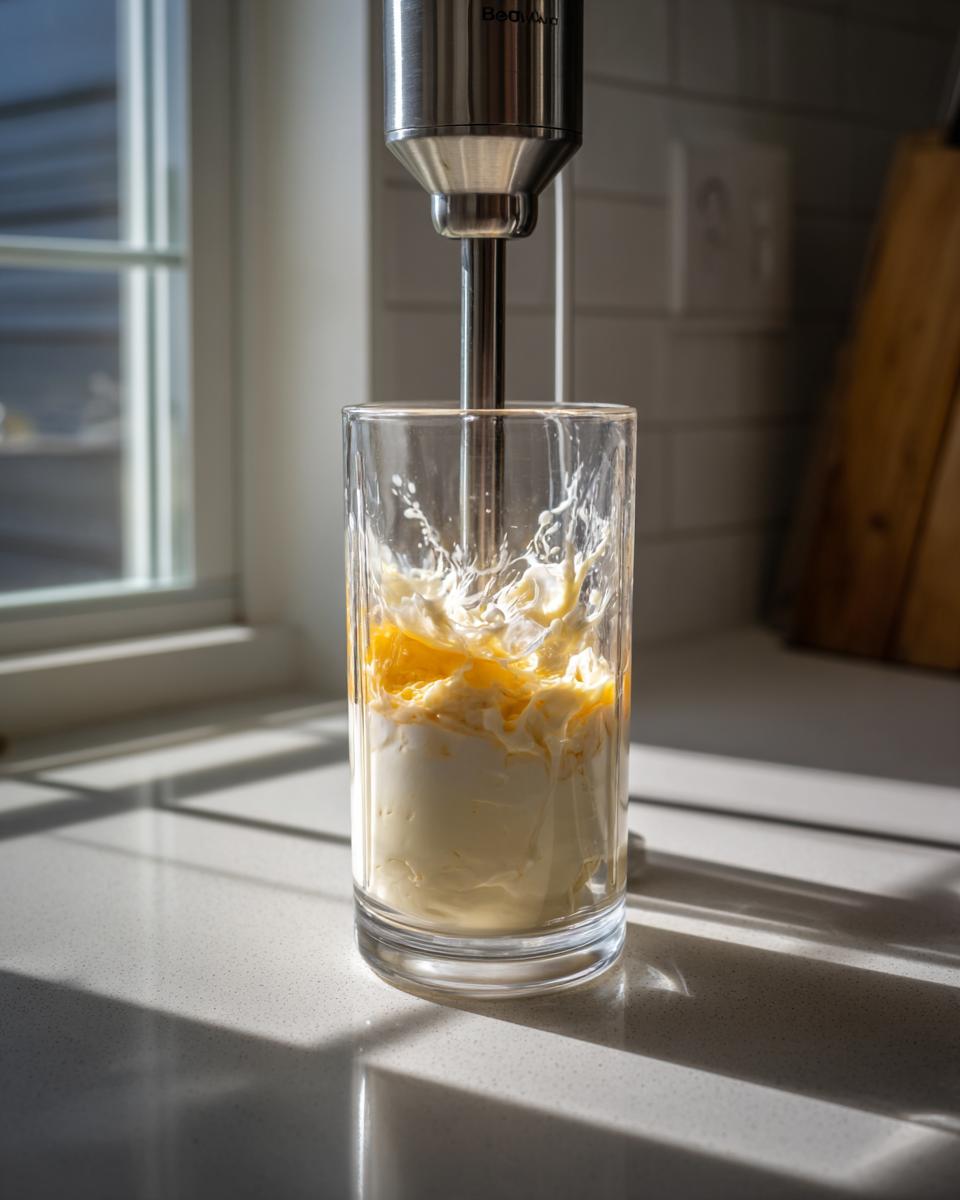
Once it’s thick at the bottom, and only then, slowly tilt and pull the blender head up through the mixture until every bit of oil is incorporated. Seriously, this takes less than a minute! If you want to look at other ways to make mayo in a jar, check out some tips people share here, but for speed, the immersion blender wins.
Standard Blender Method for Homemade Mayonnaise
If you are using a standard blender or even a food processor, the rule changes slightly, but the outcome is still the same wonderful, thick result. You start the blender on low speed first. Since the machine is moving everything around already, you can’t dump the oil in all at once like you do with the immersion stick. Instead, you must drizzle that oil in a super-thin, steady stream through the little hole in the lid. If you pour too fast, the mayonnaise will break!
Keep that stream incredibly slow until you see the mixture turn opaque and start climbing the sides of the blender jar. You’ll need to stop every now and then to scrape down the sides around the blades for good measure. If you have any questions about troubleshooting, please feel free to reach out through our contact page!
Tips for Success Making Mayo Foolproof
Okay, let’s talk about the one thing that makes everyone nervous: what happens if it splits? Even when following these diy mayonnaise instructions perfectly, sometimes the emulsion just decides it doesn’t want to cooperate, usually because one ingredient was too cold or the oil went in a tad too fast. But don’t panic! This is where knowing how to fix it turns the recipe from tricky to totally making mayo foolproof.
If you end up with a thin, oily puddle instead of that glorious, thick spread, you haven’t ruined anything. You just have separated oil and egg, and we can easily pull that back together. It’s an easy rescue mission.
You’ll need a clean bowl—and I mean clean, no trace of oil from before! You have two options for restarting the emulsion. You can use either one teaspoon of warm water, or, if you prefer, one extra egg yolk that’s at room temperature. You’ll use this new element as the base to re-emulsify the broken batch.
Start blending or whisking your teaspoon of water (or that new yolk) gently. Then, take your soupy, broken mayonnaise and slowly, I mean so incredibly slowly, start drizzling the broken mixture into your new base. It needs to be drop by drop at the very beginning! As soon as you see it start to grab hold and thicken up again, you’ve saved it! You can speed up the drizzle amount a little bit then. This trick works every time, which is why I feel so confident telling people to just go for it.
For more insights on technique and troubleshooting those minor hiccups, check out some great tips over at Downshiftology—they have fantastic visual guides too, which help when you’re learning a new skill like this!
Serving Suggestions for Your Creamy Mayonnaise Recipe
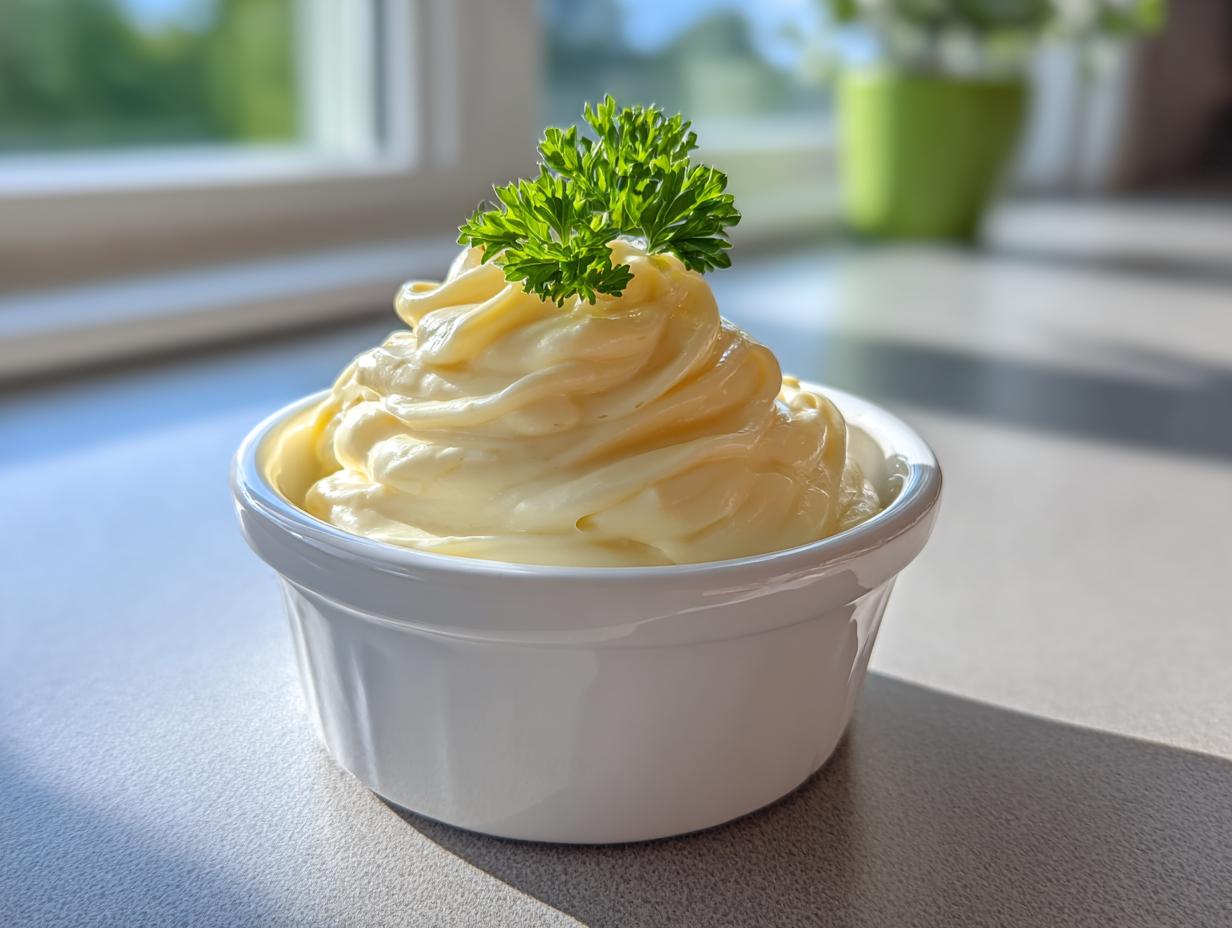
So you’ve made it! You have this gorgeous, velvety, homemade mayonnaise that tastes like sunshine and cream, and now you’re wondering what to do with this much superior condiment. Honestly, the possibilities are endless, but I find that once people realize how easy it is to turn this base into something custom, they stop buying nearly every single jarred sauce from the grocery store.
This base is the start of your new favorite sandwich spread. Think about it—a basic tuna melt or a simple BLT instantly gets an upgrade with fresh mayo instead of that weird sugary stuff. It binds everything together beautifully in egg salad or potato salad. You see why I called this my best sauce recipes base? It’s the ultimate kitchen staple!
If you want to see how other cooks are transforming their fresh mayo, The Spanish Apron has some wonderful inspiration for classic pairings.
Creating a Tangy Homemade Dip Base
This is one of my favorite tricks because it turns your three-minute mayonnaise into a party-ready component in about 30 seconds more. The whole point of making your own condiments is controlling the flavor, right? So take a couple of spoonfuls of your fresh mayo and experiment! This creates the perfect tangy homemade dip.
For a quick garlic aioli (which is basically just garlic mayonnaise!): mash one clove of roasted garlic very fine, stir it in with a tiny squeeze of extra lemon juice, and a dash of fresh black pepper. Done! For a creamy ranch flavor, mix in dried dill, parsley, a pinch of onion powder, and replace the lemon juice with a splash of buttermilk.
If you want something zesty for dipping fries (or even crudités!), try mixing in a teaspoon of smoked paprika and a dash of cayenne with a little extra salt. Suddenly, you’ve moved past a basic spread and you’re making incredible dressing base recipes customized just for what you’re craving that day. It’s that easy to go from a simple kitchen item to something truly dazzling.
Storage and Shelf Life for Your Fresh Condiment Recipes
Because we aren’t messing around with the stabilizers and preservatives that keep jarred stuff good for months, we have to be a little mindful of how we store our beautiful homemade mayonnaise, but honestly, it’s still super easy.
The moment you finish blending and you’ve admired how perfectly thick and creamy it turned out? You need an airtight container. I usually use a clean small mason jar—it seals tight, and you can see how much you have left! Because this is made with raw egg, you simply cannot leave this on the counter like a jar of regular mustard.
I highly recommend tucking it into the back of your refrigerator right away. When it comes to shelf life, I’m always very straightforward with people here at Seventh Flavour: plan on using this glorious condiment within one week. It tastes best within the first couple of days, of course, but even by day six, it’s still fantastic.
Trust me, though, it rarely lasts that long! Once you see how good it is slathered on a warm slice of toast or mixed into a batch of crispy homemade coleslaw, you’ll be making another batch before the week is up. Knowing you made the best sandwich spread possible truly changes how you look at lunch prep.
Frequently Asked Questions About Homemade Mayonnaise
I know sometimes diving into a new kitchen staple like homemade mayonnaise can bring up a few random thoughts! Don’t worry, if you’re wondering about equipment or ingredients, you’re probably not alone. Here are the questions I get asked most often about this quick recipe.
Can I use regular olive oil instead of neutral oil?
This is a big one! Yes, you technically can, but I strongly suggest you don’t for your first batch, especially if you want that classic, creamy mayonnaise recipe flavor. Regular, strong extra virgin olive oil has a very bold, almost spicy taste that can become overwhelmingly bitter once it’s emulsified into a large batch of mayo. If you want to use it, cut it 50/50 with something neutral like canola or grapeseed oil. You still get a little flavor boost, but you avoid that bitter hit!
What if I don’t have a blender? Can I use a whisk?
Oh, absolutely! My grandmother never owned a blender; she only used a whisk, but I warn you—it takes serious arm work! If you are going to use a whisk, you MUST use the traditional method: place the egg, mustard, and lemon juice in a bowl, and start whisking vigorously. Then, you add the oil drop by drop. I mean it, one drop at a time for the first few minutes! If you go too fast with a whisk, it will break. So, if you’re looking for the quick mayo from scratch experience, stick to the immersion blender, but the whisk works if you have patience!
How long does this fresh condiment last in the fridge?
Because we aren’t using any scary preservatives, this fresh stuff doesn’t hang around for months like the store-bought tubs. Aim to use it all within seven days. It tends to start losing its vibrant flavor and texture after that, and since it contains fresh egg, we need to respect that timeline. Store it in a tightly sealed jar right in the back of the fridge!
Is homemade mayonnaise healthier than store-bought?
That’s a fantastic question, and the answer is a resounding yes, for one simple reason: control! When you make this 5 ingredient mayonnaise, you control every single thing that goes into it. Most commercial mayonnaises sneak in sugar, stabilizers, and preservatives that you just don’t need. If you’re looking for a better, cleaner healthy sandwich spread, making it yourself guarantees you know exactly what you’re eating. Plus, it tastes a million times better!
Understanding the Nutrition in This 5 Ingredient Mayonnaise
Okay, let’s talk numbers for a second. I know when we talk about homemade food, we’re often focused on taste and freshness, but it’s good to know what exactly you’re putting into your body, especially when you’re making a rich base like this. Since we are skipping all the fillers and preservatives found in the jarred stuff, the nutrition profile for this homemade mayonnaise is really straightforward, depending almost entirely on the oil you choose!
The estimates below are based on a serving size of two tablespoons, which is a generous dollop for most sandwiches, but remember, this is a guide. The fat content is high because, essentially, mayonnaise *is* oil and egg yolk—that’s what makes it wonderfully creamy!
Here are the general nutritional estimations for two tablespoons:
- Calories: About 180 (Yep, it’s rich!)
- Fat: Around 20 grams (Mostly the healthy unsaturated kind!)
- Saturated Fat: Only about 2 grams
- Carbohydrates & Sugar: Zero! Sweetness comes from the carrots in other recipes, not this condiment!
- Protein: 1 gram
- Sodium: About 110mg (Adjust this based on how salty you make your final mix)
This is why I call this the foundation for a healthy sandwich spread—you’re getting pure fats and protein without any of the added sugars or stabilizers found in many commercial brands. That control is part of the Seventh Flavour philosophy!
A quick note from my kitchen to yours: These numbers are estimates, especially the fat content. If you use light olive oil instead of canola oil, for instance, the saturated fat ratio will shift slightly. Always remember that the type of oil you pour in is the number one factor determining the final nutritional tally for your 5 ingredient mayonnaise. Use good quality ingredients, and you’ll have a great result!
Disclaimer on Estimated Nutrition Values
Just to be perfectly clear, since we are dedicated to keeping recipes accessible and easy, these nutritional breakdowns are calculated estimates using common database averages for the ingredients listed. They don’t account for variations in ingredient brand, exact measurements, or the type of oil used in your specific batch. For precise tracking, you’d need to input the exact brands you used into a dedicated nutrition calculator. But for a general idea? This table gives you a fantastic target for enjoying your creamy mayonnaise recipe guilt-free!
Share Your Kitchen Creations
Wow, we actually did it! You watched a jar of oil and an egg turn into the silkiest, dreamiest homemade mayonnaise you’ve ever seen. That feeling of accomplishment when you realize you just made a staple condiment from scratch is exactly what Seventh Flavour is all about. I already know your batch is perfect, especially if you followed that beginner mayonnaise guide we walked through!
Now comes the fun part—eating it—but before you do that, I would absolutely love to see what you made! Did the immersion blender technique work like a charm for you, or did you brave the slow pour method?
The best part of sharing recipes is seeing them come to life in *your* kitchens across the country. So please, once you’ve slathered that beautiful, fresh condiment on your first sandwich or dunked your first fry, snap a picture!
Head over to social media and tag us in your post, or even just drop a comment below and let me know how it went. Give this recipe a five-star rating if you’re as thrilled with your quick and creamy results as I am. I truly can’t wait to see your perfect batches of homemade mayonnaise. Happy cooking, and don’t forget to check out our privacy policy here if you have any usage questions!
PrintEasy 5-Ingredient Creamy Homemade Mayonnaise (Blender Method)

Make rich, smooth homemade mayonnaise in minutes using only five simple ingredients. This foolproof blender recipe yields a creamy condiment far superior to store-bought versions, perfect for sandwiches and dips.
- Prep Time: 3 min
- Cook Time: 0 min
- Total Time: 3 min
- Yield: About 1 1/4 cups 1x
- Category: Condiment
- Method: Blending
- Cuisine: American
- Diet: Low Fat
Ingredients
- 1 large egg, room temperature
- 1 teaspoon Dijon mustard
- 1 teaspoon fresh lemon juice or white vinegar
- 1/4 teaspoon salt
- 1 cup neutral oil (like canola, grapeseed, or light olive oil)
Instructions
- Place the egg, Dijon mustard, lemon juice (or vinegar), and salt into the jar of an immersion blender or a standard blender container.
- Pour all of the oil over the top of the other ingredients. Do not stir.
- If using an immersion blender, place the head of the blender all the way to the bottom of the jar. Turn the blender on high speed and keep it at the bottom for about 15 seconds until the mixture starts to thicken and emulsify.
- Slowly tilt and lift the blender head up through the mixture until all the oil is incorporated and you have thick, creamy mayonnaise. This takes about 30 to 60 seconds total.
- If using a standard blender, start blending on low speed. Very slowly drizzle the oil into the mixture through the top opening in a thin, steady stream. Stop pouring when the mixture thickens significantly. Scrape down the sides and blend until fully combined and smooth.
- Transfer the fresh condiment to an airtight container.
Notes
- Use room temperature ingredients for the best chance of a successful emulsion.
- If your mayonnaise separates, place one teaspoon of water or one new egg yolk in a clean bowl. Slowly whisk or blend the separated mixture into the new ingredient until it emulsifies again.
- This homemade mayo tastes best when used within one week.
Nutrition
- Serving Size: 2 Tablespoons
- Calories: 180
- Sugar: 0
- Sodium: 110
- Fat: 20
- Saturated Fat: 2
- Unsaturated Fat: 18
- Trans Fat: 0
- Carbohydrates: 0
- Fiber: 0
- Protein: 1
- Cholesterol: 45