
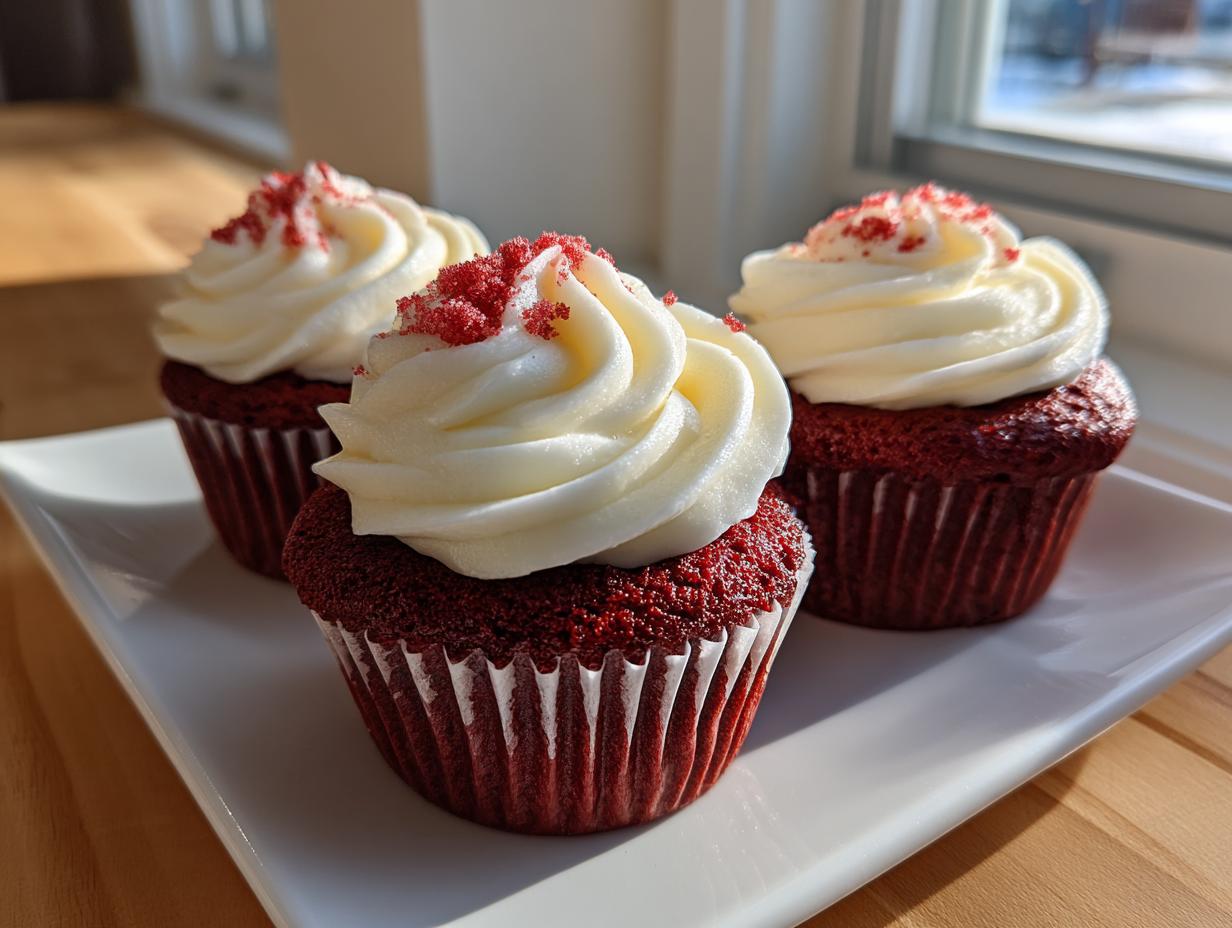
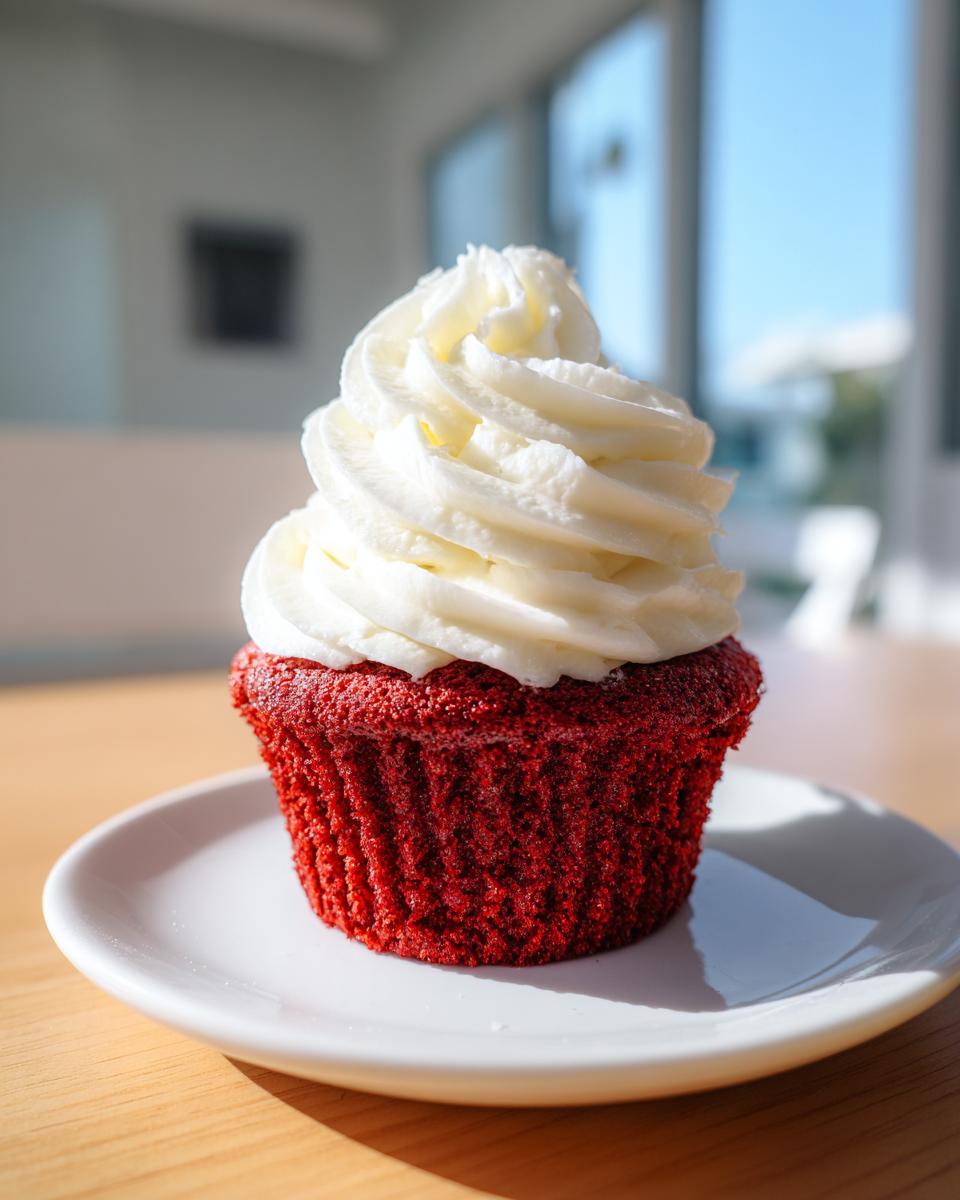
There’s just something magical about turning back the clock with a truly classic dessert, isn’t there? Something that feels both familiar and incredibly special all at once. If you’ve ever craved that perfect, show-stopping bakery-style experience at home, then you are in the absolute right place. We’re making the Best Ever Moist Red Velvet Cupcakes with Classic Cream Cheese Frosting today. It’s a scratch recipe that’s surprisingly simple, giving you that deep cocoa note and that signature soft, velvety crumb.
Hi there, I’m Aria Sterling, and for years I traded in the mixer for spreadsheets while working in marketing. But that constant pull toward real, honest cooking never left. Seventh Flavour was born because I realized folks didn’t just want recipes; they wanted the confidence to create unforgettable treats. Trust me, these red velvet cupcakes are the result of taking that corporate precision and pouring all that passion into perfectly balanced baking!
- Why This is the Best Ever Red Velvet Cupcakes Recipe for You
- Ingredients for Moist Red Velvet Cupcakes
- How to Make Bakery Style Red Velvet Cupcakes from Scratch
- Crafting the Classic Red Velvet Recipe Frosting
- Tips for Success with Your Red Velvet Cupcakes
- Serving Suggestions for Red Velvet Cupcakes
- Storage & Reheating Instructions for Red Velvet Cupcakes
- Frequently Asked Questions About Red Velvet Cupcakes
- Your Kitchen Awaits: Share Your Red Velvet Cupcakes
Why This is the Best Ever Red Velvet Cupcakes Recipe for You
When I was first testing this recipe, I must have made twenty batches. Seriously! I wanted something that didn’t crumble halfway through eating. That’s the difference between a good dessert and spectacular moist red velvet cupcakes. We finally nailed that incredibly tender, soft texture, and I know you’ll love the results!
- They deliver the quintessential bakery experience right in your own home.
- The balance of flavor is spot-on: just enough cocoa to compliment the vanilla, never overpowering.
- You get that dreamy, slightly tangy topping every time—the iconic cream cheese frosting cupcakes pairing!
Achieving the Perfect Velvet Crumb
The secret to the signature texture isn’t just the egg count; it’s the science, sweetie! You absolutely must use buttermilk here. When the acid from the buttermilk reacts with the baking soda, it creates the most tender, airy reaction—that’s your velvet crumb dessert right there. And don’t forget the vinegar; it boosts that reaction and gives you that classic Southern tang!
Silky, Tangy Cream Cheese Frosting Cupcakes
Let’s talk frosting. Too much sugar and it tastes like a sweet brick, right? Not up to my standards! We balance the cream cheese perfectly with the butter so you get that silky texture rather than a grainy mess. When you try these cream cheese frosting cupcakes, you’ll notice the frosting cuts through the richness of the cake just right. It’s heaven.
Ingredients for Moist Red Velvet Cupcakes
Alright, let’s get down to brass tacks. For red velvet cupcakes to be truly amazing, we can’t skimp one bit on the quality or precision of our ingredients. These measurements are locked in, folks. I found that being picky here is what takes us from a decent homemade batch to something that tastes like it came straight from a high-end bakery. You can see some of the magic behind this recipe over at In Bloom Bakery, their classic approach really resonates!
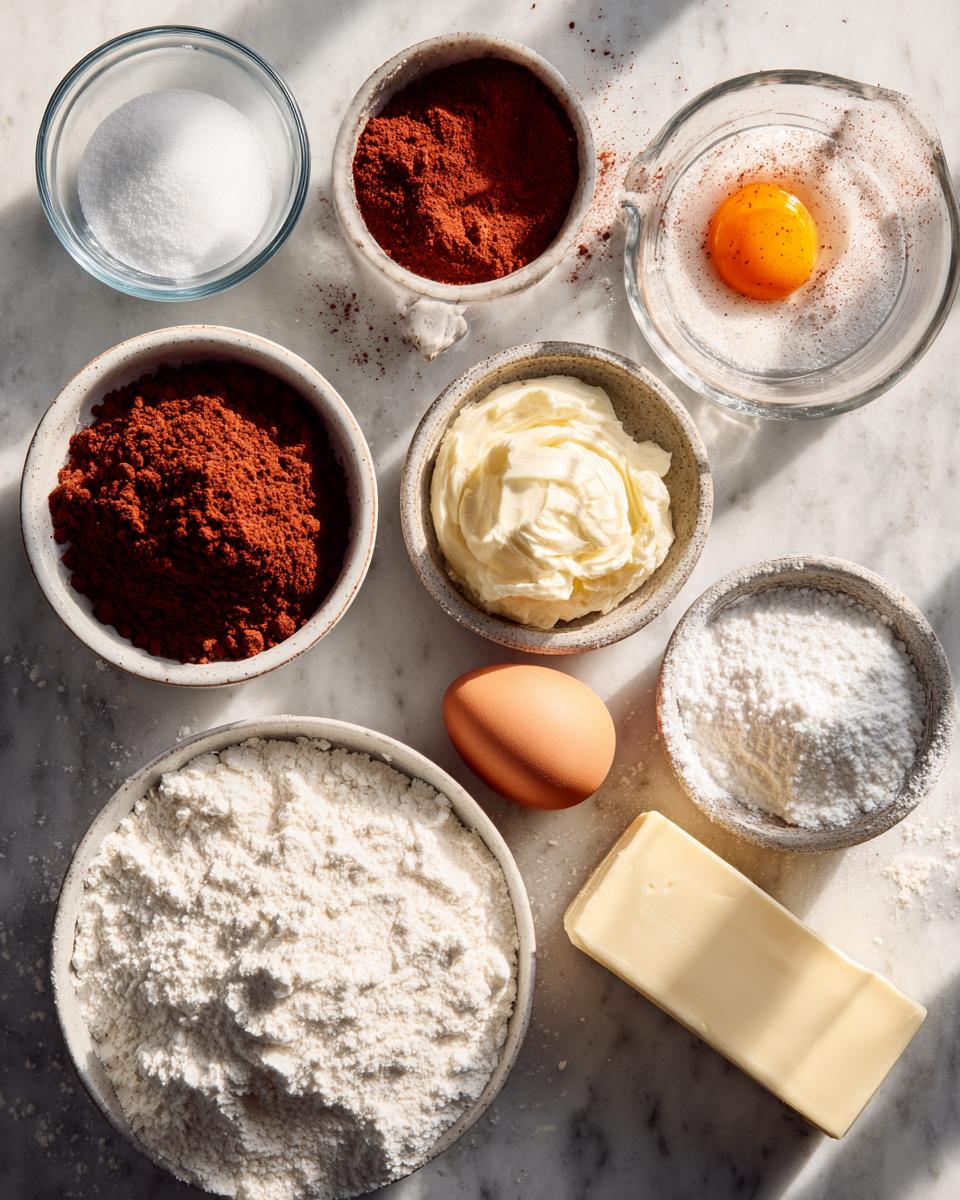
For the Red Velvet Cupcakes
- 1 1/2 cups all-purpose flour
- 1 cup granulated sugar
- 1 teaspoon baking soda
- 1 teaspoon unsweetened cocoa powder
- 1/2 teaspoon salt
- 1 cup buttermilk
- 1/2 cup vegetable oil
- 1 large egg
- 1 teaspoon white vinegar
- 1 teaspoon vanilla extract
- 1-2 teaspoons red food coloring (gel preferred)
For the Fluffy Red Velvet Frosting
- 1/2 cup cream cheese, softened
- 1/4 cup unsalted butter, softened
- 2 cups powdered sugar
- 1/2 teaspoon vanilla extract
- Pinch of salt
How to Make Bakery Style Red Velvet Cupcakes from Scratch
Okay, let’s get these beauties mixed! Baking red velvet cupcakes from scratch is so satisfying, and following these steps ensures you get that perfect, soft, bakery style cupcakes result every single time. This is where my meticulous testing really pays off for you! If you want to know more about my journey leaving the corporate world to create reliable recipes like this, you can check out my story right here.
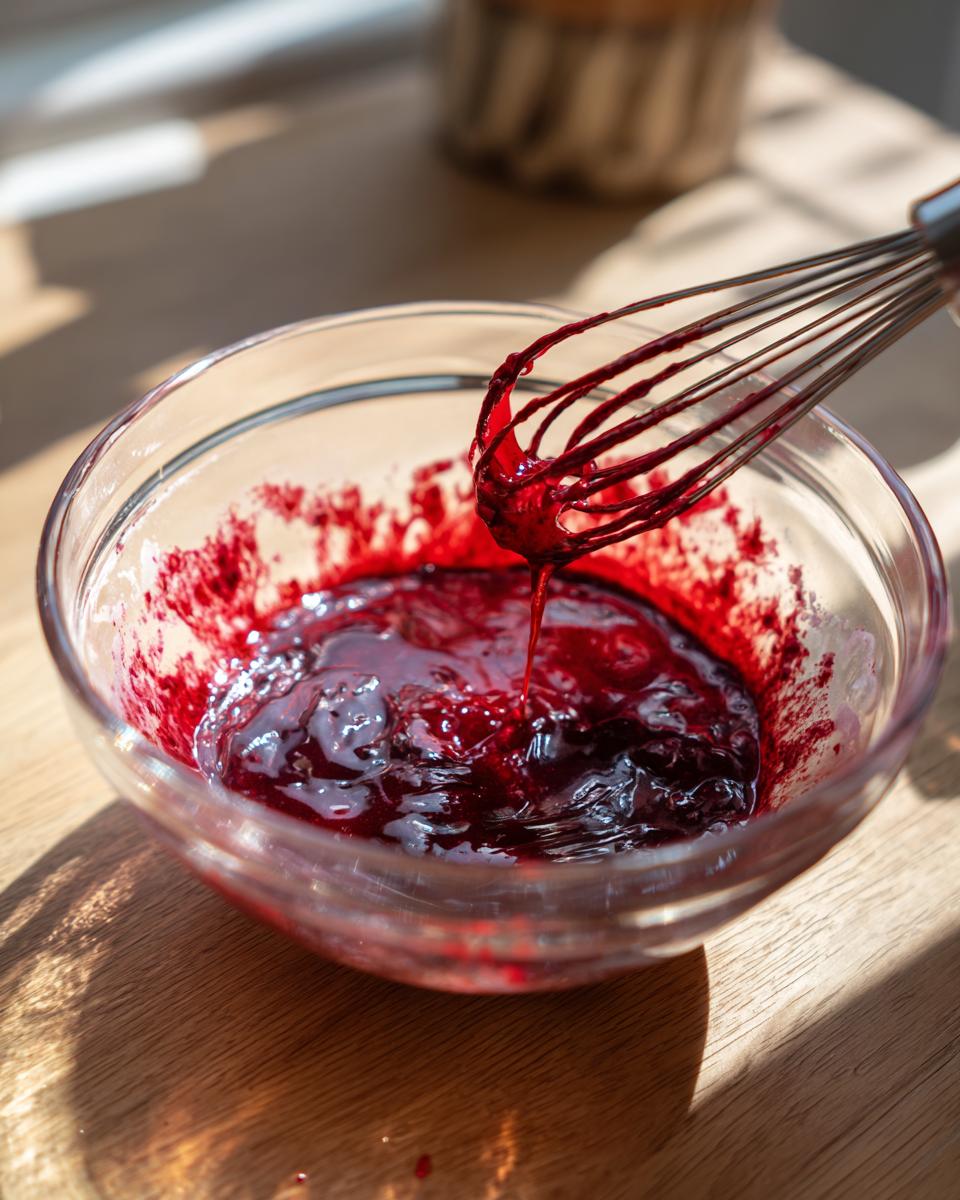
Mixing the Batter for Vibrant Red Cupcakes
First things first, get that oven humming at 350°F (175°C) right away, and get those liners into your muffin tin—no dithering! Now, we whisk our dry stuff—flour, sugar, cocoa, all that—in a big bowl. In another bowl, whisk the buttermilk, oil, egg, vanilla, vinegar, and all that gorgeous red coloring together. My biggest tip for you? When you pour the wet into the dry, you mix on low or use a whisk by hand until they just barely come together. I mean it—stop mixing when you still see a tiny streak of flour. If you beat these too hard, you crush the air bubbles, and poof! Goodbye, dreamy velvet crumb dessert!
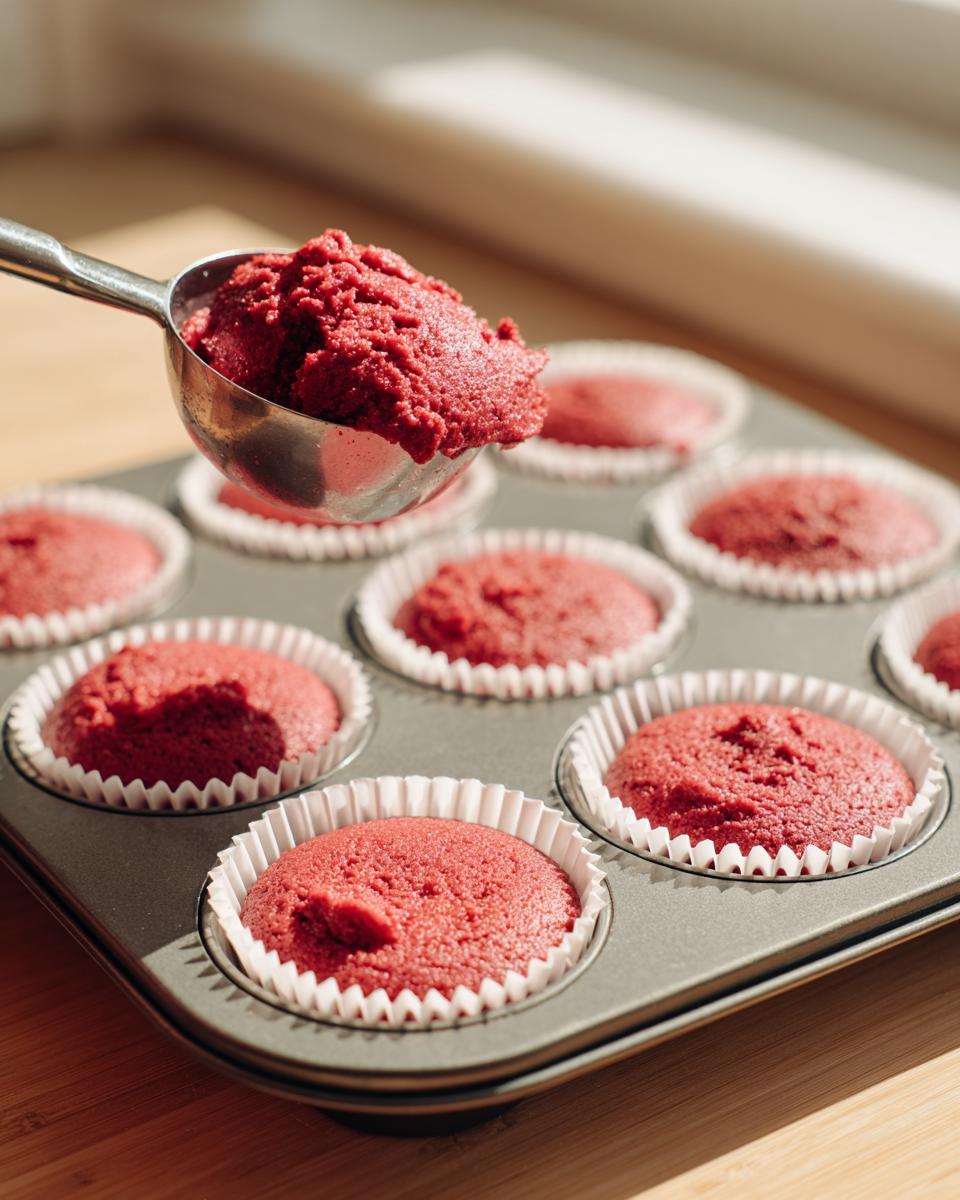
Baking and Cooling the Red Velvet Cupcakes
Once combined, you fill those cups about two-thirds full. They bake for just 18 to 20 minutes. Set a timer! I always use the toothpick test, but I also gently tap the top of one cupcake with my finger. If it springs right back, they’re done! Let them chill in the pan for about five minutes—longer and they can stick, which is annoying. Then, move them onto a wire rack to cool completely. Seriously, don’t even think about frosting them until they are stone cold; the heat melts the frosting instantly, and that’s just a tragedy we can avoid!
Crafting the Classic Red Velvet Recipe Frosting
Now that your red velvet cupcakes are totally cool—and I mean cold, not just lukewarm!—it’s time for the grand finale: the frosting. Honestly, this part is almost as important as the cake itself. If you’ve ever felt like store-bought cream cheese frosting is way too sweet or grainy, that’s why we make it ourselves!
We start by beating the softened cream cheese and butter together until it’s completely smooth and lump-free—this is key for that silky mouthfeel everyone raves about. You need about two minutes just on that step. After that, we slowly introduce the powdered sugar, beating it in gradually so it doesn’t totally explode out of the bowl, thanks! Mia over at Cooked by Mia has some fantastic visuals on how to get that bakery shine on your frosting, you should check out her technique. If you beat it on medium speed for a final minute after everything is combined, you’ll whip in the air needed for that fantastic, fluffy red velvet frosting texture we’re after!
Tips for Success with Your Red Velvet Cupcakes
Look, I know even the best recipe can sometimes throw you a curveball, but these red velvet cupcakes are engineered for success if you just follow a couple of my non-negotiable rules. These aren’t fussy; they’re just essential steps that guarantee you get that melt-in-your-mouth texture rather than a dense cake.
My first major piece of advice comes straight from my notebook: if you want that jaw-dropping, Pinterest-worthy color, you have to use gel food coloring. Liquid drops just dye the batter a weak pink, honestly. Gel gives you the power to use less, get a deeper hue, and it doesn’t thin out your wet ingredients. Remember, we’re aiming for vibrant red cupcakes, not pale pink ones!
And while we’re talking ingredients, don’t you dare skip the buttermilk or substitute it hastily. That subtle acidity is crucial for the chemical reaction we talked about earlier that makes these red velvet cupcakes so tender. It’s the secret weapon of all great Southern baking!
Ingredient Temperature Matters for Red Velvet Cupcakes
This is where many home bakers lose the fight for that perfect, smooth batter we need for scratch made cupcakes. For the cake batter itself, make sure your egg isn’t ice cold right out of the fridge, but for the frosting? Oh man, the cream cheese and butter temperature is everything! If they’re too cold, you get lumps. If they’re too warm, they turn greasy and your frosting will look sad and runny.
When I’m making the frosting, I leave my cream cheese and butter out for a good hour, maybe more, until they are pliable but still feel cool to the touch. You should be able to gently press a fingertip in and leave an indent without sinking through. Get that consistency right, and you’re well on your way to the fluffiest topping imaginable for your red velvet cupcakes.
Serving Suggestions for Red Velvet Cupcakes
These gorgeous red velvet cupcakes are showstoppers, so you want to serve them right! Because they are so reliably moist and rich, they are fantastic year-round. Think Valentine’s Day—that red color just pops! But they are honestly my go-to for any big celebration, whether it’s a wedding shower or just marking a special Tuesday.
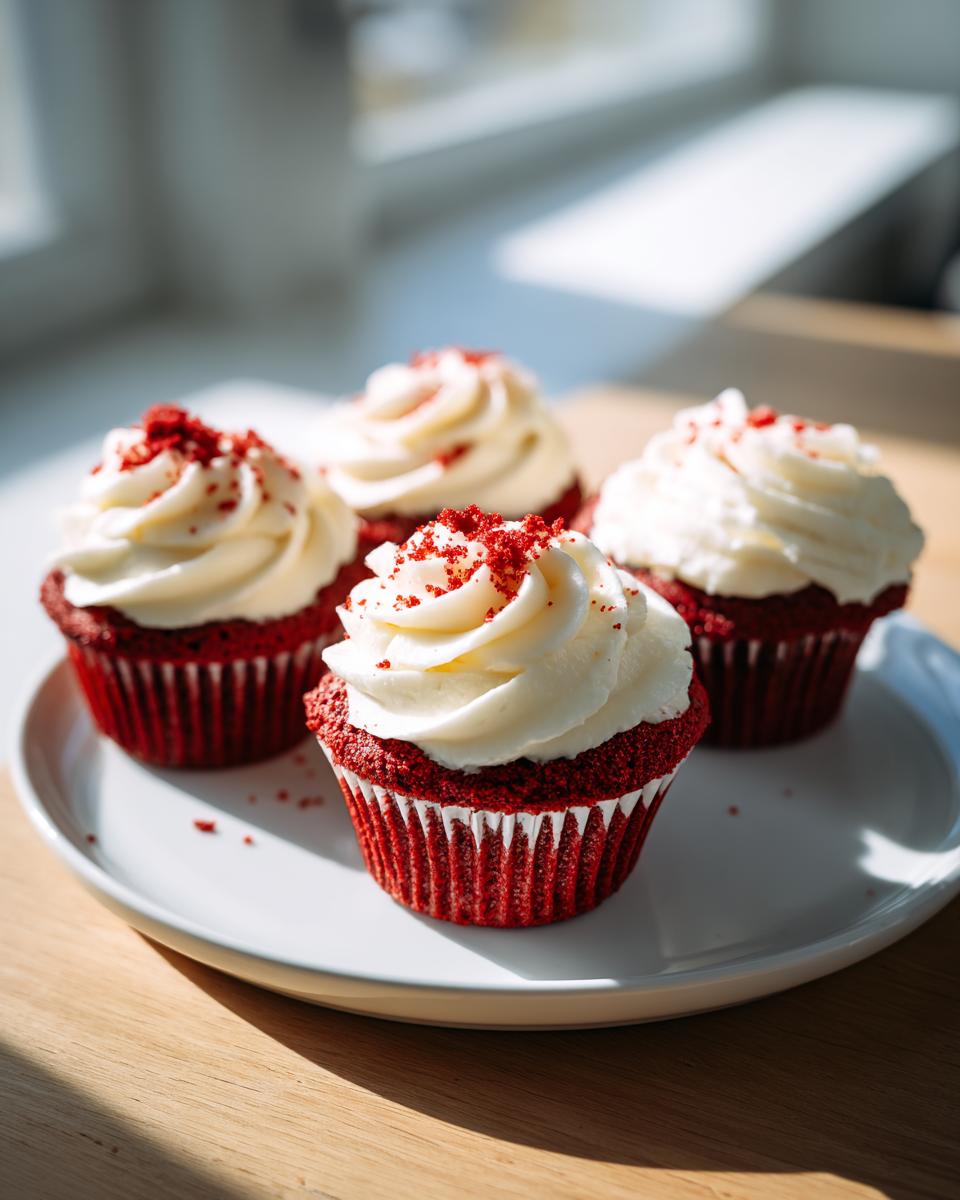
For birthday party desserts, skip the sheet cake and go for individual servings; people love them! I love to keep the presentation simple—just a generous swirl of that cream cheese frosting and maybe a tiny sprinkle of reserved red cake crumbs right on top. If you want a little extra visual flair, I sometimes lightly dust them with gold edible glitter. Seriously, check out how simple and elegant these look over at Toppin Kitchen; they always nail the presentation!
Storage & Reheating Instructions for Red Velvet Cupcakes
This is where we talk about keeping those gorgeous red velvet cupcakes tasting as fresh as the minute they came out of the oven—which is super important since we used real cream cheese in that beautiful frosting!
Because our cream cheese frosting is legitimately made with real dairy, there’s no negotiating here, folks: these need to be stored in the refrigerator. You can keep them in an airtight container, but here’s a trick: make sure you put a little space between the top of the frosting and the container lid, or use cupcake carriers if you have them. If the lid touches the frosting, you’ll get those sad, smushed spots, and we worked too hard for that!
They will generally last about three to four days tucked away in the fridge. Now, here’s the most critical part about enjoying them later: serving them straight from the fridge is a crime against baking! The cold makes the cake stiff and mutes the flavors. You absolutely must take your red velvet cupcakes out onto the counter at least 30 to 45 minutes before you plan to serve them. Let them come back up to room temperature! This re-softens the cake just enough so you get that pillowy, velvety texture we worked so hard to achieve.
Frequently Asked Questions About Red Velvet Cupcakes
I know you might have a few questions swirling around about making these spectacular red velvet cupcakes for the first time. Honestly, I get it! When you’re aiming for that high-quality, Southern-style dessert, you want to make sure you’ve got all your bases covered. Don’t worry about a thing; I’ve collected the questions I get asked the most after developing this classic red velvet recipe right here in my kitchen.
Can I skip the buttermilk in this classic red velvet recipe?
Oh, I really, really hope you don’t! Buttermilk is the backbone of great texture in these red velvet cupcakes. It’s what tenderizes the crumb and gives you that signature slight tang we love in the Southern style. If you are in an absolute pinch, you can make a real quick substitute to mimic the acidity needed for our buttermilk cupcakes recipe standard. Just take one cup of regular milk and stir in one tablespoon of white vinegar or lemon juice. Let that sit on the counter for about five minutes until it looks slightly curdled. Use that mixture exactly where the recipe calls for buttermilk!
How do I get that deep, vibrant red color in my red velvet cupcakes?
This is such a common question, and it all comes down to the coloring choice. If you use the liquid drops you see in the grocery store aisle, you’ll end up with a dull, brownish-pink color because you have to use so much of it, and it throws off the liquid balance. For the truly vibrant red cupcakes you see in bakeries, you must use good quality gel food coloring. A little bit of that gel goes a loooong way! You’ll use maybe a teaspoon or two, and that gives you that deep, gorgeous hue without affecting the delicate flavor balance. We want a hint of cocoa, not a chocolate bomb, right?
If you find yourself still stuck or want to chat through a substitution, feel free to reach out to me over on my contact page! I’m always here to help you nail your decadent sweet treats!
Your Kitchen Awaits: Share Your Red Velvet Cupcakes
Whew! Now that you have all the secrets to making these stunning, moist red velvet cupcakes from scratch, the best part is waiting for you: the tasting!
I truly believe baking should be a celebration, and nothing makes me happier than hearing when one of my recipes becomes a memory-maker in your home. Whether these are for a massive birthday party or just a craving you simply had to satisfy, please don’t be shy!
When you whip up this batch of decadent sweet treats, come right back here and leave a star rating for the recipe. Stars help other bakers decide to trust the process, which is huge! And if you have any questions that popped up while you were mixing that vibrant red batter, drop those in the comments below too. I read every single one, and I love cheering you on!
I stand behind this classic red velvet recipe 100%, but if something trips you up, let me know. My goal is always to empower you in the kitchen. Happy baking, and I can’t wait to see how perfectly velvet-crumbed your treats turn out!
If you ever want to check out the finer details on how Seventh Flavour handles reader information, you can glance at the privacy policy here.
PrintBest Ever Moist Red Velvet Cupcakes with Classic Cream Cheese Frosting

Bake bakery-style red velvet cupcakes at home. This easy scratch recipe yields incredibly moist, soft cupcakes with a classic cocoa flavor, topped with silky, tangy cream cheese frosting.
- Prep Time: 20 min
- Cook Time: 20 min
- Total Time: 40 min
- Yield: 12 servings 1x
- Category: Dessert
- Method: Baking
- Cuisine: American
- Diet: Vegetarian
Ingredients
- 1 1/2 cups all-purpose flour
- 1 cup granulated sugar
- 1 teaspoon baking soda
- 1 teaspoon unsweetened cocoa powder
- 1/2 teaspoon salt
- 1 cup buttermilk
- 1/2 cup vegetable oil
- 1 large egg
- 1 teaspoon white vinegar
- 1 teaspoon vanilla extract
- 1–2 teaspoons red food coloring (gel preferred)
- 1/2 cup cream cheese, softened
- 1/4 cup unsalted butter, softened
- 2 cups powdered sugar
- 1/2 teaspoon vanilla extract
- Pinch of salt
Instructions
- Preheat your oven to 350°F (175°C). Line a 12-cup muffin tin with paper liners.
- In a large bowl, whisk together the flour, sugar, baking soda, cocoa powder, and salt.
- In a separate medium bowl, combine the buttermilk, oil, egg, vinegar, vanilla extract, and red food coloring until fully mixed.
- Pour the wet ingredients into the dry ingredients. Mix on low speed or by hand until just combined. Do not overmix; a few small lumps are acceptable.
- Divide the batter evenly among the 12 cupcake liners, filling each about two-thirds full.
- Bake for 18 to 20 minutes, or until a toothpick inserted into the center comes out clean.
- Let the cupcakes cool in the pan for 5 minutes before transferring them to a wire rack to cool completely.
- To make the cream cheese frosting, beat the softened cream cheese and butter together in a bowl until smooth.
- Gradually add the powdered sugar, beating until combined. Add the vanilla extract and salt. Beat until the frosting is fluffy and smooth.
- Once the cupcakes are completely cool, frost each one generously with the cream cheese frosting.
Notes
- For the most vibrant color, use gel food coloring instead of liquid drops.
- Buttermilk is essential for the classic tangy flavor and tender crumb in this Southern style cupcakes recipe.
- To achieve a velvety crumb, mix the batter only until the streaks of flour disappear.
Nutrition
- Serving Size: 1 cupcake
- Calories: 350
- Sugar: 35
- Sodium: 250
- Fat: 18
- Saturated Fat: 8
- Unsaturated Fat: 10
- Trans Fat: 0
- Carbohydrates: 45
- Fiber: 1
- Protein: 4
- Cholesterol: 35