
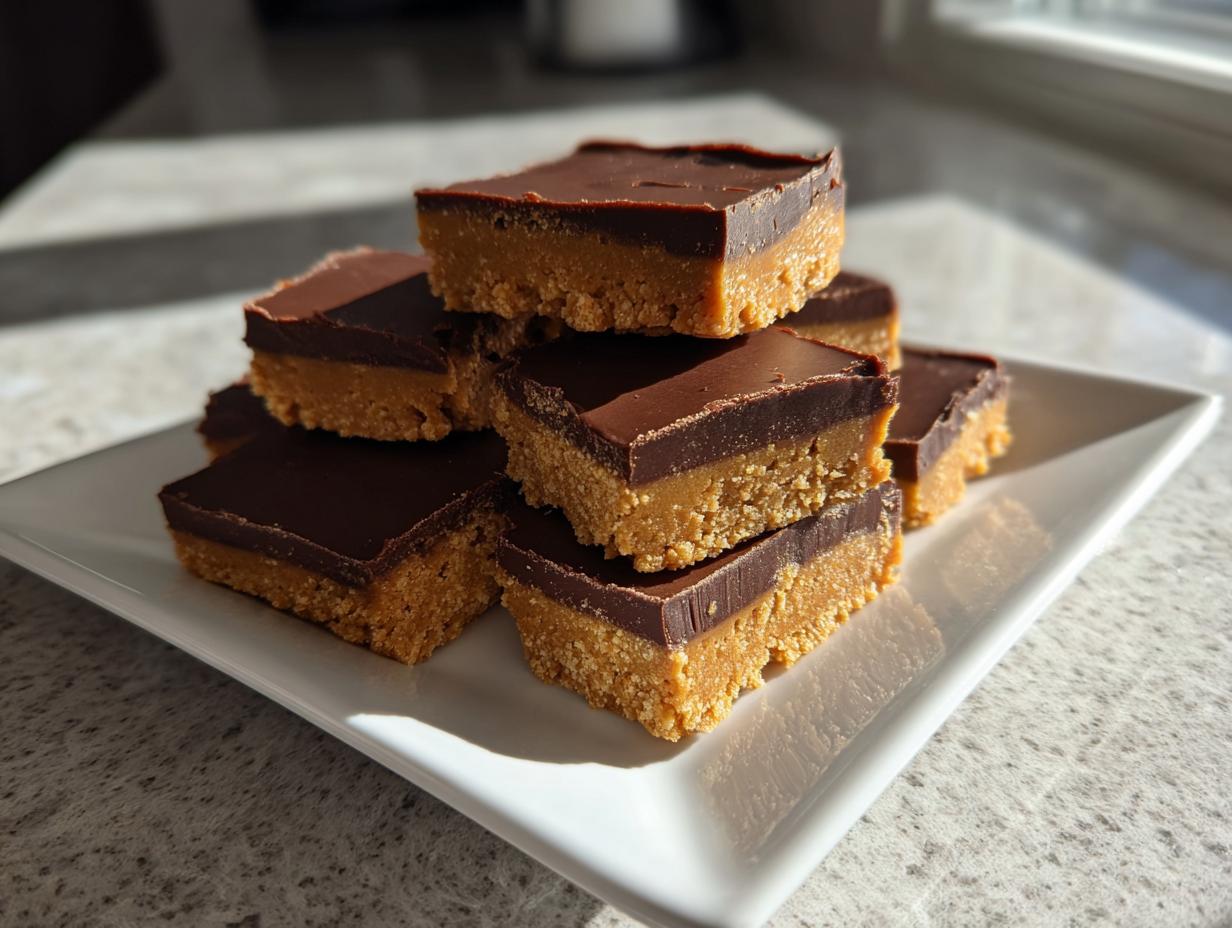
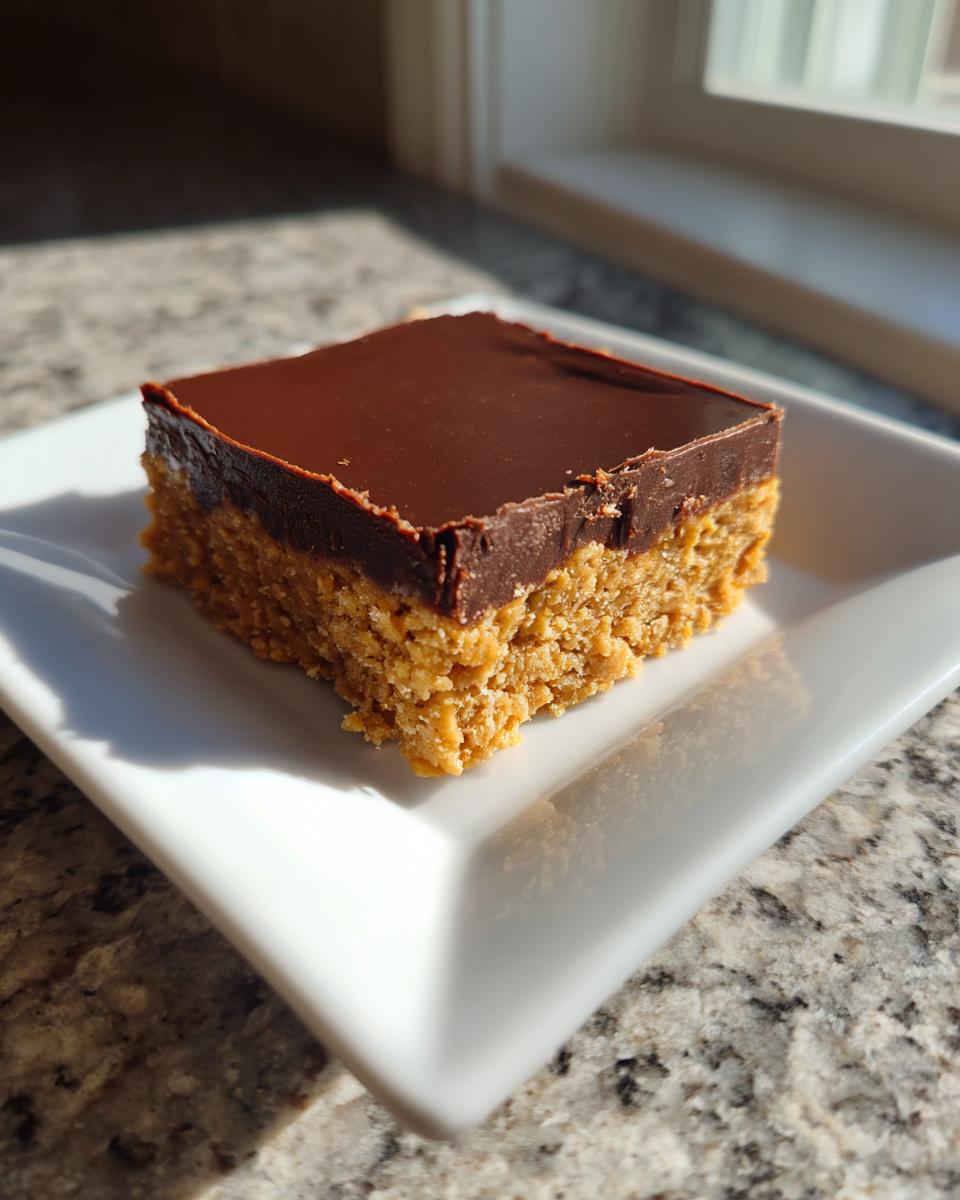
Sometimes you just need dessert, and you need it *now*, right? When those deep, sweet cravings hit, you don’t want to babysit an oven or wait around for things to bake. That’s why I want to share my absolute favorite secret weapon for busy days: these **no-bake peanut butter bars**! Trust me when I say these creamy, rich squares taste exactly like that nostalgic candy bar you crave, but they come together in about ten minutes of actual work. That’s my kind of cooking—reliable, joyful, and incredibly fast. If you’re looking for the best easy dessert recipes that deliver maximum flavor with zero fuss, you’ve found your new go-to recipe. These are truly superior homemade treats!
- Why This is the Best No Bake Peanut Butter Bars Recipe
- Gathering Ingredients for Creamy Peanut Butter Squares
- Step-by-Step Instructions for No Bake Peanut Butter Bars
- Tips for Success When Making Peanut Butter Bars
- Storage and Reheating Instructions for Rich Dessert Squares
- Variations for Your Homemade Peanut Butter Candy
- Frequently Asked Questions About Peanut Butter Bars
- Nutritional Estimates for These Simple Dessert Bars
- Share Your Experience with These Top Rated Peanut Butter Bars
Why This is the Best No Bake Peanut Butter Bars Recipe
I keep this recipe in my back pocket for those days when I need an easy sweet cravings recipe that doesn’t involve turning the oven on. Honestly, these **no bake peanut butter bars** crush any craving instantly. They are decadent, they are unbelievably creamy, and yep, they taste just like that famous candy.
- They are genuinely ready to mix in under ten minutes.
- The texture is perfectly dense and rich—pure indulgence!
- No oven means instant gratification for these quick dessert bars.
Quick Prep Time for Perfect Peanut Butter Bars
The prep time here is the real star. You are looking at maybe ten minutes to mix up the base and melt the topping. That’s it! It’s a true 10 minute dessert recipe, which leaves all the waiting time for the fridge to do the hard work. Seriously, who needs baking fuss when these come together so easily?
Gathering Ingredients for Creamy Peanut Butter Squares
Okay, let’s talk ingredients! The beauty of these peanut butter bars is that they use staples I always seem to have on hand. We need just six things total, which keeps everything simple and fast. For the base, make sure your butter is already melted—we don’t want to waste time waiting for that. We’re using creamy peanut butter for that super smooth finish we all love in these no-bake treats.
Here’s what you’ll need ready to go:

- Creamy Peanut Butter (1 cup for the base + 1/4 cup for the topping)
- Powdered Sugar (you need exactly 1 cup!)
- Unsalted Butter, melted
- Graham Cracker Crumbs
- Semi-Sweet Chocolate Chips
Ingredient Notes and Substitutions for Your Peanut Butter Bars
If you’re hunting for that classic, irresistible flavor that reminds you of a perfect candy, you absolutely must stick to standard, creamy peanut butter—the kind that pours easily. Natural peanut butter tends to get grainy in these no bake peanut butter bars, so I skip it here to keep that smooth texture.
Also, if you run out of graham cracker crumbs, don’t sweat it! I’ve swapped those out successfully before. Use an equal amount—1 and 1/2 cups—of crushed vanilla wafers. It gives the base a slightly different, but equally delicious, snap! This detail is what sets apart an okay batch from a fantastic Reese’s peanut butter bars recipe clone.
Step-by-Step Instructions for No Bake Peanut Butter Bars
Alright, time to make these magic happen! Since these are no bake peanut butter bars, the steps are super simple. We mix, press, melt, pour, and chill. That’s the whole timeline! Just follow these steps closely, and you’ll have those irresistible chocolate peanut butter bars ready before you know it. I’ve linked my favorite guide on safe microwaving here if you ever struggle with melting chocolate, but honestly, this is straightforward!
Preparing the Peanut Butter Base Layer
First, you absolutely need to line your 8×8 pan with parchment paper, but leave a good overhang on two sides. Trust me, this overhang is your best friend later when you try to lift the finished bars out—it saves so much frustration!
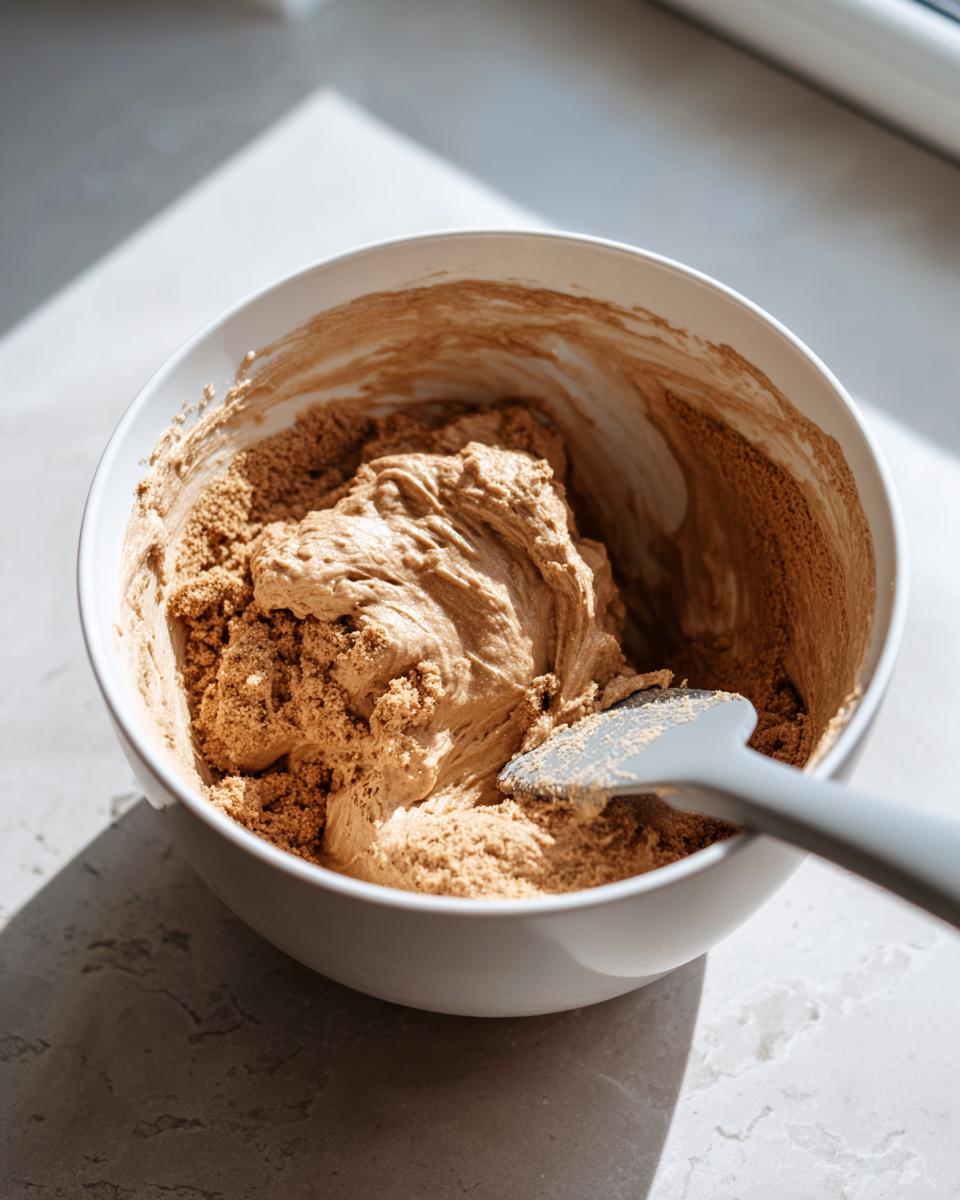
In your bowl, toss together that main cup of peanut butter, the powdered sugar, the melted butter, and the graham cracker crumbs. You need to mix this until everything is just combined and it starts looking like damp, thick sand. Don’t overmix it! Then, take that mixture and press it firmly, super firmly, right into that lined pan. Use the bottom of a measuring cup or a sturdy glass to really pack it down so it doesn’t crumble when you slice it later.
Creating and Spreading the Chocolate Peanut Butter Topping
Now for the best part—the topping! Grab your chocolate chips and that final quarter cup of peanut butter. Put them both in a microwave-safe bowl. Here’s my golden rule for melting chocolate: always do it in short bursts, 30 seconds at a time, and stir it really well after every single burst. If you zap it for a full minute, you risk seizing the chocolate, and nobody wants stiff, grainy fudge on their beautiful base!
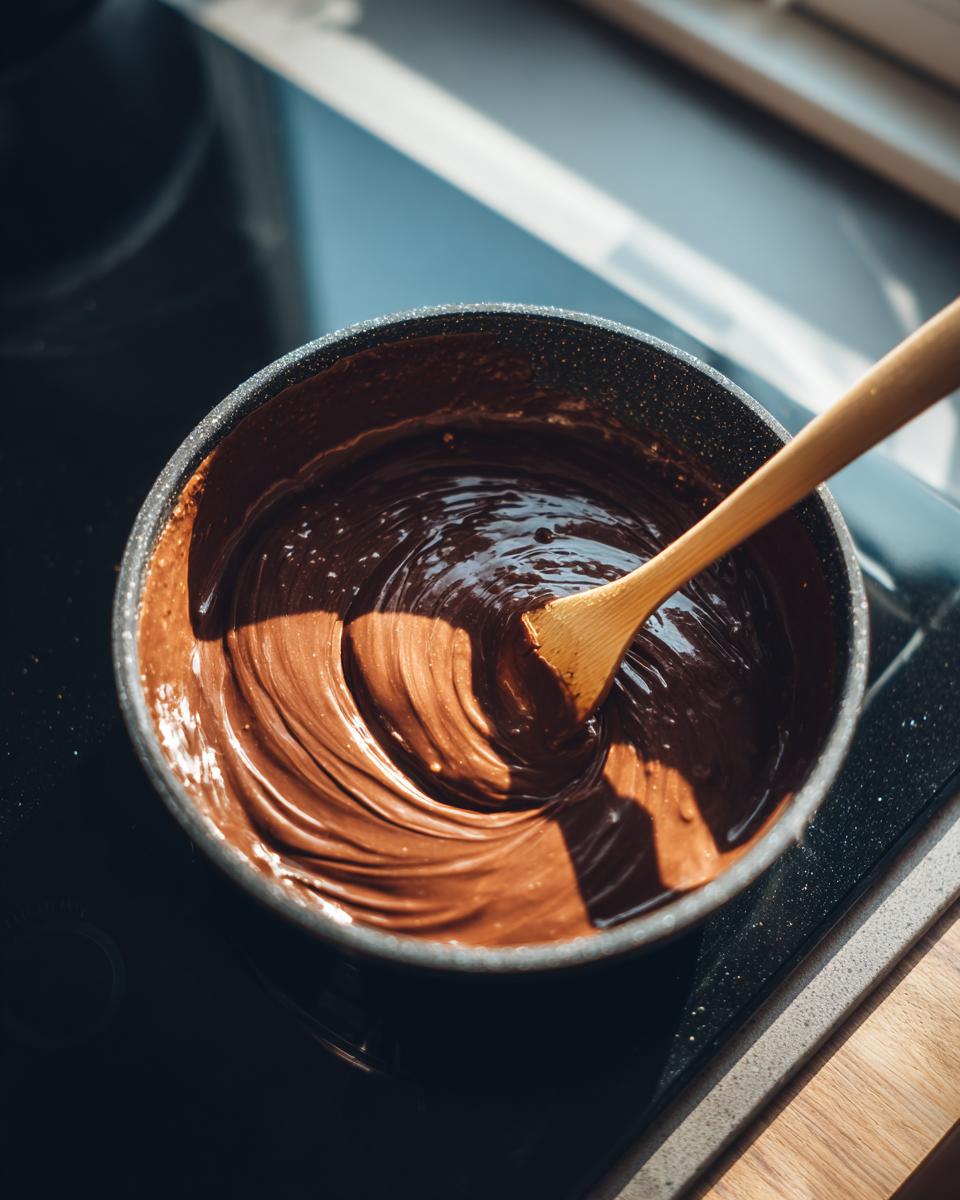
When it’s smooth and glossy, pour that chocolate mixture right over your peanut butter base. Use an offset spatula—or just the back of a spoon—to gently spread it out so it covers every single inch evenly. That way, you get that perfect balance in every bite of your peanut butter bars.
Chilling and Cutting Your Quick Dessert Bars
Once the chocolate is spread, you have to be patient, which is the hardest part! The bars need a good, solid chill time in the refrigerator. I always aim for at least two hours to make sure that chocolate topping is completely firm and set. If you cut them too soon, everything slides around.
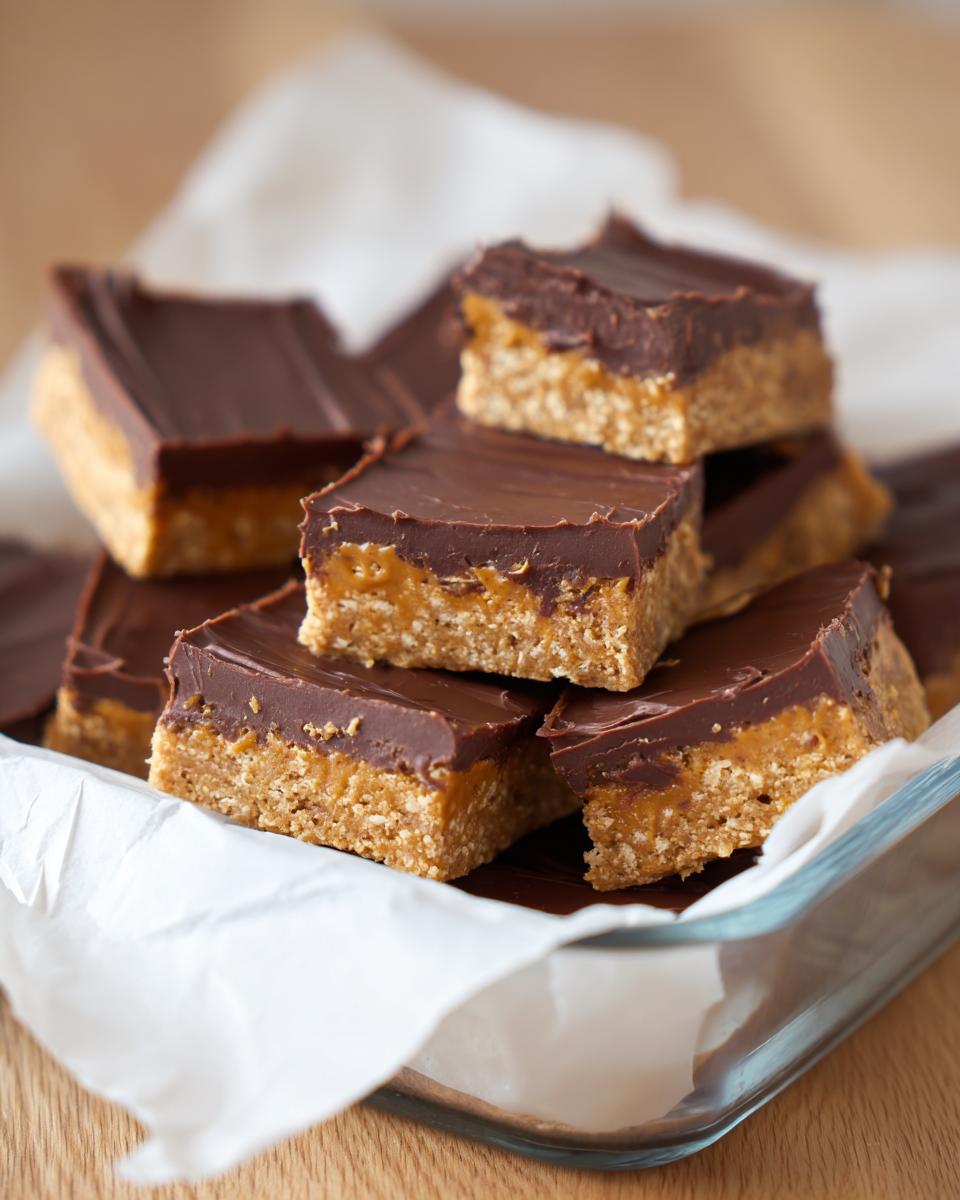
When they are rock hard, use those parchment paper overhangs to lift the entire block right out onto your cutting board. Take a sharp knife and slice them into neat squares. If the chocolate is being stubborn, run your knife under hot water for a second and wipe it dry before cutting—that helps get those super clean edges for your quick dessert bars!
Tips for Success When Making Peanut Butter Bars
Since these are peanut butter bars and everything happens fast, a couple of little tricks will make them totally foolproof. First and foremost, remember that the butter *must* be melted for the base. If it’s even slightly hard, your base won’t press together nicely, or it’ll be crumbly later on. Don’t try to sneak in room-temperature butter!
When you are dealing with the chocolate topping, the key to glossiness is patience during melting, just like I mentioned before. But here’s another thought: if your chocolate seems a tiny bit dull when you pour it on, stir in just a teaspoon of coconut oil or neutral vegetable oil. It sounds strange, but it helps the topping set up thinner and shinier, giving you that professional, rich look! For more easy kitchen hacks, check out my guide to simple dips and treats.
Storage and Reheating Instructions for Rich Dessert Squares
Storing these rich dessert squares is wonderfully easy because they’re no-bake! Keep any leftovers tucked away in an airtight container right in the refrigerator. They really hold up well—you can enjoy them for up to a full week. Since there’s no baking involved, you never really need to reheat them; they taste best when they’re served straight from the fridge when the chocolate is firm and snappy. If they sit out for ten minutes, that’s perfect for softening them just slightly!
Variations for Your Homemade Peanut Butter Candy
Now that you’ve mastered the classic, the fun part is shaking things up a little! These peanut butter fudge bars are so simple, they beg for small tweaks. If you love texture, definitely sprinkle some coarsely chopped peanuts right onto that wet chocolate layer before it sets up—it adds a great crunch!
You can also swap out the semi-sweet chips for dark chocolate if you prefer a little bitterness to cut through that sweet peanut butter layer. And don’t forget the salt! A tiny sprinkle of flaky sea salt over the very top, right after you spread the chocolate, just makes all those rich flavors pop. It’s an easy way to elevate these simple treats! I love experimenting with these swirls; check out my post on chocolate additions in other recipes for more fun ideas.
Frequently Asked Questions About Peanut Butter Bars
It’s natural to have questions when you’re trying a new, super quick recipe like this! Here are a few things I get asked most often about making these peanut butter bars. I want to make sure you feel totally confident stepping into the kitchen with these simple instructions!
Can I use natural peanut butter in these no bake peanut butter bars?
That’s a great question! For these specific no bake peanut butter bars, I really, really push you to stick to the creamy, commercial style peanut butter. Natural peanut butter usually has that oil separated on top, and it just doesn’t have the right density or binding fat to hold the base together the way we need it to. If you use the natural stuff, you risk having a crumbly layer that won’t press down properly.
How do I get the ‘Lunch Lady peanut butter bars’ texture?
Ah, the texture! That’s what makes these so dreamy. The secret to getting that specific, dense, ultra-creamy texture often associated with Lunch Lady peanut butter bars is how we combine the fat and sugar in the base. It’s all that melted butter mixed with the powdered sugar and creamy peanut butter—no eggs or flour needed here, unlike baked treats. That combination sets up beautifully firm when chilled!
Have more questions about making these creamy peanut butter squares? You can always check out my general philosophy on cooking and recipe testing, or drop me a note on my contact page!
Nutritional Estimates for These Simple Dessert Bars
Because these simple dessert bars are such a rich treat, I know some of you are curious about the breakdown. Since these are a homemade recipe, the exact numbers can shift based on brand choice, but I’ve done the best I can to calculate the average based on standard measurements provided in the recipe card.
Please remember these are estimates for one bar, assuming you slice the batch evenly into 16 servings. They are meant to be an indulgence, so enjoy them knowing they pack a satisfying, rich punch!
- Serving Size: 1 bar
- Calories: 250
- Total Fat: 16g (with 5g being saturated fat)
- Carbohydrates: 24g
- Sugar: 18g
- Protein: 6g
There’s no fancy cooking here, just simple ingredients, so the nutrition reflects that dense peanut butter base and creamy chocolate top. These are fantastic for satisfying those dessert cravings without any guesswork!
Share Your Experience with These Top Rated Peanut Butter Bars
Wow, that’s it! You’ve just made the simplest, most satisfying dessert your kitchen has ever seen. Now that you’ve enjoyed these incredible peanut butter bars, I genuinely want to hear about them. Did they disappear instantly? Did you manage to save any for yourself the next day?
If you loved how wonderfully easy this recipe was, please do me a huge favor and hit that 5-star rating button right below the recipe card. It helps other folks who are looking for quick, reliable desserts find this amazing recipe!
And don’t just leave the rating—tell me everything in the comments! Did you try sprinkling on sea salt? Did you use dark chocolate instead? I love seeing how you make these top rated peanut butter bars your own. If you have any questions at all while you’re making them, or just want to say hello, you can always reach out through my contact page. Happy baking—or rather, happy *no-baking*!
PrintEasy No-Bake Chocolate Peanut Butter Bars
Make dessert simple with these easy no-bake peanut butter bars. They are creamy, rich, and ready in minutes, perfect for satisfying quick sweet cravings.
- Prep Time: 10 min
- Cook Time: 0 min
- Total Time: 2 hr 10 min
- Yield: 16 servings 1x
- Category: Dessert
- Method: No-Bake
- Cuisine: American
- Diet: Vegetarian
Ingredients
- 1 cup creamy peanut butter
- 1 cup powdered sugar
- 1/2 cup unsalted butter, melted
- 1 1/2 cups graham cracker crumbs
- 1 cup semi-sweet chocolate chips
- 1/4 cup creamy peanut butter (for topping)
Instructions
- Line an 8×8 inch baking pan with parchment paper, leaving an overhang for easy removal.
- In a medium bowl, combine the 1 cup of peanut butter, 1 cup of powdered sugar, melted butter, and graham cracker crumbs. Mix until fully combined and the mixture resembles wet sand.
- Press this peanut butter mixture evenly into the bottom of the prepared pan. Use the bottom of a glass to press it down firmly.
- Place the chocolate chips and the remaining 1/4 cup of peanut butter in a microwave-safe bowl. Microwave in 30-second intervals, stirring well after each, until smooth and completely melted.
- Pour the melted chocolate mixture over the peanut butter base. Spread it into an even layer.
- Refrigerate the bars for at least 2 hours, or until the chocolate topping is firm.
- Lift the bars out of the pan using the parchment paper overhang. Cut into squares before serving.
Notes
- For a Reese’s peanut butter bars recipe feel, use creamy peanut butter exclusively.
- If you do not have graham cracker crumbs, you can substitute with 1 1/2 cups of crushed vanilla wafers.
- Store leftovers in an airtight container in the refrigerator for up to one week.
Nutrition
- Serving Size: 1 bar
- Calories: 250
- Sugar: 18g
- Sodium: 110mg
- Fat: 16g
- Saturated Fat: 5g
- Unsaturated Fat: 11g
- Trans Fat: 0g
- Carbohydrates: 24g
- Fiber: 1g
- Protein: 6g
- Cholesterol: 10mg