
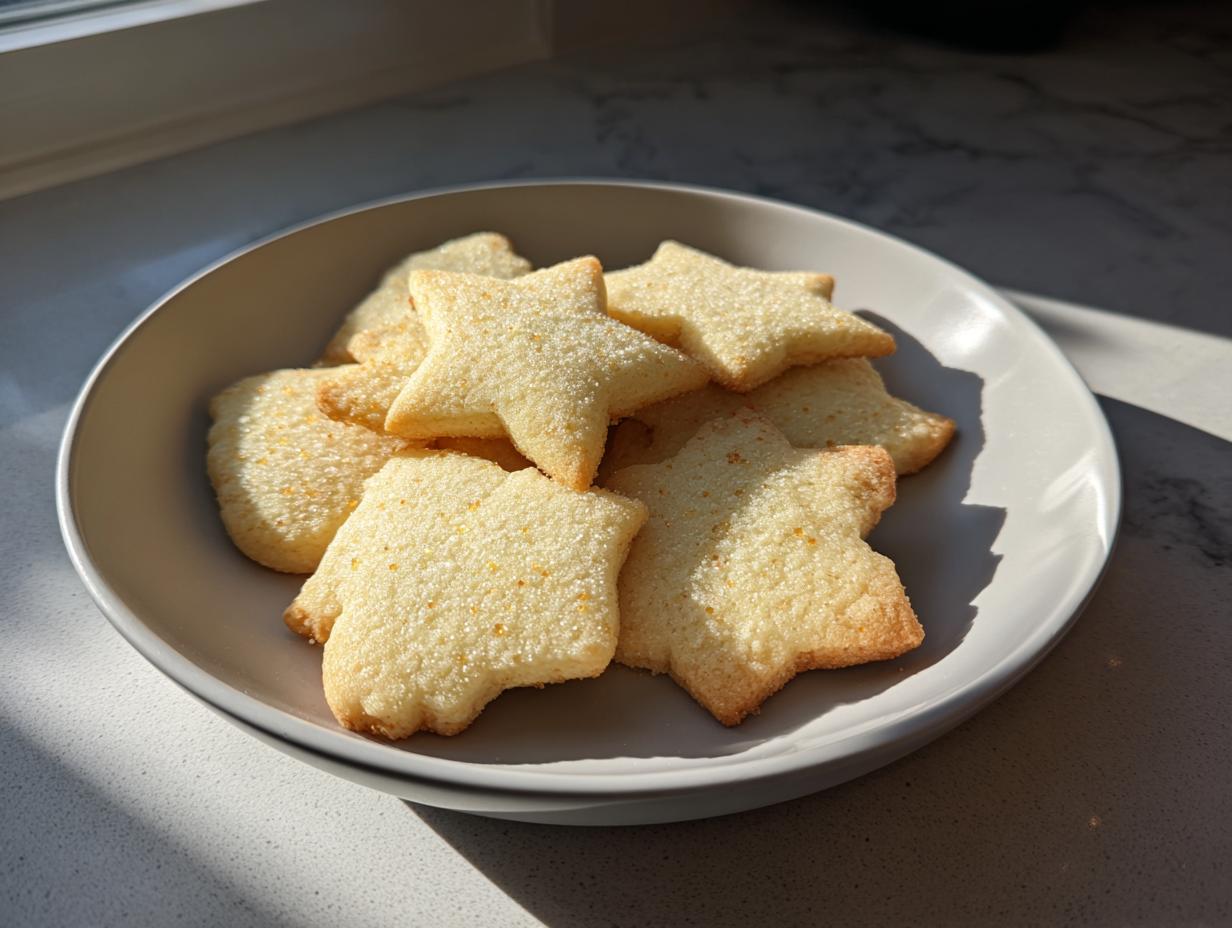
There is just something magical about that first batch of homemade sugar cookies you make from scratch. It instantly brings back memories of festive holidays or just a simple afternoon treat waiting to happen. Finding that perfect recipe can feel like searching for buried treasure, though, right? You want them soft, you want them chewy, but if you plan on decorating, they also need to hold that perfect cut-out shape. Well, friends, I’m happy to tell you that after years of testing everything in my own kitchen, Aria Sterling nailed this balance. Trust me when I say this is the best version—richly buttery, perfectly poised for icing, and wonderfully soft in the middle.
- Why This is the Best Sugar Cookie Recipe Ever
- Essential Ingredients for Classic Sugar Cookie Success
- How to Prepare Easy Sugar Cookies From Scratch
- Baking Tips for Perfect Sugar Cookie Results
- Simple Ideas for Sugar Cookie Decorating
- Storage and Making Ahead Your Sugar Cookies
- Troubleshooting Common Sugar Cookie Issues
- Frequently Asked Questions About These Sugar Cookies
- Estimated Nutritional Data for This Recipe
Why This is the Best Sugar Cookie Recipe Ever
I’ve tried dozens of recipes over the years, and I’m telling you, this one truly earns the title of the best cookie recipe ever. It manages to avoid the pitfalls of most cutout doughs—they either crumble when you cut them or melt into sad, flat puddles in the oven. Not ours! We hit that sweet spot every single time.
- They deliver that melt-in-your-mouth, buttery sensation you crave in a classic treat.
- The texture inside stays beautifully soft even days after baking.
- They are sturdy enough for even the most elaborate decorating session you can dream up.
Achieving the Perfect Soft and Chewy Cookies Texture
It’s all about the ratio, sweetie! We use a careful balance of creaming our butter and sugar just long enough to build air, but we don’t add too much liquid. After extensive testing, I found that using exactly two large eggs, rather than the three some recipes call for, prevents them from getting cakey. That small difference is what locks in the perfect soft and chewy cookies experience.
Tips for Making Cut Out Sugar Cookies That Hold Their Shape
If you want absolute success with your cut out sugar cookies, you have to respect the chill time. I know it’s hard when you’re excited, but chilling the dough for at least two hours is non-negotiable. Seriously, wrap those two disks tight and stick them in the cold. This step is the secret to achieving those beautiful no spread sugar cookies; the fat solidifies, and the dough won’t shift in the heat of the oven.
Essential Ingredients for Classic Sugar Cookie Success
When we talk about creating the absolute best sugar cookie recipe—the kind that tastes rich and buttery and holds its shape—it really comes down to respecting your baking staples. These aren’t complex cookies; they rely on good foundational ingredients measured precisely. My testing showed that ingredient quality makes a huge difference in achieving that melt-in-your-mouth finish.
Here is exactly what you’ll need for these incredibly dependable treats:

- 1 cup unsalted butter, softened
- 1 1/2 cups granulated sugar
- 2 large eggs
- 1 teaspoon vanilla extract
- 3 3/4 cups all-purpose flour
- 1 teaspoon baking powder
- 1/2 teaspoon salt
Ingredient Notes and Substitutions for Your Sugar Cookies
Let’s talk specifics for a minute, because paying attention here is what separates a good batch from the absolute best. First, the butter must be unsalted. We control the salt level ourselves with that 1/2 teaspoon measurement. If you use salted butter, your cookies might taste a little off, and we don’t want bland results!
Next, the vanilla extract. While I usually advise against fussing over extracts, for these buttery sugar cookies, use the best quality vanilla you have on hand. Since there are so few flavor elements, that pure vanilla comes through crystal clear. Using cheap imitation extracts just won’t give you that rich flavor profile we’re after.
Also, please ensure your eggs are truly large eggs, not medium ones. Any deviation in liquid volume throws off the whole ‘no spread’ structure we worked so hard to build in the dough. Don’t swap out the baking powder for baking soda, either; the powder gives us the slight lift needed for thickness without encouraging spreading.
How to Prepare Easy Sugar Cookies From Scratch
Once you’ve got your ingredients lined up, making these easy sugar cookies from scratch is truly a breeze—it’s just about following the sequence! Remember, a successful bake always starts with preparation, so make sure your oven is ready to go at 375°F (190°C) before you even start rolling dough out. You’ll use parchment paper on your sheets; it helps prevent sticking and is my favorite way to keep things tidy during holiday baking.
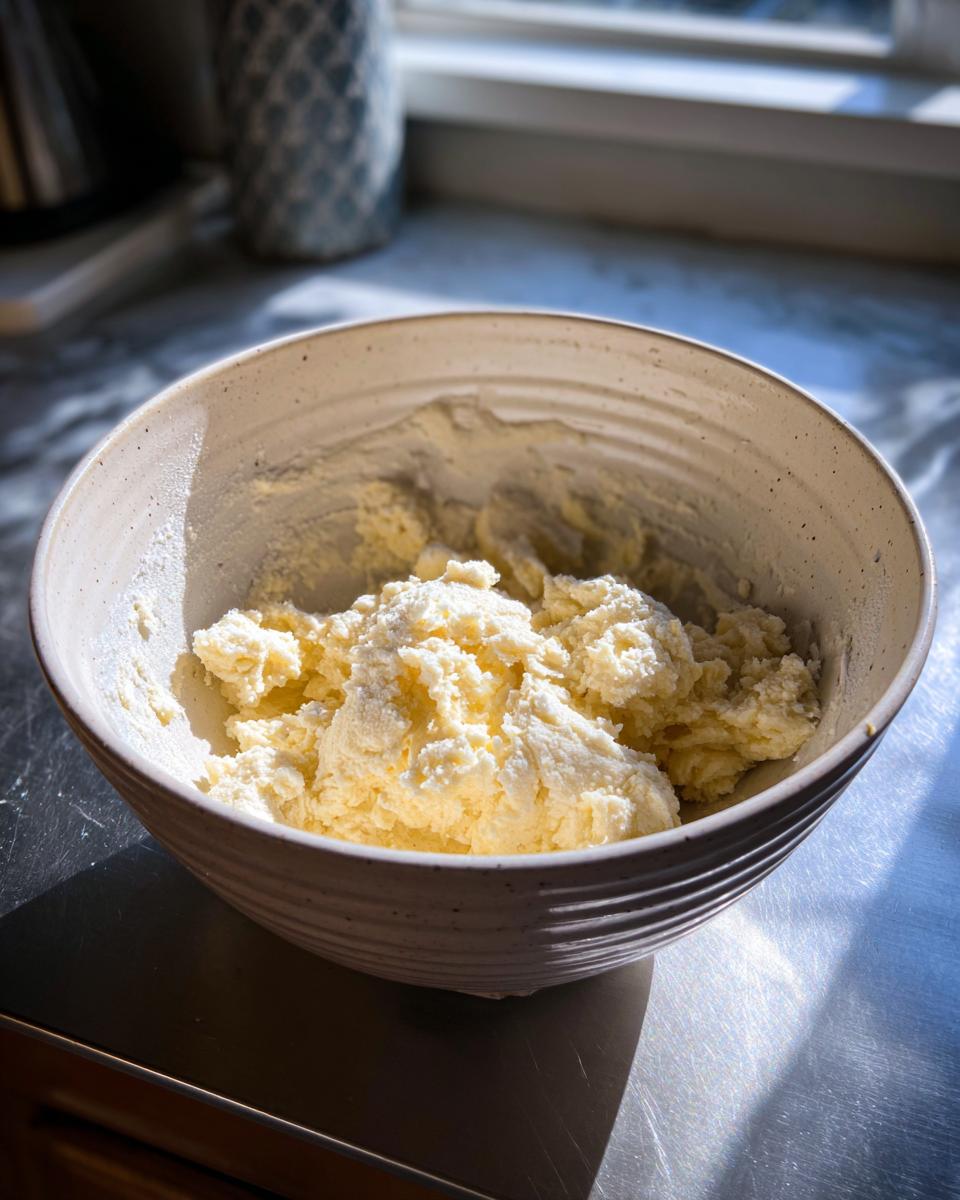
Creaming and Mixing the Sugar Cookie Dough
We start by giving the butter and sugar a good whipping session. Get that butter softened up—not melted, just soft enough to press a finger into slightly—and cream it with the sugar until it gets genuinely light and fluffy. You need this aeration for the final texture! Next, beat in those two eggs one at a time. Don’t rush the eggs; mix well after each one. Then, stir in your vanilla. In a separate bowl, whisk your dry items: the flour, baking powder, and salt.
Now for the crucial part: adding the dry to the wet. You need to do this gradually, mixing on low speed. As soon as the flour disappears, STOP. I cannot stress this enough: do not overmix your sugar cookie dough! Overmixing develops gluten, and that’s how you get tough, chewy cookies instead of perfectly soft ones. Once it just comes together, dump it out.
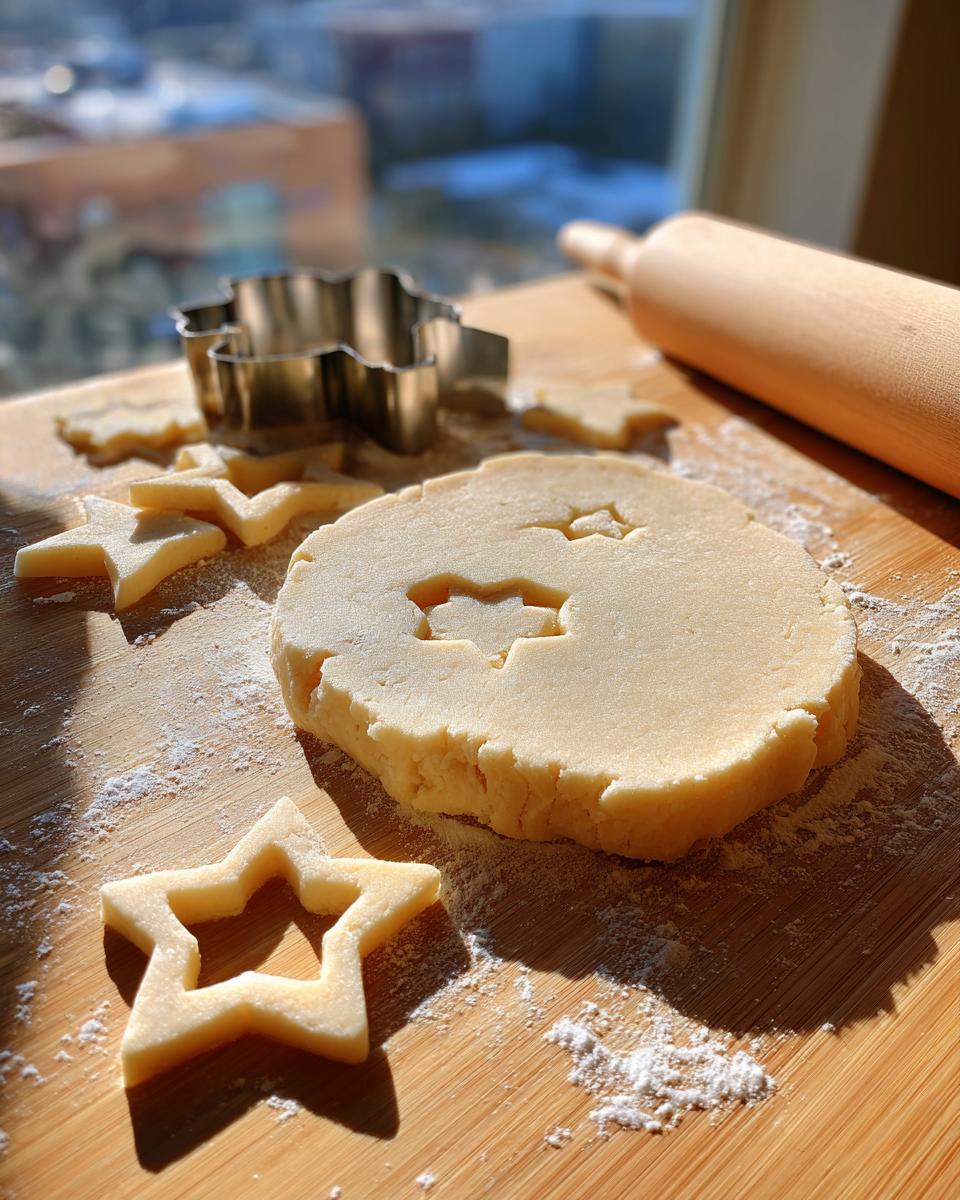
Chilling and Rolling Out Your Cut Out Sugar Cookies
Once mixed, we divide that gorgeous dough into two flat disks. Wrap them up tight in plastic wrap and head straight to the refrigerator. They need at least two hours of chill time—this isn’t optional if you want those beautiful, sharp edges for your cut out sugar cookies. Seriously, that chilling locks in the shape you want!
When it’s time to roll, flour your surface lightly. Roll one disk out until it’s about 1/4 inch thick. I find that using a slightly thicker cookie, like this one, really helps keep that center soft during the bake. Use your favorite cutters and arrange them on the parchment-lined sheets.
If you still worry about spreading, pop the whole baking sheet into the fridge for an extra 10 minutes before they go into the hot oven. That final cold blast is the trick for amazing from scratch cookies.
Baking Tips for Perfect Sugar Cookie Results
Okay, the dough is chilled, the cutters are out, and your oven is finally preheated to 375°F (190°C). Baking time is where precision, or lack thereof, really shows up, especially when trying to get those signature soft sugar cookies. You don’t want brown edges; you want pale, beautiful tops that just *beg* for sprinkles.
Always use the middle rack in your oven. If the rack is too high or too low, the bottom or top of your cookies will bake faster than the center. We want consistency across the entire sheet, so middle rack is the way to go. Also, work in batches if you need to, but never overcrowd the pans. Giving your sugar cookies space ensures that the hot air circulates evenly around them, which keeps them from leaning on each other and encourages that beautiful, uniform puff.
The biggest secret to achieving those melt in your mouth cookies is learning to pull them out slightly early. Trust your eyes more than the timer sometimes. The recipe notes say 8 to 10 minutes, but for maximum softness, aim for the moment the edges look just barely set—pale gold, maybe—and the very center still looks slightly underdone or dull, not wet. They keep cooking once they hit the cookie sheet!

Don’t panic if they look squishy; they firm up beautifully as they cool on that warm sheet for the first five minutes. If you wait until they look fully golden brown in the oven, you’ve gone too far, and you’re going to end up with a snappy cookie rather than the soft delight we’re dreaming of here.
Simple Ideas for Sugar Cookie Decorating
Once your beautiful, sturdy cookies are completely cool—and I mean totally cool, or your icing will slide right off—it’s time for the fun part! Decorating can feel intimidating if you’re new to it, but honestly, these stable sugar cookies are your best canvas. You don’t need a professional toolkit or fancy royal icing skills to make them look amazing for your next festive dessert recipes showcase.
If you’re looking for a super quick coverage option, forget piping and just use a simple glaze. You can whip one up with powdered sugar and a little milk or lemon juice, but you need to work fast as it dries almost immediately. If you’re aiming for that classic look, a basic flood icing is your friend. Just make your icing a little thinner than you think you need, cover the whole cookie, and then immediately add sprinkles or colored sanding sugar before it sets up.
For beginners, I always suggest keeping shapes simple—circles and squares are great starting points. You can make a batch of bright white iced cookies and use three different colors of tiny confetti sprinkles for instant holiday cheer. Or, for a really simple, elegant approach, skip the icing entirely on half your batch and simply press a single fancy sugar crystal or a little coarse sugar onto the dough right before baking. That gives you a subtle crunch and beautiful sparkle without any mess!

I’ve got some genuinely simple dip recipes for dipping fruit that you might find interesting too, but when it comes to cookies, a controlled amount of color goes a long way. If you want some ideas to pair with your cookies for a party spread, check out my thoughts on easy fruit dip recipes!
Storage and Making Ahead Your Sugar Cookies
One of the best parts about making a big batch of these classic sugar cookies is that they are fantastic make-ahead treats! Whether you’re planning for a huge holiday party next month or just want to have some on hand for afternoon treats all week long, storage is super simple, but you have to do it right to keep that soft texture intact.
For decorated cookies, especially those topped with sturdy icing, you can safely keep them airtight at room temperature for about three to four days. Humidity is the enemy here, so make sure your container seals well. If you stack them, slip a small square of parchment paper between layers—never let the icing stick to another cookie, even if it feels set!
Keeping Unfrosted Cookies Fresh
If you haven’t iced them yet, you can keep these undecorated sugar cookies fresh even longer. Store them in a completely airtight container layered with wax or parchment paper at room temperature for up to a week. They stay incredibly soft and buttery, which is why chilling the dough ahead of time is so important; it sets up the structure that allows them to stay chewy later on.
Freezing Baked and Unbaked Dough
The freezer is your best friend for baking preparation! You have two options here. First, you can freeze the raw, wrapped dough disks immediately after chilling. They last beautifully for up to three months. When you want cookies, just unwrap them slightly and let them thaw on the counter for about 30 minutes before rolling them out. They bake exactly the same way!
For baked cookies that are undecorated, wrap them tightly in plastic wrap first, and then place them into a freezer-safe bag or container. Frozen, they last for about two months. Thaw them overnight in the refrigerator, and they will be perfect for decorating the next day. Honestly, having dough ready to go is the secret weapon for quick baking!
Troubleshooting Common Sugar Cookie Issues
Look, even when you follow the very best recipe for sugar cookies, sometimes things go a little sideways in the oven. Don’t you worry, though! That’s where my years of tinkering come into play. We solve these little kitchen mishaps quickly so you can get back to enjoying those homemade treats. If you run into one of these issues, here’s my quick fix guide based on what I’ve learned testing this recipe over and over.
If you’ve made a batch of cookies that spread way too much, it almost always comes down to two things: your oven temperature was too low, or the butter got too warm during the creaming step. Remember how I told you chilling is key for no spread sugar cookies? If your dough was even slightly soft when you cut them, they are going to spread. If you find yourself in a spreading emergency, try chilling the cut-outs on the pan for an extra 15 minutes before sliding them in. That cold snap often saves the day!
Now, what if your cookies came out hard as hockey pucks? Usually, that means one of two things happened: you overworked the dough when adding the flour, or you baked them five minutes too long. If you accidentally mixed the flour in too much, there’s not much we can do once they are baked, but it’s a lesson learned for next time. For baking time, always pull them out when they look *slightly* underdone—that’s how you guarantee those delightful, soft and chewy cookies!
And finally, the sticky dough dilemma. This often happens when the air in your kitchen is really humid, or maybe you accidentally used a large egg when the recipe called for medium. If your dough is just too soft to handle, even after chilling, don’t add more flour right away! That just makes the final cookie dense. Instead, wrap it up tight, put it back in the fridge for another hour. If it’s still fighting you, add just one tablespoon of flour at a time until it’s manageable, but stop before you think it’s ‘perfectly not sticky’—that means you’ve added too much.
If you ever have a question that this guide doesn’t cover, please don’t hesitate to reach out to me directly via my contact page. Happy to assist with your baking journey!
Frequently Asked Questions About These Sugar Cookies
What is the secret to making these cut out sugar cookies not spread?
The number one secret to achieving truly no spread sugar cookies is chilling the dough! I repeat this a lot because it’s that important. After mixing the dough together, you must divide it into two flat disks, wrap them well, and chill them for a minimum of two hours. If you are short on time, you can skip the initial bowl chill and just chill the cut-out shapes on the baking sheet for 15 minutes before they go into the oven. That cold temperature solidifies the butter, keeping your shapes crisp and clean.
Can I use these as Christmas cookie recipes?
Absolutely! These are my favorite for the holidays. They are delicious plain, but they are sturdy enough to handle royal icing, which is crucial for any big holiday cookie exchange or decorating event. The fact that they are so buttery means even if they aren’t iced yet, they still taste fantastic as a simple homemade cookie!
If I use bread flour instead of all-purpose flour, will they be softer?
That’s an interesting thought! Bread flour has a higher protein content, which means more gluten development. For these specific sugar cookies, where we are aiming for soft, but not super tough, results, I strongly recommend sticking to all-purpose flour. Using bread flour tends to give you a chewier, slightly tougher texture—more like a bagel than a melt-in-your-mouth cookie. For the best sugar cookie recipe experience, stick to the flour listed, which is designed to create that perfect texture we’re after.
How long do undecorated, baked sugar cookies stay fresh?
Undecorated cookies are little time capsules! Stored airtight at room temperature, they stay fantastically fresh and soft for almost a full week. If you aren’t planning to decorate right away, store them plain. If you need to store them longer, they freeze beautifully un-iced for up to three months. You can find more general information about storing baked goods on my privacy policy page, though I try to keep all the practical baking advice right here!
I prefer a simpler recipe; can these be made quickly?
While this recipe is designed for structural integrity—which means chilling time—the actual hands-on prep is very fast! You might be interested in looking at other, even quicker recipes out there, like the ones featured on sites such as Recipe CS, which often focus on three-ingredient wonders. However, those faster options usually sacrifice the ability to hold a perfect cut-out shape. For reliable results that look professional, the chilling time is part of the fun!
Estimated Nutritional Data for This Recipe
Before you wrap up your batch of cookies, I know some of you are curious about the numbers, so here is the breakdown. Remember, baking is an art, and every single measurement you use—the brand of butter, the size of the egg, even slightly different amounts of flour—can shift these figures a little bit.
These estimates are calculated based on the exact measurements listed in the recipe above, assuming a yield of 3 dozen cookies. Think of this as a helpful guideline for your baking standards, not a hard science report!
- Serving Size: 1 cookie
- Calories: 150
- Sugar: 12g
- Sodium: 95mg
- Fat: 7g
- Saturated Fat: 4g
- Unsaturated Fat: 3g
- Trans Fat: 0g
- Carbohydrates: 20g
- Fiber: 0g
- Protein: 2g
- Cholesterol: 30mg
Just a quick note: Because these are made entirely from scratch using basic baking staples, the nutrition is quite straightforward. If you’re making them for a holiday gathering, people will be too busy enjoying that buttery, melt-in-your-mouth flavor to worry about the macros, but knowing this information is always peace of mind for me!
PrintThe Best Soft and Chewy Cut-Out Sugar Cookies
Follow this simple recipe to make soft, buttery sugar cookies that hold their shape perfectly for decorating. This is the best easy sugar cookie recipe for holidays or any celebration.
- Prep Time: 30 min
- Cook Time: 10 min
- Total Time: 160 min
- Yield: 3 dozen 1x
- Category: Dessert
- Method: Baking
- Cuisine: American
- Diet: Vegetarian
Ingredients
- 1 cup unsalted butter, softened
- 1 1/2 cups granulated sugar
- 2 large eggs
- 1 teaspoon vanilla extract
- 3 3/4 cups all-purpose flour
- 1 teaspoon baking powder
- 1/2 teaspoon salt
Instructions
- In a large bowl, cream together the softened butter and granulated sugar until light and fluffy. This takes about 3 minutes.
- Beat in the eggs one at a time, mixing well after each addition. Stir in the vanilla extract.
- In a separate bowl, whisk together the flour, baking powder, and salt.
- Gradually add the dry ingredients to the wet ingredients, mixing on low speed until just combined. Do not overmix.
- Divide the dough in half, flatten each half into a disk, wrap tightly in plastic wrap, and chill in the refrigerator for at least 2 hours. Chilling prevents spreading.
- Preheat your oven to 375°F (190°C). Line baking sheets with parchment paper.
- On a lightly floured surface, roll out one chilled dough disk to about 1/4 inch thickness. Use your favorite cookie cutters to cut out shapes.
- Place the cut-out cookies onto the prepared baking sheets, leaving about 1 inch between them.
- Bake for 8 to 10 minutes, or until the edges are just set and lightly golden. For soft and chewy cookies, err on the side of underbaking slightly.
- Let the cookies cool on the baking sheet for 5 minutes before transferring them to a wire rack to cool completely before decorating.
Notes
- For the best cut-out results, chill the rolled-out dough on the baking sheet for 10 minutes before baking.
- If you want extra fluffy sugar cookies, use room temperature eggs.
- Store decorated cookies in an airtight container at room temperature for up to one week.
Nutrition
- Serving Size: 1 cookie
- Calories: 150
- Sugar: 12
- Sodium: 95
- Fat: 7
- Saturated Fat: 4
- Unsaturated Fat: 3
- Trans Fat: 0
- Carbohydrates: 20
- Fiber: 0
- Protein: 2
- Cholesterol: 30