
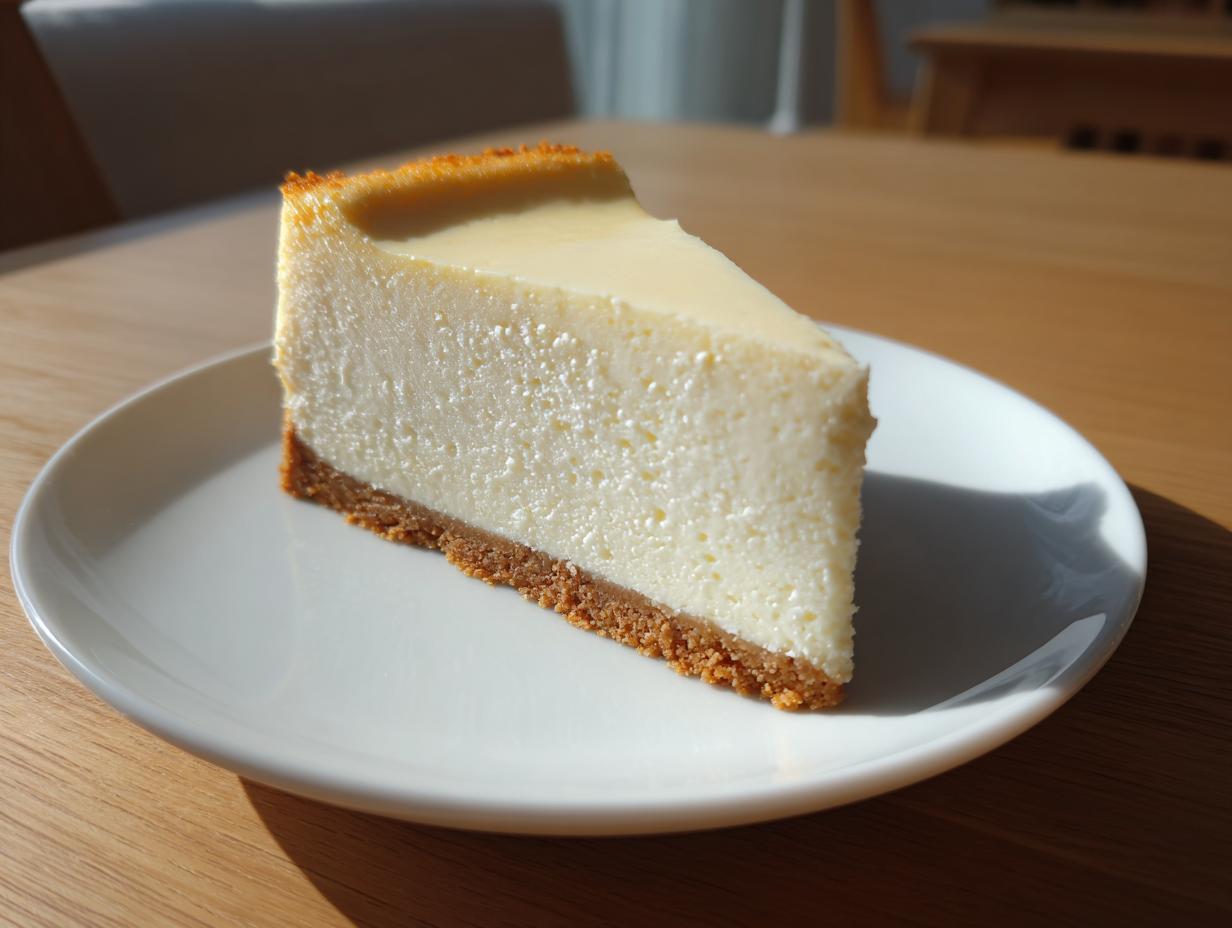
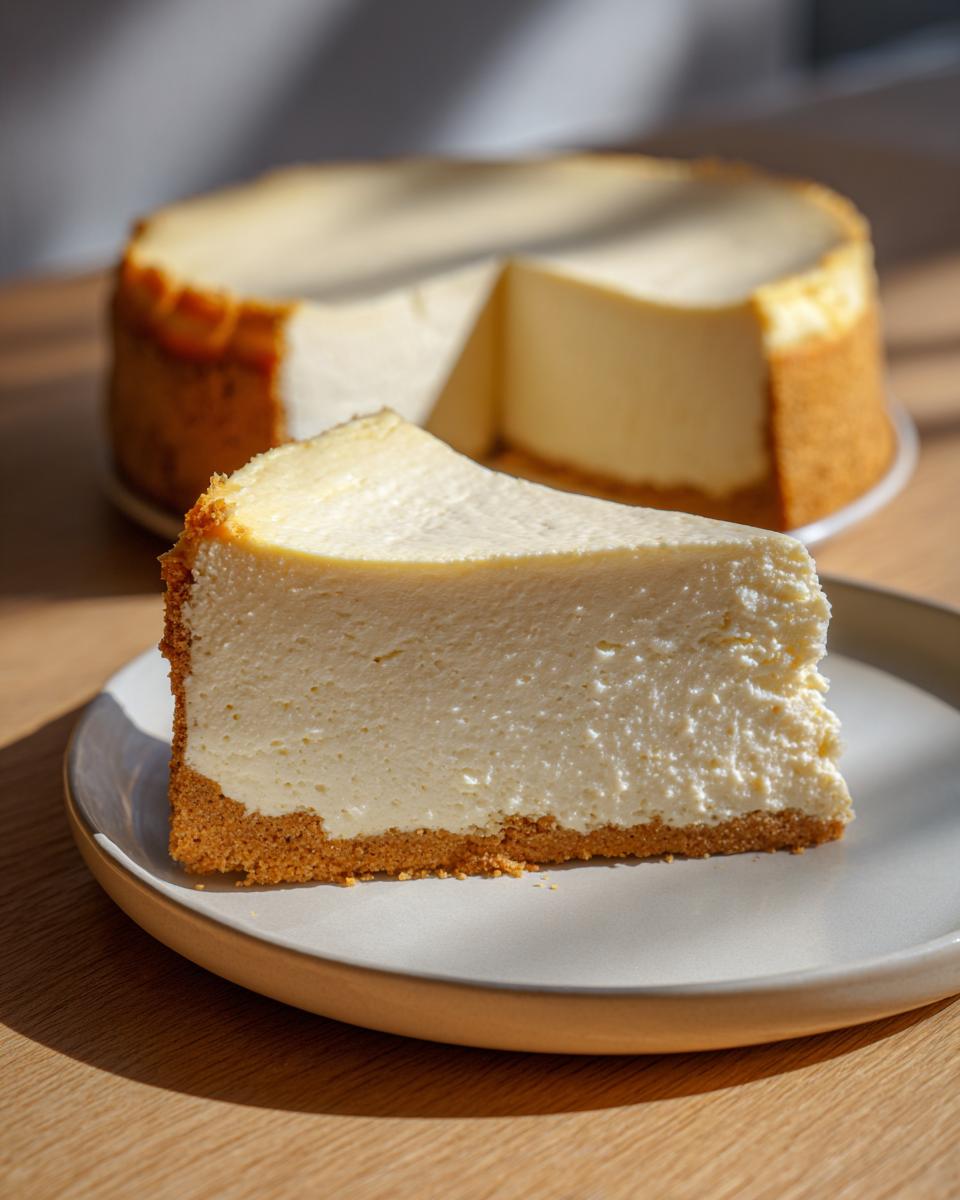
Oh, darling, if you’re looking for a truly decadent dessert that makes everyone stop talking the moment it hits the table, you’ve found it. Forget those chalky, crumbly attempts you might have struggled with before. I’ve spent uncountable hours testing, tweaking, and frankly, eating my mistakes to perfect this recipe. What I bring to you today is the ultimate baked white chocolate cheesecake. It’s rich, it’s impossibly creamy, and most importantly? It stays perfectly smooth and crack-free. Trust me, this is the gold standard, born from countless kitchen experiments to make sure you get that gourmet cheesecake recipes feeling without the stress.
We are going to nail that texture using a few gentle secrets I picked up turning my corporate stress into something delicious. If you’ve ever wanted a truly reliable guide, you know you can trust the meticulous testing that goes into every Seventh Flavour recipe. Before you dive into the steps, you might want to take a look at my classic technique for a rich, creamy, no-crack New York cheesecake; many of those principles apply right here!
- Why This Is The Best White Chocolate Cheesecake Recipe
- Gathering Your Ingredients for White Chocolate Cheesecake
- How to Make White Chocolate Cheesecake: A Baked White Chocolate Cheesecake Guide
- Cooling and Chilling for the Ultimate White Chocolate Cheesecake
- White Chocolate Raspberry Swirl Cheesecake Variations
- Tips for Success: Mastering Your White Chocolate Cheesecake
- Storage and Reheating Instructions for This Decadent White Chocolate Dessert
- Frequently Asked Questions About Making Cheesecake
- Estimated Nutritional Information
- Share Your Seventh Flavour Creations
Why This Is The Best White Chocolate Cheesecake Recipe
There are a million ways to make a cheesecake, but when you involve delicate white chocolate, you need precision. This recipe nails the flavor profile—that subtle sweetness without being cloying—but what really sets it apart is the texture. This isn’t just another dish; it’s easily the best white chocolate cheesecake recipe around because I’ve eliminated the usual headaches. No gritty filling, no leaning tower of dessert—just pure, smooth elegance every single time.
We are unlocking all the secrets for perfect cheesecake texture tips here, so you can stop worrying about cracks and start enjoying presentation.
Achieving That Creamy White Chocolate Cheesecake Tutorial Standard
The reason you trust this tutorial is simple: science! I test everything until it’s foolproof. The secret sauce? Two things: making sure all your ingredients, especially the cream cheese and eggs, are truly at room temperature before you even start mixing, and mastering the water bath. That water bath isn’t optional, folks; it’s crucial. It creates a steamy, gentle environment that bakes slowly, guaranteeing that velvety, melt-in-your-mouth result you’re dreaming of in this creamy white chocolate cheesecake tutorial.
Gathering Your Ingredients for White Chocolate Cheesecake
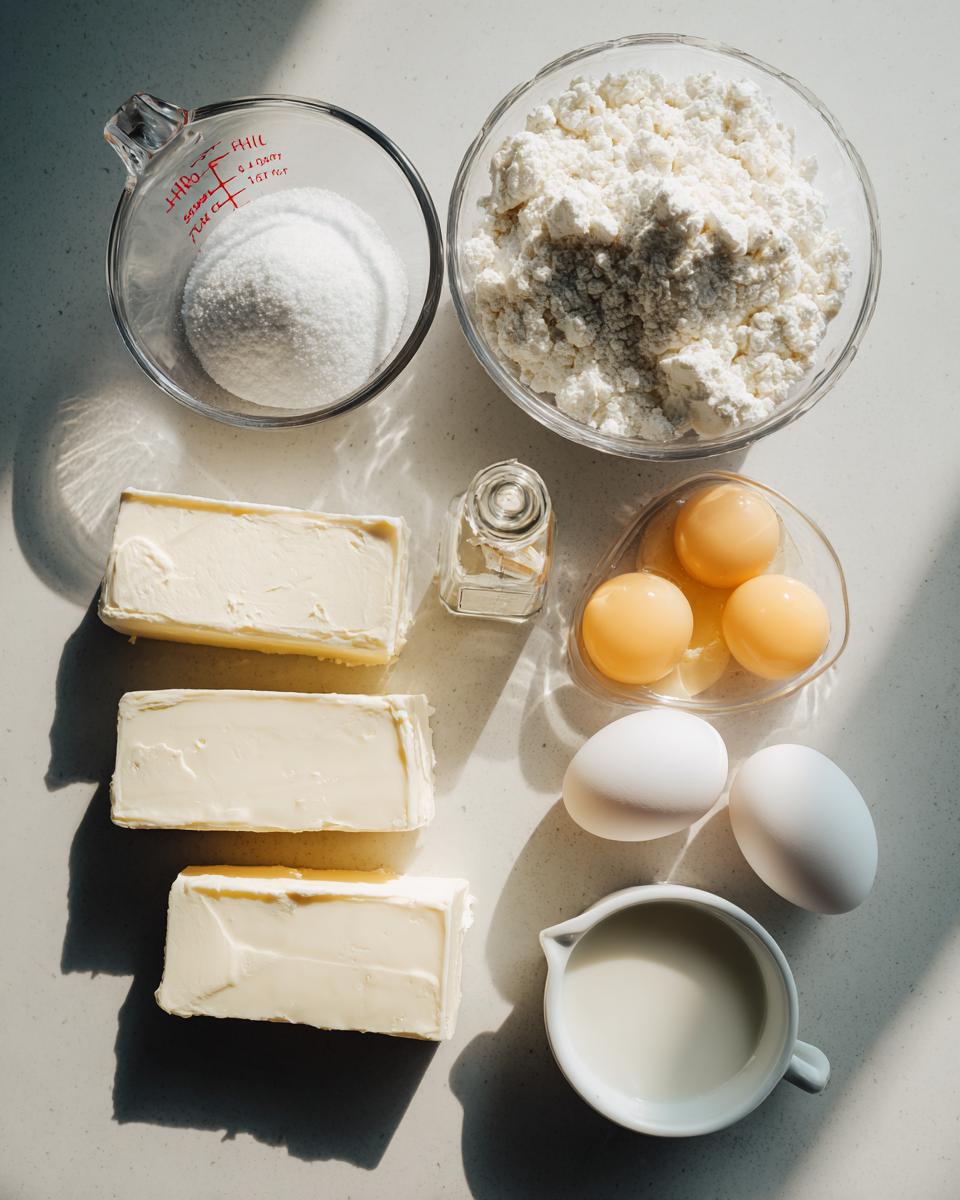
Alright, before we even think about turning on the oven, we need to talk about what goes into this masterpiece. Using high-quality ingredients here really matters, especially since the white chocolate flavor needs to shine through in this rich white chocolate dessert. Remember, great results start with accurate measurements! Pull everything out now and make sure your cream cheese and eggs have been resting on the counter for a good hour or two. They need to be soft, not melty, for the best mixing action.
We’re separating things out into two clear groups: the crust and the lovely, creamy filling. Don’t skip measuring your white chocolate precisely; we need it melted but just cool enough so it doesn’t scramble anything when it meets the cheese mixture. Getting this staged correctly means the actual baking process will be smooth sailing!
White Chocolate Crust Recipes Requirements
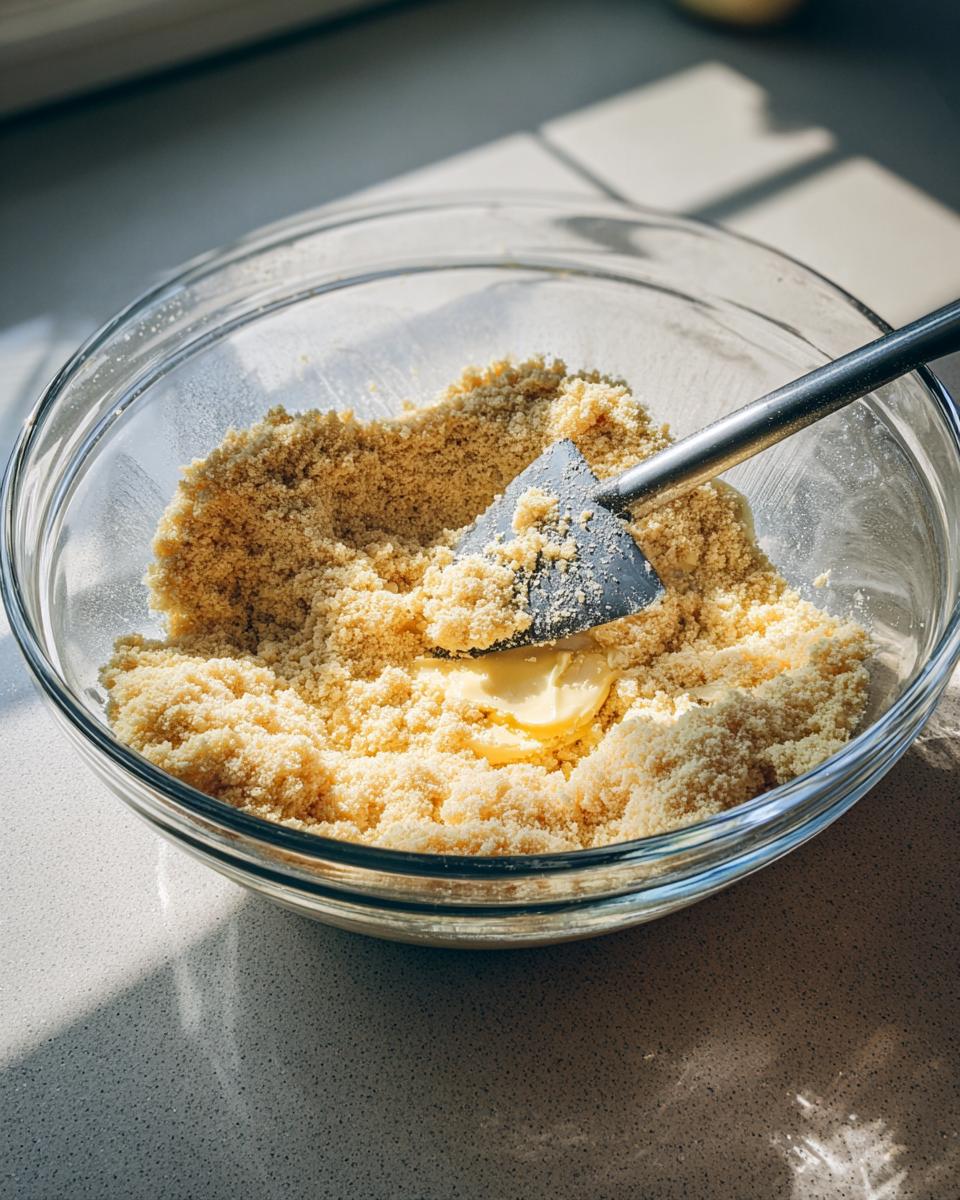
For the base, we’re keeping it beautifully crisp and simple. You’ll need about a cup and a half of vanilla wafer crumbs—yes, the whole vanilla wafer cookie crushed up makes the most wonderful base, better than graham crackers here, honestly. Mix those crumbs with just a quarter cup of granulated sugar and six tablespoons of melted, unsalted butter. Press that mixture firmly and evenly into the bottom of your prepared springform pan. It holds everything together!
The Rich White Chocolate Dessert Filling Components
Now for the heart of the show! You absolutely must have three 8-ounce packages of cream cheese—and they must be fully softened. We’ll use a cup and a half of sugar, just a dash of salt, and one teaspoon of vanilla extract for warmth. The star, of course, is one cup of pure white chocolate, melted down and allowed to cool slightly. Finally, four large eggs go in one at a time. Remember: room temperature eggs blend in without introducing excess air.
How to Make White Chocolate Cheesecake: A Baked White Chocolate Cheesecake Guide
Okay, we have our ingredients ready, so let’s get down to the real work of baking this magic! This walkthrough is your foolproof map for making a stunning white chocolate cheesecake. I like to think of the first step as setting the stage for success: preheating the oven to 325 degrees F. Crucially, you must aggressively wrap the outside bottom of your 9-inch springform pan with heavy-duty aluminum foil. I mean tight! Do this in two layers, wrapping up the sides, because water migration into the crust is the enemy of every good baker.
Preparing and Pre-Baking the Crust
Take your prepared vanilla wafer crumb mixture and press it down into the bottom of that foil-wrapped pan. Use the bottom of a dry measuring cup to really compact it—you want that foundation solid! Slide it into the preheated oven for about 10 minutes. This initial quick bake sets the crust so it doesn’t get soggy later. Once it’s done, pull it out, let it cool just a touch, and then we move straight to that gorgeous filling.
Mixing the Decadent White Chocolate Dessert Batter
This part is all about being gentle! Grab your mixer and beat that softened cream cheese until it’s completely lump-free. Then, add your sugar, vanilla, and salt. Mix that until it’s just barely combined. Remember those perfect cheesecake texture tips? We don’t want air! Next, pour in your slightly cooled melted white chocolate and mix on low until it’s just incorporated. Last but not least, add the eggs, one by one. Seriously, only mix until the yolk disappears before adding the next one. Scrape the sides often, but resist the urge to whip it!
Baking the White Chocolate Cheesecake with a Water Bath
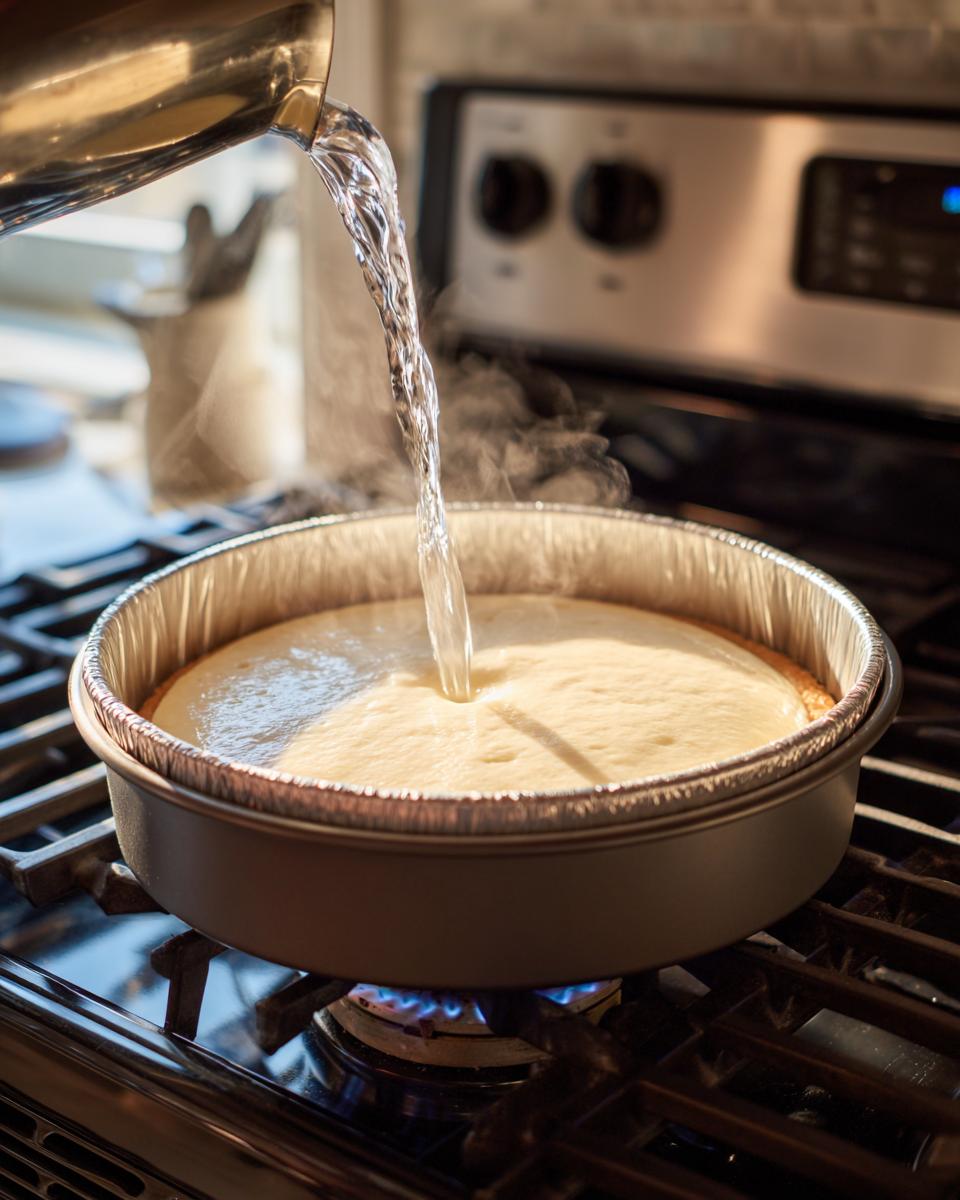
Now for the big finale! Pour that lovely batter over your cooled crust. Place the springform pan inside a larger roasting pan—this is where the water bath comes in. Carefully pour hot water into the roasting pan until it comes about halfway up the side of your cheesecake pan. This steamy environment is what keeps everything smooth while baking. Pop this whole setup into the oven and let it bake for 60 to 75 minutes. You’ll know it’s nearly ready when the edges look beautifully set, but the center (about a two-inch circle) still has a gentle jiggle, just like Jell-O. We don’t want it totally firm yet!
If you haven’t checked out my guide on preventing cracks in cheesecake, the logic in that article will help you understand why these next cooling steps are non-negotiable!
Cooling and Chilling for the Ultimate White Chocolate Cheesecake
You’ve done the hard part, but listen closely: the cooling process is where the real magic—or disaster—happens with any cheesecake. If you pull this beauty straight out of the oven and put it on the counter, I guarantee it will express its shock by cracking right down the middle. We absolutely cannot have that on our ultimate white chocolate cheesecake!
I rely on a slow, gentle transition out of the heat. Once that 60 to 75 minutes is up and you’ve confirmed that lovely wiggle in the center, turn off the oven completely. Don’t peek! Now, prop the oven door open just a crack—maybe use the handle of a wooden spoon to keep it wedged open slightly. Let the cheesecake sit in that warm, steamy environment for a full hour. This gradual temperature drop is the number one way I ensure a smooth top every single time. It’s the secret handshake for perfect, crack-free baking.
After that hour, very carefully remove the roasting pan from the oven, take the cheesecake out of the water bath, and gently peel off that aluminum foil wrapping. Set the cheesecake on a wire rack to cool down to room temperature completely. That might take another hour or two, so just let it be. Then, and this is the part that tests your willpower, cover it loosely with plastic wrap and move it to the fridge. It needs at least six hours, but honestly, overnight is where this flavor profile truly blossoms. Patience yields the most divine, rich white chocolate dessert!
White Chocolate Raspberry Swirl Cheesecake Variations
While our main recipe delivers that pure, unadulterated, gourmet cheesecake recipes experience, sometimes you want a little bit of drama on top, right? And that’s where variations come in! If you love that combination of creamy white chocolate with a little bit of tart brightness, you absolutely must try the swirl. It takes almost no extra effort but makes the final presentation look incredibly professional.
The method is wonderfully straightforward. When you are all finished mixing the main batter—before you pour it into that foil-wrapped pan during step five—you need to do one sneaky little act of larceny! Before you add the eggs (or right after you add the white chocolate, depending on how you structure your mixing), scoop out about one cup of the plain batter into a separate bowl. I mean, you can taste-test this bit—it’s allowed!
Now, take about half a cup of raspberry puree—homemade or good-quality store-bought works fine. Gently swirl that puree into the reserved batter cup. Don’t mix it to death; we want streaks! Then, pour the main white chocolate batter into the crust, and lightly dollop the raspberry mixture over the top. Take a butter knife and pull it through the batter in figure eights a few times. That’s it! You’ve just created a stunning white chocolate raspberry swirl cheesecake.
If you’re looking for other ways to incorporate rich textures alongside creamy fillings, you might want to check out how I handled the swirl in my red velvet cheesecake brownies. It’s the same principle, but the intensity of that cocoa plays beautifully against the cream cheese!
Tips for Success: Mastering Your White Chocolate Cheesecake
You’ve followed the steps, you’ve managed the water bath, and now you’re looking at a beautifully pale, delicious-smelling dessert cooling on the rack. But let’s chat for a second about fine-tuning those little details that elevate this from “good” to genuinely spectacular. If you want that consistently creamy white chocolate cheesecake tutorial result every single time you bake, remember these three non-negotiables.
First, I’m saying it again because it’s that important: temperature! If your cream cheese feels cold, it fights the sugar and creates lumps, no matter how long you beat it. And your eggs? They need to be the same temperature as the cheese. This helps them integrate without needing aggressive mixing, and that brings me to point two.
Secondly, please, do not over-beat the batter once the eggs are in. When you mix too fast or too long with the eggs present, you’re whipping air down into that rich mixture. When the cake cools, that trapped air collapses—hello, giant crater in the middle! Mix low and slow during that final stage. You need just enough blending power to incorporate that egg; that’s all.
Finally, revisit that water bath. I know it feels fussy, wrapping the pan in foil and setting it in a roasting tin, but it’s your insurance policy against dry edges and surface cracks. The moist heat surrounds the entire pan, ensuring that the temperature climbs slowly and evenly. If you’re using a stovetop to melt your white chocolate, make sure you let it cool down to lukewarm before adding it to the cream cheese—too hot, and you’ll destabilize that beautiful dairy base. It’s these finishing touches that transform a recipe into a tradition. Speaking of cream cheese, if you love how easily it mixes here, you have to try it in my cream cheese chocolate chip cookies for an extra soft chew!
Storage and Reheating Instructions for This Decadent White Chocolate Dessert
The waiting game is the hardest part when you’ve made something this good! For the absolute best experience—meaning the firmest cut and most incredible flavor—you really need to let this decadent white chocolate dessert chill overnight. Seriously, resist the urge to slice it warm. Once it’s fully chilled, cover the top gently with plastic wrap or foil so it doesn’t pick up any fridge odors, and keep it tucked away in the cold for up to four days.
Now, about reheating? Don’t do it! Cheesecake does not like heat once it’s set. If you try to warm up a slice, you risk everything melting into a puddle. If you want it to taste its very best, just pull the slice out of the fridge about 30 minutes before you plan to serve it. That little bit of time allows the fats to soften just enough so you get that perfect creamy mouthfeel we worked so hard to achieve.
Frequently Asked Questions About Making Cheesecake
It’s natural to have questions when you tackle a recipe that seems as elaborate as this gorgeous creation! Even with all the detailed instructions, sometimes you just need a quick answer to feel confident before you dive in. I’ve collected the questions I get asked most often about achieving that perfect bake and flavor profile.
Can I make this an easy white chocolate cheesecake (no-bake)?
That’s a great thought if you’re short on time! However, this specific recipe is designed as a baked white chocolate cheesecake guide, which relies on the eggs and slow heat to create that dense, unbelievably rich mouthfeel. A no-bake version relies on gelatin or whipped cream to set, and the texture will be much lighter, almost like a mousse. If you truly need something super fast, I recommend searching for a dedicated no-bake recipe, but trust me, the satisfaction of pulling this baked version perfection out of the oven is worth the extra hour!
What kind of white chocolate works best for this recipe?
This is where we separate the very good flavors from the truly spectacular ones. While you *can* use white chocolate chips, they contain stabilizers so they hold their shape while baking, which means they don’t always melt quite as smoothly into our creamy batter. For the absolute best result in this gourmet cheesecake recipes framework, I highly recommend using high-quality white chocolate bars, often called couverture, which has a higher cocoa butter content. You’ll want to chop it up roughly before melting it down and letting it cool slightly before adding it. That smooth melt translates directly into a smoother filling!
I know it sounds fussy, but using really good chocolate makes all the difference in the final taste. If you’re looking for more inspiration on making things easy, check out some of my other easy dessert recipes that don’t require all the fuss!
Estimated Nutritional Information
Now, because this is certainly a decadent treat perfect for special gatherings or holidays, I always like to give a little heads-up on what you’re serving. Please keep in mind that these numbers are just estimates! They are based on the ingredient amounts provided and my own calculations derived from those measurements. They should give you a good sense of the profile of this ultimate white chocolate cheesecake, but ratios can change based on the exact brand of white chocolate you use.
We’re looking at one slice, assuming this yields the standard 12 servings mentioned in the details. You’ll notice the fat content is higher, which is totally expected when dealing with heavy cream cheese and butter in the crust—that’s where the richness comes from!
- Serving Size: 1 slice
- Calories: 450
- Sugar: 35 grams
- Total Fat: 30 grams
- Protein: 8 grams
- Carbohydrates: 40 grams
- Cholesterol: 120 mg
This information really helps when planning a full menu, especially for a big celebration where you might be serving this holiday white chocolate cheesecake alongside other rich dishes. It’s all about balance, even in dessert!
Share Your Seventh Flavour Creations
I truly hope you’ve gathered all the confidence you need to tackle this stunning dessert. Honestly, seeing your results is the absolute highlight of sharing these meticulously tested recipes with you all! Whether you debuted this as your showstopper holiday white chocolate cheesecake or finally mastered the technique for your own personal gourmet cheesecake recipes collection, I want to see the creamy, crack-free beauty you created.
Once you’ve sliced into that chilled, perfect texture masterpiece, please, come back to the site and give the recipe a rating! It helps me know what’s working for all of you passionate home bakers out there. And if you shared your plate on social media, tag us! We absolutely adore scrolling through and seeing our favorite recipes come to life in your kitchens.
If you ever have a pressing question as you’re mixing or water-bathing, don’t hesitate to reach out through the contact page. Happy baking, and enjoy every decadent bite!
PrintUltimate Baked White Chocolate Cheesecake with Vanilla Wafer Crust

Follow this guide to create a rich, creamy, and crack-free baked white chocolate cheesecake using a simple vanilla wafer crust. This is the best white chocolate cheesecake recipe for a decadent dessert.
- Prep Time: 25 min
- Cook Time: 75 min
- Total Time: 100 min
- Yield: 12 servings 1x
- Category: Dessert
- Method: Baking
- Cuisine: American
- Diet: Vegetarian
Ingredients
- 1 1/2 cups vanilla wafer crumbs
- 1/4 cup granulated sugar
- 6 tablespoons unsalted butter, melted
- 3 (8 ounce) packages cream cheese, softened
- 1 1/2 cups granulated sugar
- 1 teaspoon vanilla extract
- 1/4 teaspoon salt
- 1 cup white chocolate, melted and slightly cooled
- 4 large eggs
Instructions
- Preheat your oven to 325 degrees F. Wrap the outside bottom of a 9-inch springform pan tightly with heavy-duty aluminum foil.
- Prepare the crust: Mix the vanilla wafer crumbs, 1/4 cup sugar, and melted butter in a bowl until combined. Press the mixture firmly and evenly into the bottom of the prepared springform pan. Bake for 10 minutes. Remove from the oven and let it cool slightly.
- Prepare the filling: In a large bowl, beat the softened cream cheese with an electric mixer until smooth. Add the 1 1/2 cups sugar, vanilla extract, and salt. Beat until just combined. Do not overmix.
- Pour the slightly cooled melted white chocolate into the cream cheese mixture and mix on low speed until fully incorporated.
- Add the eggs one at a time, mixing only until each egg is blended into the batter. Scrape down the sides of the bowl as needed.
- Pour the filling over the cooled crust. Place the springform pan inside a larger roasting pan. Carefully pour hot water into the roasting pan until the water reaches halfway up the sides of the springform pan. This water bath helps achieve a perfect cheesecake texture.
- Bake for 60 to 75 minutes. The edges should look set, but the center 2 inches should still jiggle slightly when gently nudged.
- Turn off the oven, crack the oven door open slightly, and let the cheesecake cool inside the oven for 1 hour. This slow cooling prevents cracking.
- Remove the cheesecake from the water bath and foil. Let it cool completely on a wire rack. Once cool, cover and refrigerate for at least 6 hours, or preferably overnight, before serving.
Notes
- For a white chocolate raspberry swirl cheesecake, reserve 1 cup of the plain batter and swirl in 1/2 cup of raspberry puree before baking.
- To achieve a creamy texture, ensure your cream cheese and eggs are at room temperature before mixing.
- If you skip the water bath, you risk a dry texture and potential cracking.
Nutrition
- Serving Size: 1 slice
- Calories: 450
- Sugar: 35
- Sodium: 250
- Fat: 30
- Saturated Fat: 18
- Unsaturated Fat: 12
- Trans Fat: 0.5
- Carbohydrates: 40
- Fiber: 1
- Protein: 8
- Cholesterol: 120