
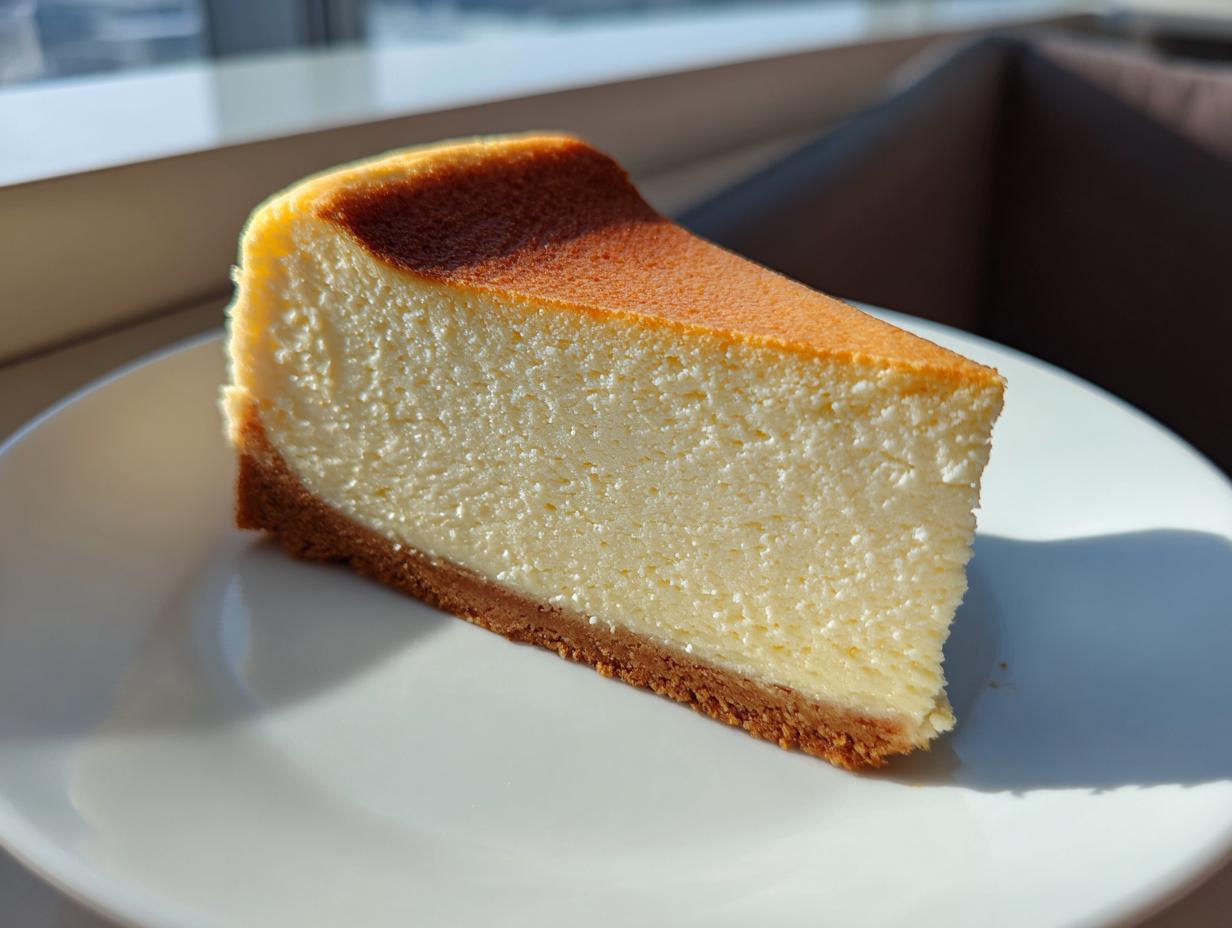
I still remember the first time I tasted a truly authentic slice of new york cheesecake—it was dense, impossibly creamy, and just slightly tangy. I thought that level of perfection was reserved only for the iconic bakeries in Manhattan. But I was determined to bring that experience right into my own Pacific Northwest kitchen! After years of testing, tweaking temperatures, and agonizing over ingredients, I finally nailed it. This isn’t just another recipe; this is the definitive, rich, and creamy guide that guarantees a crack-free finish every single time. We’ve poured countless hours into perfecting this classic baked cheesecake method, and now, I’m sharing all my secrets with you so you can bake with total confidence. You can find more of my detailed notes on mastering this style right here: mastering the crack-free finish.
- Why This Is The Best New York Cheesecake Recipe You Will Make
- Ingredients for Your Classic Baked Cheesecake
- Step-by-Step Instructions for the Ultimate New York Cheesecake
- Baking Secrets for Cheesecake Success: Avoiding Cracks
- Ingredient Notes and Substitutions for New York Cheesecake
- Serving Suggestions for Your Timeless Dessert Recipe
- Storage and Reheating Instructions for Homemade Cheesecake Guide
- Frequently Asked Questions About New York Cheesecake
- Nutritional Information for This Dessert for Special Occasions
Why This Is The Best New York Cheesecake Recipe You Will Make
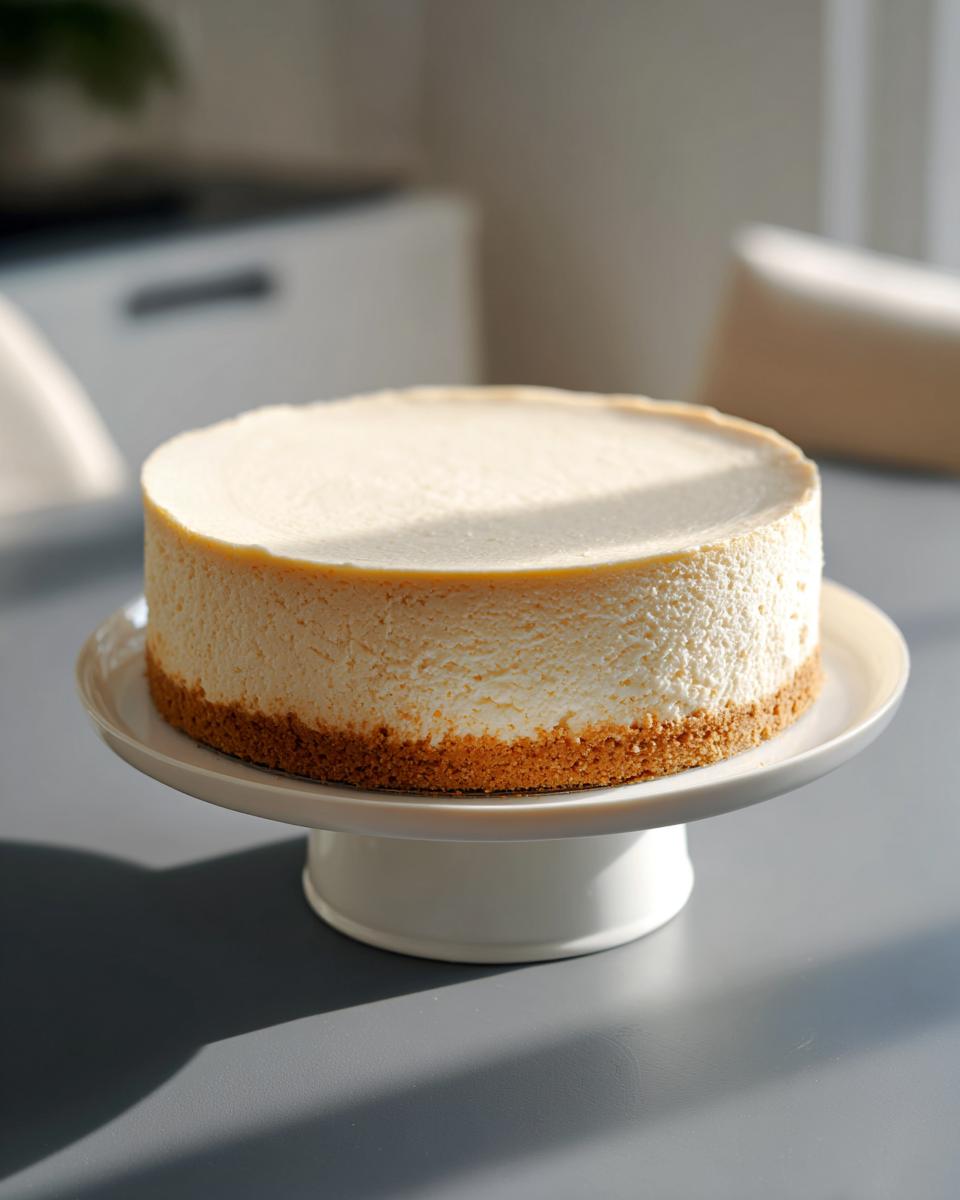
I’ve tried so many recipes over the years, but this truly is the best new york cheesecake recipe out there. What sets it apart? The texture! I used to have problems where my cheesecake came out fluffy, almost like a tray-bake. Then I learned the secret years ago—it has to be dense. This recipe delivers that substantial, heavy feel that makes it the ultimate rich decadent dessert.
I remember one time I rushed the chilling process, and the edges just didn’t set right. Now, I never cut corners, because the wait pays off tenfold when you slice into that perfect, velvety piece. This texture is everything! If you ever need a quick, reliable sauce recipe to go alongside it, check out my guide for easy homemade mayonnaise—it sounds odd, but a tiny bit of tang pairs beautifully sometimes!
Achieving That Signature Tall and Creamy New York Cheesecake Texture
The secret to that classic, slightly tangy density lies in two places. First: you absolutely must use full-fat cream cheese; anything less just won’t support the structure. Second, the ingredients—especially the eggs and the cream cheese—must be at true room temperature. When everything is uniformly soft, it mixes into that amazing creamy cheesecake batter without any lumps, guaranteeing that velvety smooth result we are after.
Ingredients for Your Classic Baked Cheesecake
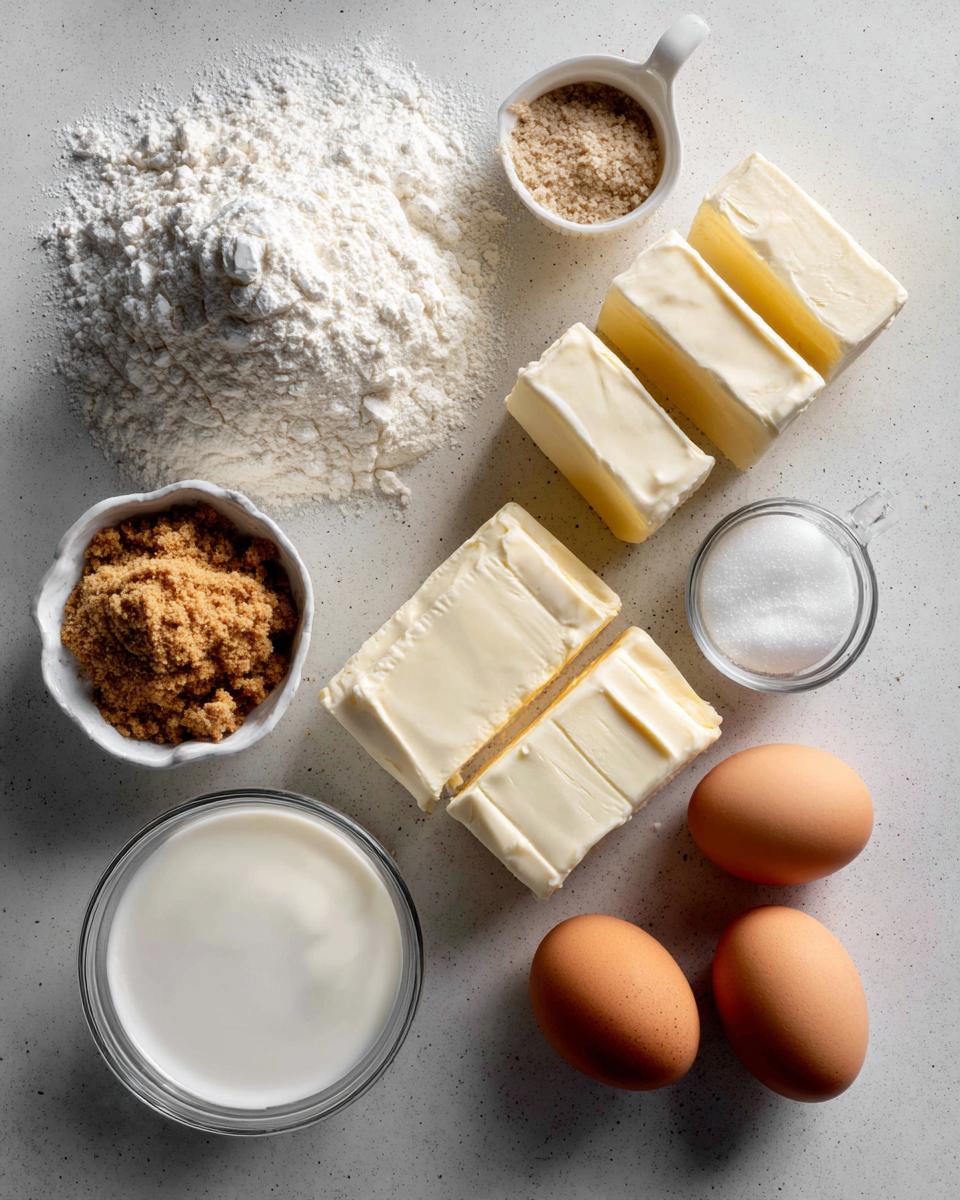
Gathering your arsenal is half the battle, right? For this classic baked cheesecake, we need precision because every element plays a role in achieving that flawless density. Trust me when I say the difference between using room-temperature eggs and cold eggs is huge—you’ll save yourself so much heartache later! We need full-fat cream cheese, and it has to be completely softened to room temperature. Also, grab some heavy-duty aluminum foil; we’ll be using it soon for the water bath to keep everything watertight!
For the Graham Cracker Crust Cheesecake Base
You only need three simple things for our buttery foundation. Remember, you want this crust to hold up beautifully against that rich filling, so don’t be shy when you press it down into that springform pan! Make sure it’s packed tightly!
- 1 1/2 cups graham cracker crumbs
- 1/4 cup granulated sugar (for crust)
- 6 tablespoons unsalted butter, melted
For the Creamy Cheesecake Filling
The filling is where the magic happens, and this is where room temperature becomes your best friend. Cold cream cheese never fully blends, leaving you with those annoying little lumps we absolutely do not want in our new york cheesecake. Make sure your sour cream and eggs have been sitting out too!
- 4 (8 ounce) packages full-fat cream cheese, softened to room temperature
- 1 1/2 cups granulated sugar (for filling)
- 1/4 cup all-purpose flour
- 1 teaspoon vanilla extract
- 1/4 teaspoon salt
- 1 cup sour cream, room temperature
- 4 large eggs, room temperature
If you’re looking for a richer flavor profile in general, I sometimes find that using a home-made sauce helps elevate even simple dishes, like this creamy homemade alfredo sauce, though this cheesecake is perfect on its own!
Step-by-Step Instructions for the Ultimate New York Cheesecake
Okay, deep breath! Baking this masterpiece requires attention, but if you follow these steps exactly, you’re going to end up with something stunning. We need to treat this batter gently, so remember my golden rule: don’t whip air into it unless you want cracks! We’re aiming for smooth and decadent here. We use the water bath technique, which is crucial for even cooking, making this process straightforward. If you like dipping crackers or fruit into things, I have a great easy fruit dip recipe you can try with leftovers!
Preparing the Crust and Pan for Your New York Cheesecake
First things first, let’s get that base ready! Preheat your oven to 350°F (175°C). Mix your graham cracker crumbs, the crust sugar, and that melted butter until it looks like wet sand. Press this mixture down really firmly into the bottom of your 9-inch springform pan. Don’t be shy—packing it tight is key! Bake it for just 10 minutes, then let it cool fully while you work on the filling. Now, wrap the outside bottom and sides of that pan tightly with heavy-duty foil. I usually do three layers because those leaks are the worst!
Mixing the Rich Decadent Dessert Filling
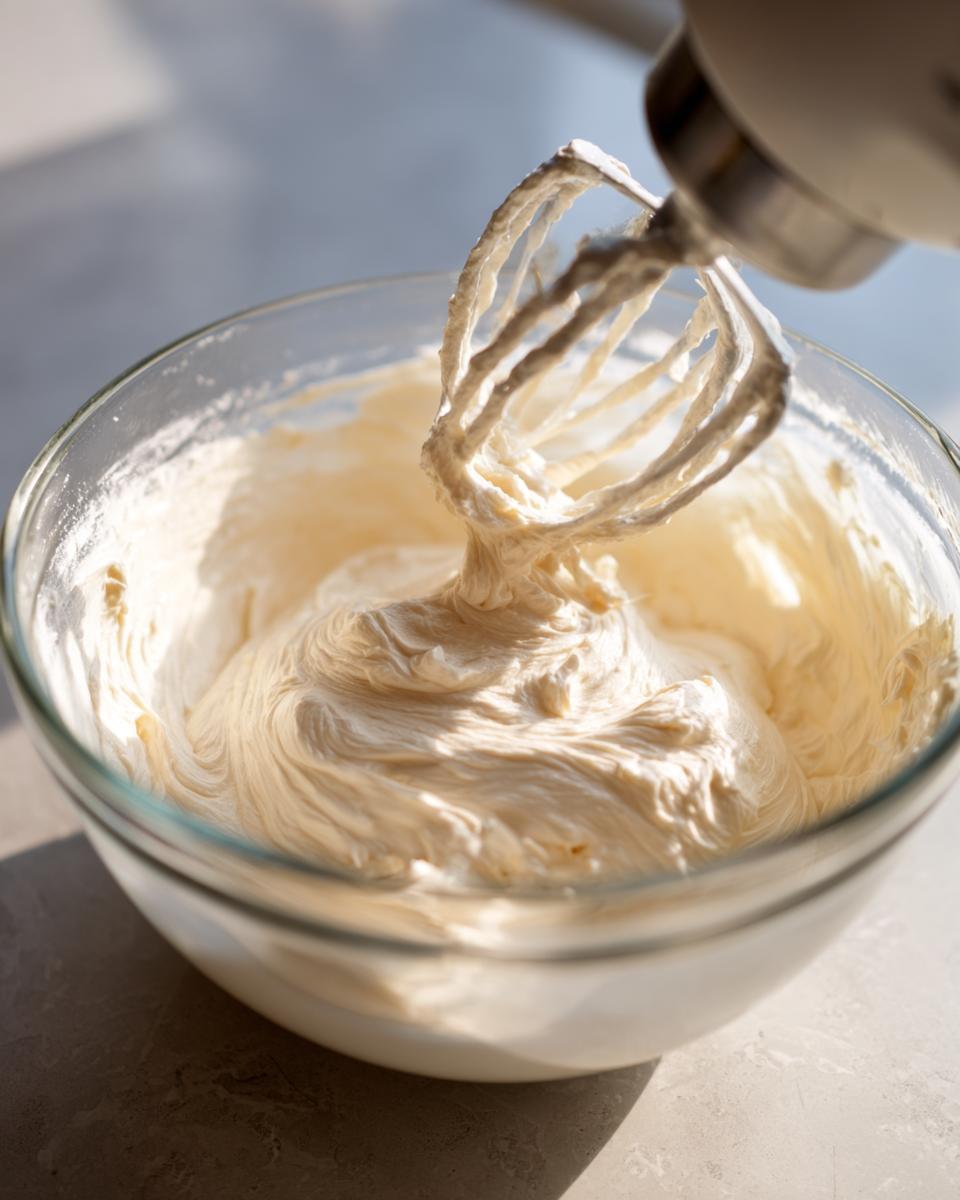
This is where patience pays off. Start by beating that softened cream cheese until it is absolutely smooth—no lumps allowed! Scrape down the bowl, then slowly beat in the sugar, flour, vanilla, and salt until it’s just combined. Next, mix in the sour cream until smooth again. Now, the most important part for creating that perfect new york cheesecake density: the eggs! Add them one at a time, mixing only until you see the yellow disappear. Stop the mixer immediately after the last egg blends in! We are intentionally avoiding overmixing to keep this a truly rich decadent dessert.
Baking and Slow Cooling for a No Crack Cheesecake
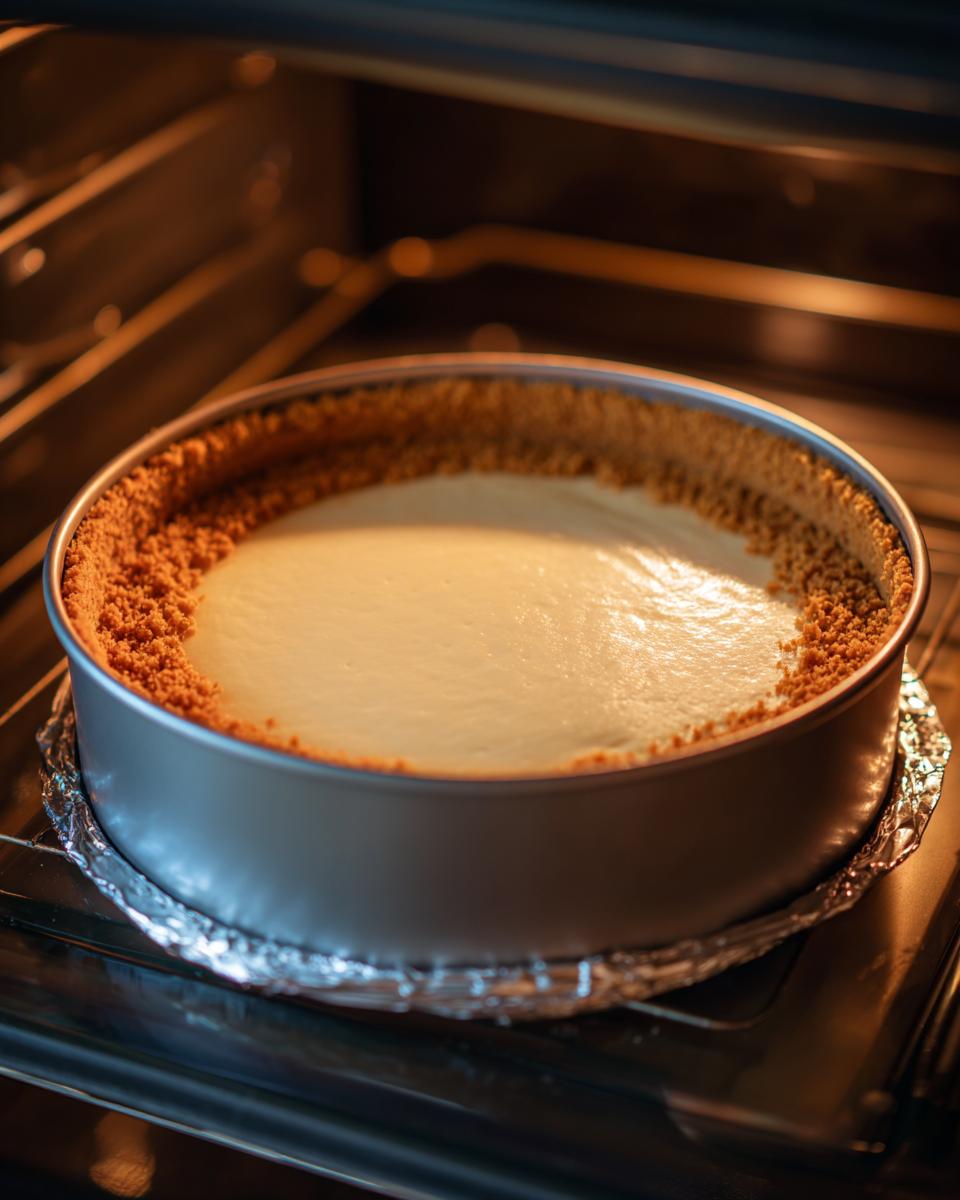
Place your foil-wrapped cheesecake pan inside a large roasting pan. Carefully pour hot water into the roasting pan until it comes about halfway up the side of your springform pan—that’s your water bath working its magic! Bake at 350°F (175°C) for 15 minutes. Then, drop the temperature way down to 250°F (120°C) and bake for another 60 to 75 minutes. The center should still wiggle slightly, like firm jelly. To achieve that gorgeous no crack cheesecake top, turn the oven off, prop the door open slightly (a wooden spoon works perfectly), and let it cool inside for a full hour. This slow descent prevents shocking the surface!
Baking Secrets for Cheesecake Success: Avoiding Cracks
Believe me, the most stress in baking a new york cheesecake comes from worrying about that hairline crack appearing across the top just as it cools. It’s heartbreaking! But I promise you, the real secret isn’t in some fancy added ingredient; it’s all about temperature management, especially during the transition out of the heat.
We covered the water bath, which keeps the edges from setting too fast, but the final cooling step is just as vital for getting that tall and creamy cheesecake structure you see in the magazines. Never, ever take a hot cheesecake directly out of the oven and set it on the counter. That rapid temperature drop shocks the surface. My slow cooling technique makes sure the cheesecake contracts gently, yielding a flawless, luxurious top ready for chilling.
If you want a fantastic, moist recipe to use up any excess ingredients (like leftover eggs!), you absolutely have to try my best bran muffins—they hold moisture beautifully!
Ingredient Notes and Substitutions for New York Cheesecake
We talked about ingredients briefly, but let’s really hammer home why sourcing the right stuff matters for this creamy cheesecake. My biggest point, which I learned the hard way, is about temperature. If your cream cheese, sour cream, or eggs are too cold, they won’t blend properly, leading to a lumpy texture instead of that beautiful, smooth finish that defines this style. I only use full-fat cream cheese; anything less just can’t deliver the richness we need!
This recipe is designed around traditional elements, but if you want a little zip, try adding the zest of one small lemon along with your vanilla extract. It brightens the whole thing up without changing the structure. And hey, if you want to check out another incredible, moist recipe, my red velvet cupcakes use temperature the same way to stay perfectly tender!
Serving Suggestions for Your Timeless Dessert Recipe
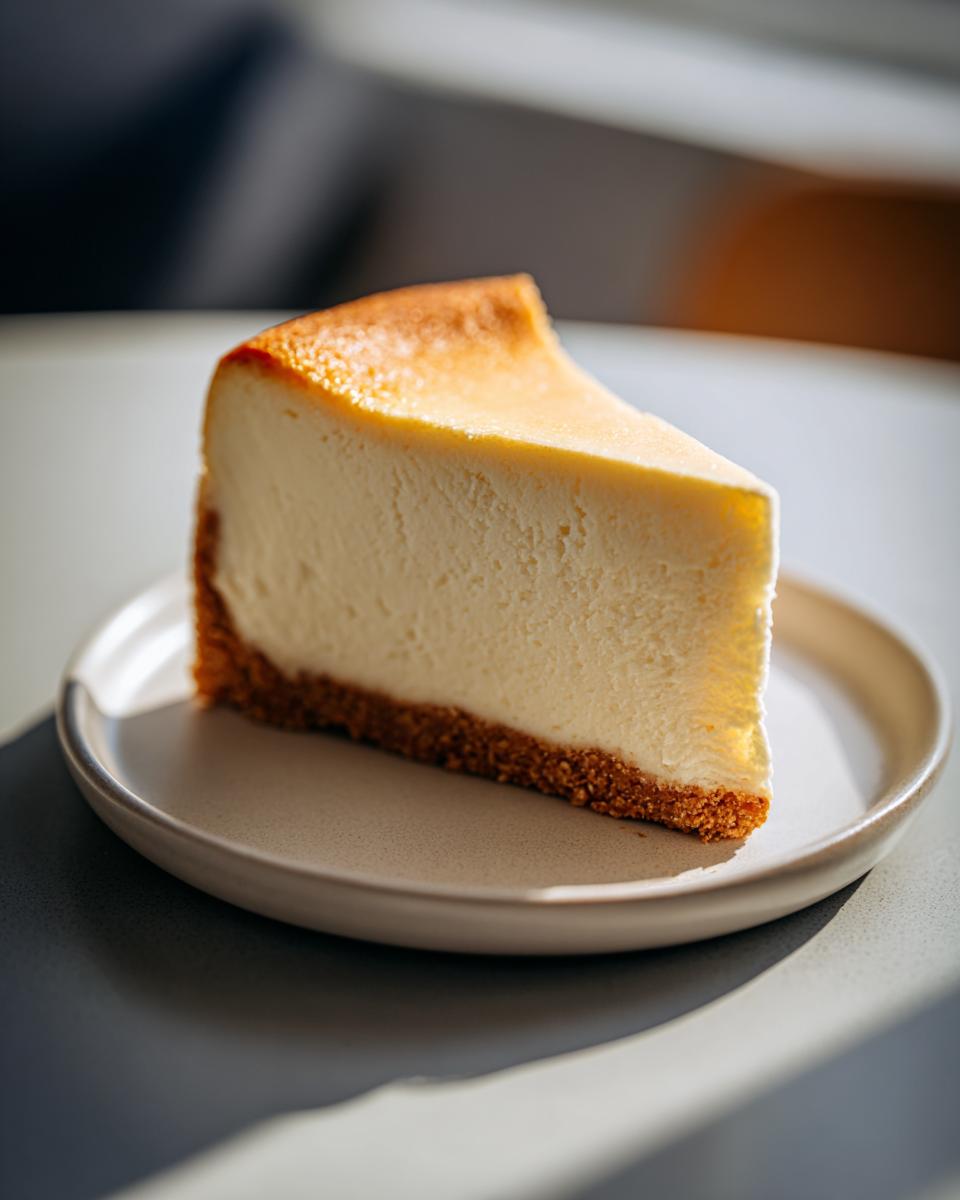
Once you’ve mastered the bake and chilled this incredible new york cheesecake overnight, the final step is deciding how to present this timeless dessert recipe! Because this cake is so wonderfully rich and dense on its own, I always lean toward toppings that complement the tang, not ones that fight it.
My favorite way? A simple dusting of powdered sugar, letting that perfect, smooth surface be the star. If you need a little color or moisture enhancement, a quick homemade cherry or raspberry sauce is heavenly. It’s quick to whip up, and the tart fruit cuts through the richness perfectly. I love making simple sauces that don’t take hours; for instance, this recipe for easy Texas Roadhouse style baked salmon taught me a lot about maximizing flavor with minimal fuss!
Storage and Reheating Instructions for Homemade Cheesecake Guide
You’ve made it! Now you need to treat your masterpiece right so it stays perfect for serving. This classic baked cheesecake needs time to truly set up, so you must refrigerate it for a minimum of 6 hours, but honestly, overnight is when the flavor deepens beautifully and the texture becomes its absolute best.
When you cover it, be gentle! Plastic wrap tends to stick right to the surface, which can mess up your beautiful top. I always recommend covering it loosely with plastic wrap, or even better, using a cake dome or large bowl to tent it. If you want to freeze any leftovers (if there are any!), wrap the slices tightly first in plastic wrap and then foil. When you thaw them in the fridge, they’ll still be great, though the texture might be ever so slightly softer than when fresh.
If you ever need make-ahead tips for sides, my recipe for twice-baked potatoes is a lifesaver for busy days!
Frequently Asked Questions About New York Cheesecake
I know you’re excited to bake this, but sometimes little questions pop up right before you get started or right after you pull it out of the oven! Don’t stress; these are the exact things I worried about when I was first figuring out this recipe. I’ve gathered the most common ones to save you a trip searching.
Can I make this without a water bath for a creamy cheesecake?
You absolutely *can*, but I really have to advise against it if you’re set on that signature dense, unbelievably smooth result. A water bath creates a moist, even heat environment. Without it, the edges cook way faster than the center, which is the main cause of dryness and cracking. For a true creamy cheesecake that rivals the best diners, the water bath is non-negotiable for me!
How long does the total chilling time take for the ultimate cheesecake?
For a taste test, you could technically get away with chilling this for at least 6 hours after it has cooled completely. However, if you want the ultimate cheesecake experience—where the flavors have married and the texture is firm enough to slice perfectly—you really need to let it chill overnight. Seriously, push through the patience hurdle, and you’ll thank yourself the next day!
If you ever get stuck or have a question while you’re actively baking, feel free to reach out to me directly through my contact page. Happy baking!
Nutritional Information for This Dessert for Special Occasions
Now, look, I’m not a nutritionist, and this is an indulgent, homemade dessert for special occasions, so we aren’t focused on calorie counts here! But I do like to give an approximation for those of you who like to keep track. Remember, these numbers are estimates based on the exact ingredient amounts in the recipe card, and they can certainly change depending on the brands of cream cheese or butter you decide to use.
Here is a rough look at what a single slice of this classic baked cheesecake might contain:
- Serving Size: 1 slice
- Calories: 450
- Fat: 30g (A lot of that is that lovely cream cheese fat!)
- Carbohydrates: 40g
- Protein: 8g
If you’re curious about who I am and how I test these recipes out in my own kitchen, you can always pop over to my About page!
PrintClassic New York Cheesecake: Rich, Creamy, and No-Crack Recipe
Follow this guide to bake the ultimate New York Style Cheesecake. You get a dense, rich, and velvety smooth dessert with a buttery graham cracker crust. We include steps to prevent cracking for a flawless finish.
- Prep Time: 30 min
- Cook Time: 90 min
- Total Time: 13 hours
- Yield: 12 servings 1x
- Category: Dessert
- Method: Baking
- Cuisine: American
- Diet: Vegetarian
Ingredients
- 1 1/2 cups graham cracker crumbs
- 1/4 cup granulated sugar (for crust)
- 6 tablespoons unsalted butter, melted
- 4 (8 ounce) packages full-fat cream cheese, softened to room temperature
- 1 1/2 cups granulated sugar (for filling)
- 1/4 cup all-purpose flour
- 1 teaspoon vanilla extract
- 1/4 teaspoon salt
- 1 cup sour cream, room temperature
- 4 large eggs, room temperature
Instructions
- Prepare the crust: Preheat your oven to 350°F (175°C). Mix graham cracker crumbs, 1/4 cup sugar, and melted butter. Press the mixture firmly into the bottom of a 9-inch springform pan. Bake for 10 minutes. Let cool completely.
- Prepare the water bath: Wrap the outside bottom and sides of the springform pan tightly with heavy-duty aluminum foil to prevent water from leaking in. Set the wrapped pan inside a larger roasting pan.
- Make the filling: In a large bowl, beat the softened cream cheese with an electric mixer until completely smooth. Scrape down the sides.
- Gradually beat in the 1 1/2 cups sugar, flour, vanilla extract, and salt until just combined. Do not overmix.
- Beat in the sour cream until smooth. Add the eggs one at a time, mixing only until each egg is incorporated. Stop mixing as soon as the last egg is blended in. Overmixing adds air, which causes cracking.
- Pour the filling over the cooled crust in the springform pan.
- Bake using the water bath: Carefully pour hot water into the roasting pan until the water reaches about halfway up the sides of the springform pan.
- Bake at 350°F (175°C) for 15 minutes. Then, reduce the oven temperature to 250°F (120°C) and continue baking for 60 to 75 minutes, or until the edges are set but the center still jiggles slightly when gently nudged.
- Cool slowly: Turn off the oven, but leave the cheesecake inside with the oven door propped open slightly (use a wooden spoon). Let it cool in the oven for 1 hour. This slow cooling prevents cracking.
- Remove the cheesecake from the water bath and foil. Let it cool completely on a wire rack at room temperature.
- Chill: Cover the cheesecake loosely and refrigerate for at least 6 hours, or preferably overnight, before serving. Run a thin knife around the edge before releasing the springform side.
Notes
- Room temperature ingredients (cream cheese, sour cream, eggs) blend better, creating a smoother, lump-free filling.
- Do not open the oven door during the initial baking period at 350°F.
- For the creamiest texture, use full-fat cream cheese only.
Nutrition
- Serving Size: 1 slice
- Calories: 450
- Sugar: 35g
- Sodium: 300mg
- Fat: 30g
- Saturated Fat: 18g
- Unsaturated Fat: 12g
- Trans Fat: 0.5g
- Carbohydrates: 40g
- Fiber: 1g
- Protein: 8g
- Cholesterol: 120mg