
Oh, the heartbreak of a beautiful cookie cutter that turns into a blob in the oven! I remember those frustrating afternoons years ago, even back when I was juggling marketing budgets instead of measuring flour. That’s why finding the right sugar cookie recipe felt like uncovering buried treasure. It shouldn’t be this hard to get that perfect, buttery, delicious cookie that stays exactly the shape you cut it into, ready for decorating. After countless hours of testing—because moving from a corporate desk to perfecting recipes in my own kitchen means I take success seriously—I finally nailed it. This is the simple, reliable recipe I developed for you, guaranteeing soft centers and sharp, bake-proof edges every single time. If you want to know more about my journey leaving marketing to focus on sharing these kitchen secrets, you can read all about it on my about page.
- Why This Classic Sugar Cookie Recipe is Your New Go-To
- Ingredients for Buttery Sugar Cookies for Decorating
- How to Prepare Easy Cut Out Sugar Cookies That Hold Their Shape
- Baking Tips for Soft Sugar Cookies that Don't Spread
- Ingredient Notes and Substitutions for Your Sugar Cookie Recipe
- Making Simple Icing Sugar Cookies: Finishing Your Classic Holiday Sugar Cookies
- Storage & Reheating Instructions for Homemade Sugar Cookies
- Frequently Asked Questions About Perfect Sugar Cookies Every Time
- Estimated Nutritional Data for This Sugar Cookie Recipe
- Share Your Seventh Flavour Sugar Cookie Creations
Why This Classic Sugar Cookie Recipe is Your New Go-To
Forget those recipes that promise the world but deliver sad, melted puddles on your baking sheets. This isn’t just another cookie recipe; it’s the foundation for stress-free holiday baking. We’ve tested this to make sure it’s the Best Sugar Cookie Recipe you’ll ever put in your rotation. What makes it different? A few key ingredient ratios work together brilliantly to give you structure without sacrificing flavor.
- Zero Dough Guilt: Guaranteed to hold its shape for those intricate cut-outs.
- Texture Perfection: Soft and delightfully chewy, never brittle or dry.
- Buttery Flavor: It tastes homemade because it is! We don’t skimp on the good stuff.
Soft Texture Meets Perfect Structure for the Ideal Sugar Cookie
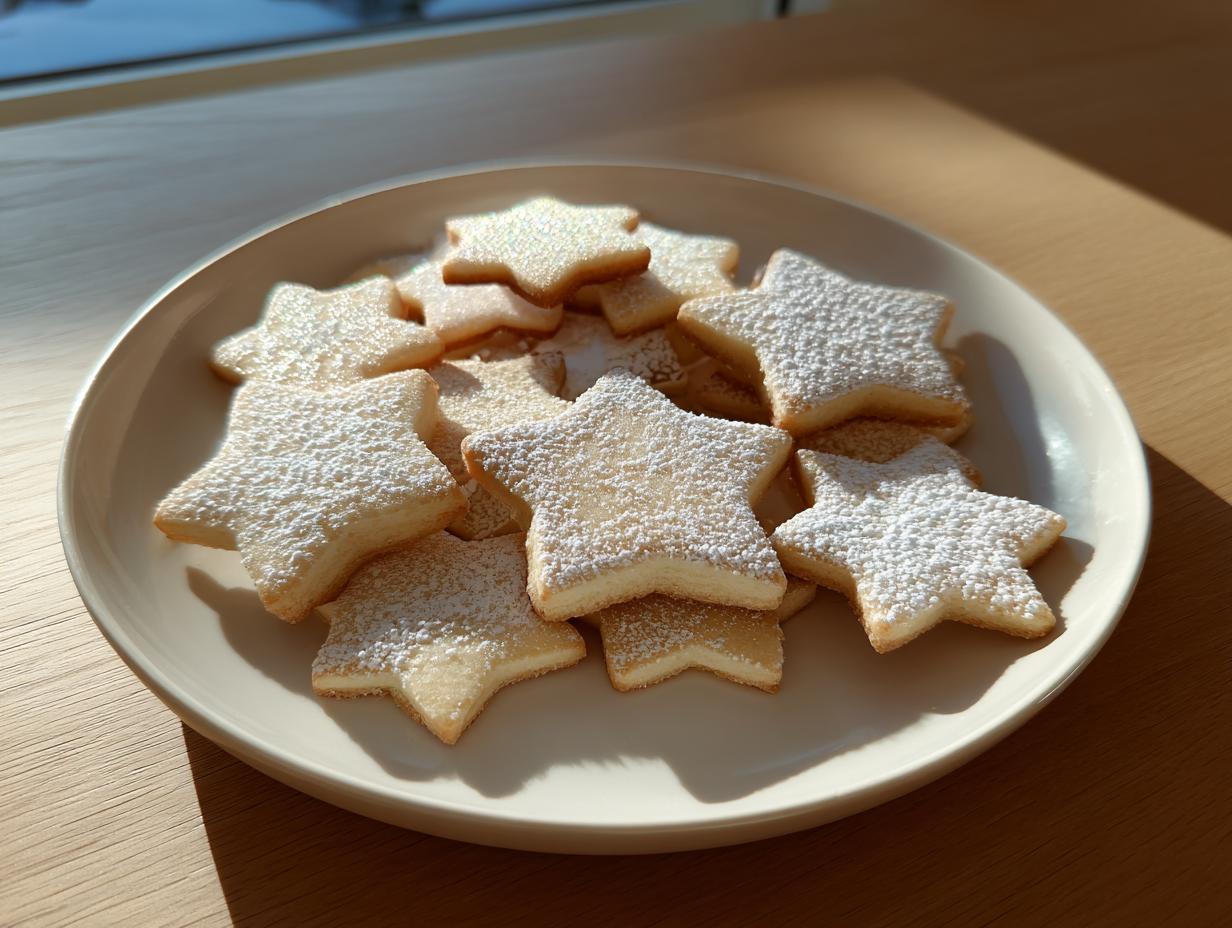
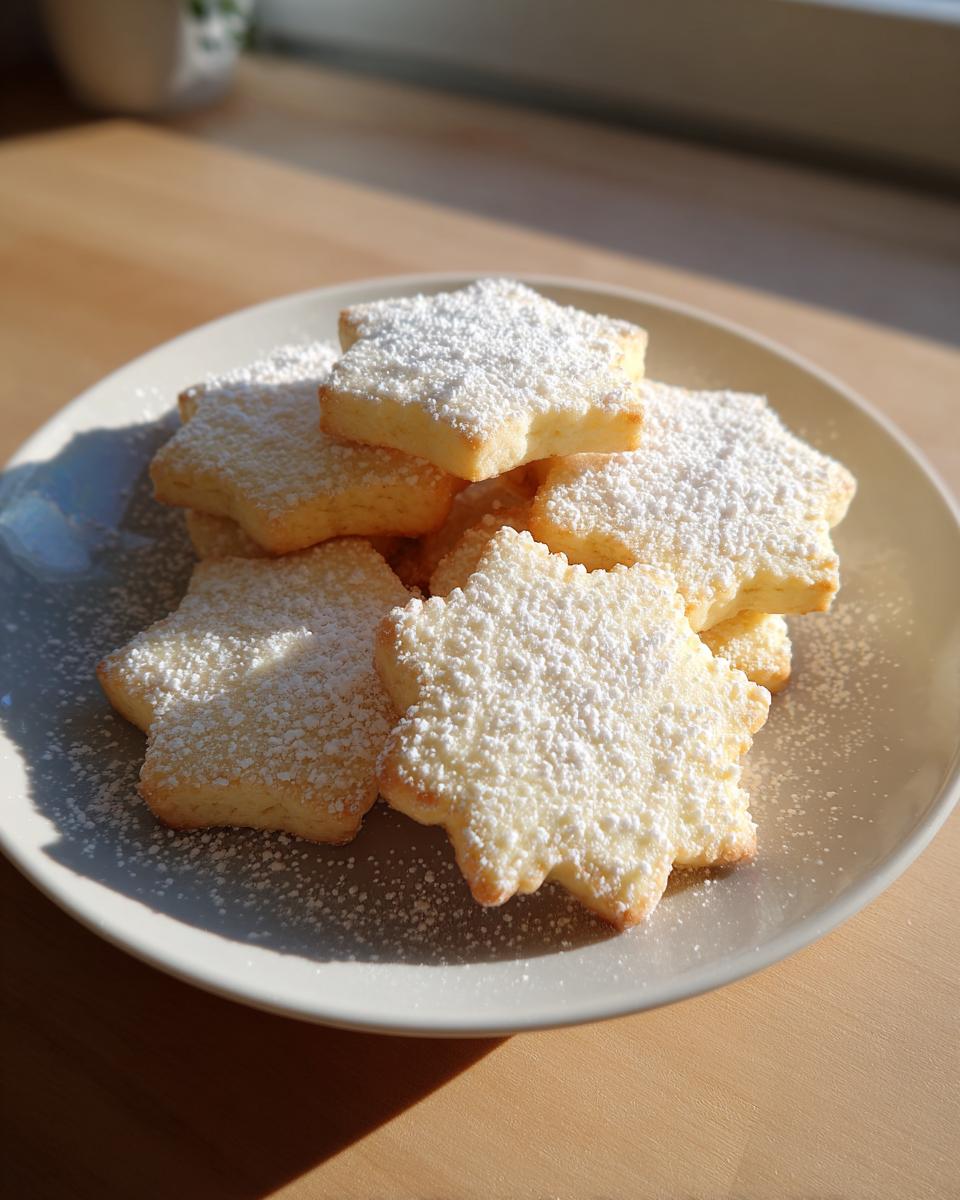
This is the sweet spot that so many bakers miss! We managed to create a cookie that is exquisitely soft and has that perfect buttery melt, but it still bakes up with sharp edges. You won’t have to wrestle with your dough or waste shapes because they spread into unrecognizable blobs. This balance is the secret to the perfect sugar cookies every time, ready for whatever frosting design you have planned.
Ingredients for Buttery Sugar Cookies for Decorating
Getting the ingredients right is where the magic for these Buttery Sugar Cookies for Decorating really begins. Please don’t rush this part! Everything needs to be exactly as listed, especially the butter temperature. I swear, room temperature butter is non-negotiable for that light, fluffy creaming step later on. These simple measurements result in a dough that handles beautifully and tastes incredible.
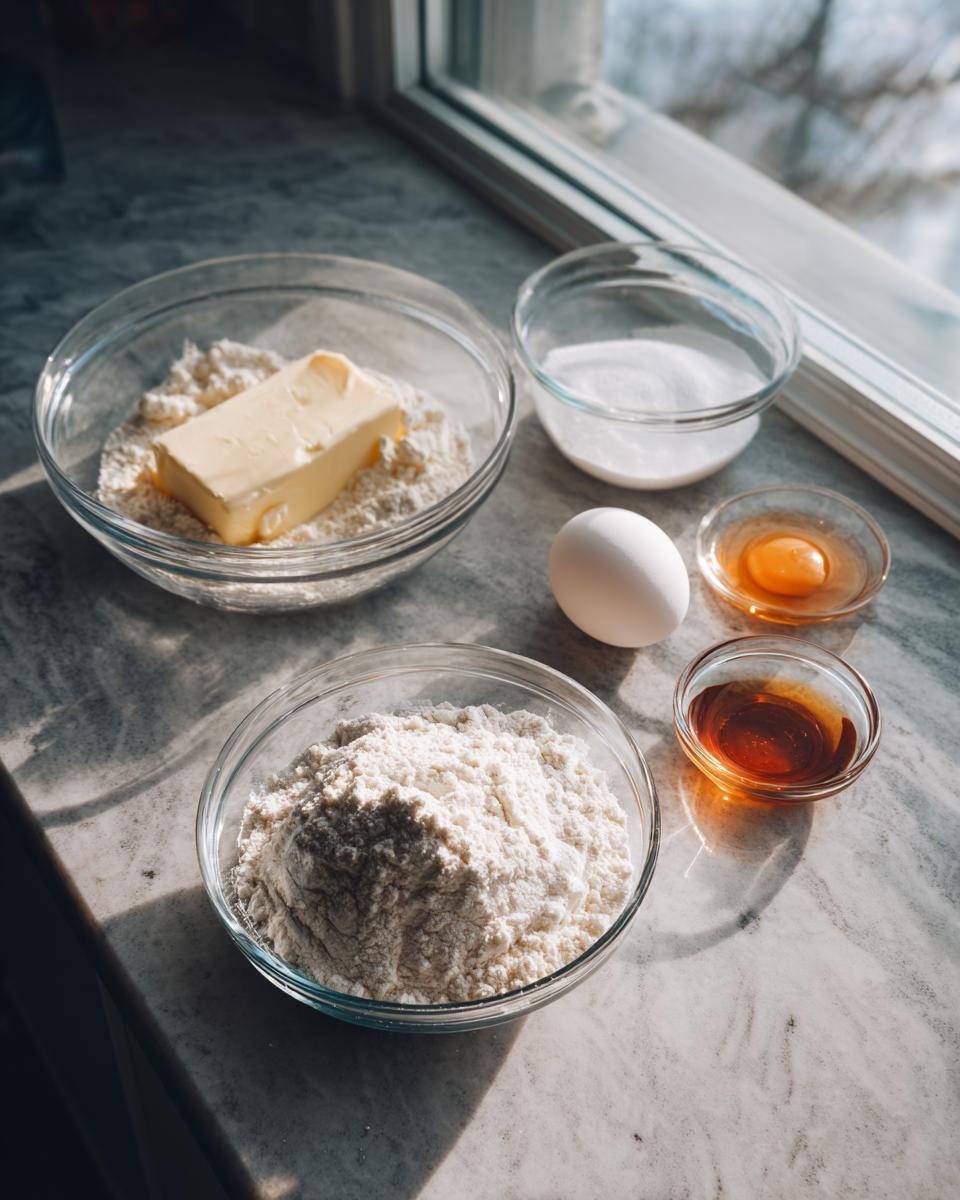
- 2 3/4 cups all-purpose flour—spooned and leveled, please!
- 1 teaspoon baking soda
- 1/2 teaspoon baking powder
- 1 cup unsalted butter, softened perfectly to room temperature (this is so important!)
- 1 1/2 cups granulated sugar
- 1 large egg
- 1 teaspoon vanilla extract
- 1/2 teaspoon almond extract (Trust me, both extracts give that classic bakery flavor!)
How to Prepare Easy Cut Out Sugar Cookies That Hold Their Shape
Alright, this is where we turn simple ingredients into your new obsession! Making **Easy Cut Out Sugar Cookies** that don’t spread is all about timing and temperature—nothing scary, I promise. Follow these steps, and you’ll see why this process works so reliably. We are aiming for that soft interior while keeping the edges sharp enough to impress everyone at the holiday party.
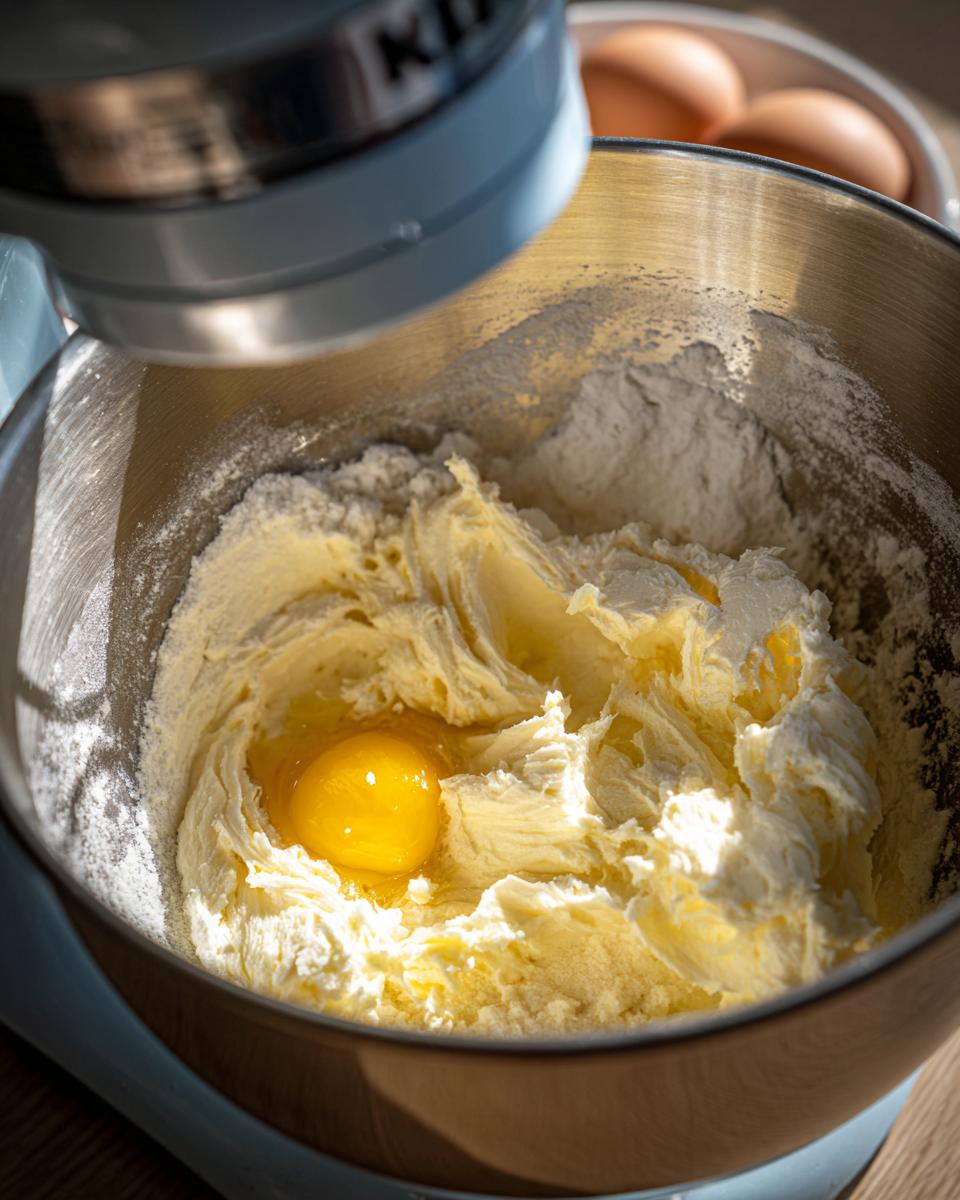
Mixing the Dough for Your Roll Out Sugar Cookie Dough
First thing, grab your medium bowl and whisk together the flour, baking soda, and baking powder until they look combined. Set that aside. Now for the heavy lifting: In your big bowl, cream that softened butter and granulated sugar together. You’re whipping this for a solid three minutes until it’s light and fluffy—don’t cheat this part, it incorporates air! Then, beat in the egg and both extracts until they just disappear into the mixture. Finally, add the dry stuff in low speed, mixing only until a soft dough starts forming. Seriously, stop mixing the second it comes together; overmixing means tough cookies.
The Essential Chill Time for Perfect Sugar Cookies Every Time
This is the secret weapon for making them no spread sugar cookies—never skip the chill! If you rush this, your shapes will sadly melt into one another. Divide the dough into two flat disks, wrap them up tight in plastic, and tuck them into the fridge for at least two hours. I usually leave mine for four, just to be safe. If your kitchen is really warm, try this trick: after you cut the shapes but before they hit the oven, slide the whole baking sheet into the fridge for an extra 10 minutes. That firm chill keeps those intricate cutters looking sharp on the sheet!
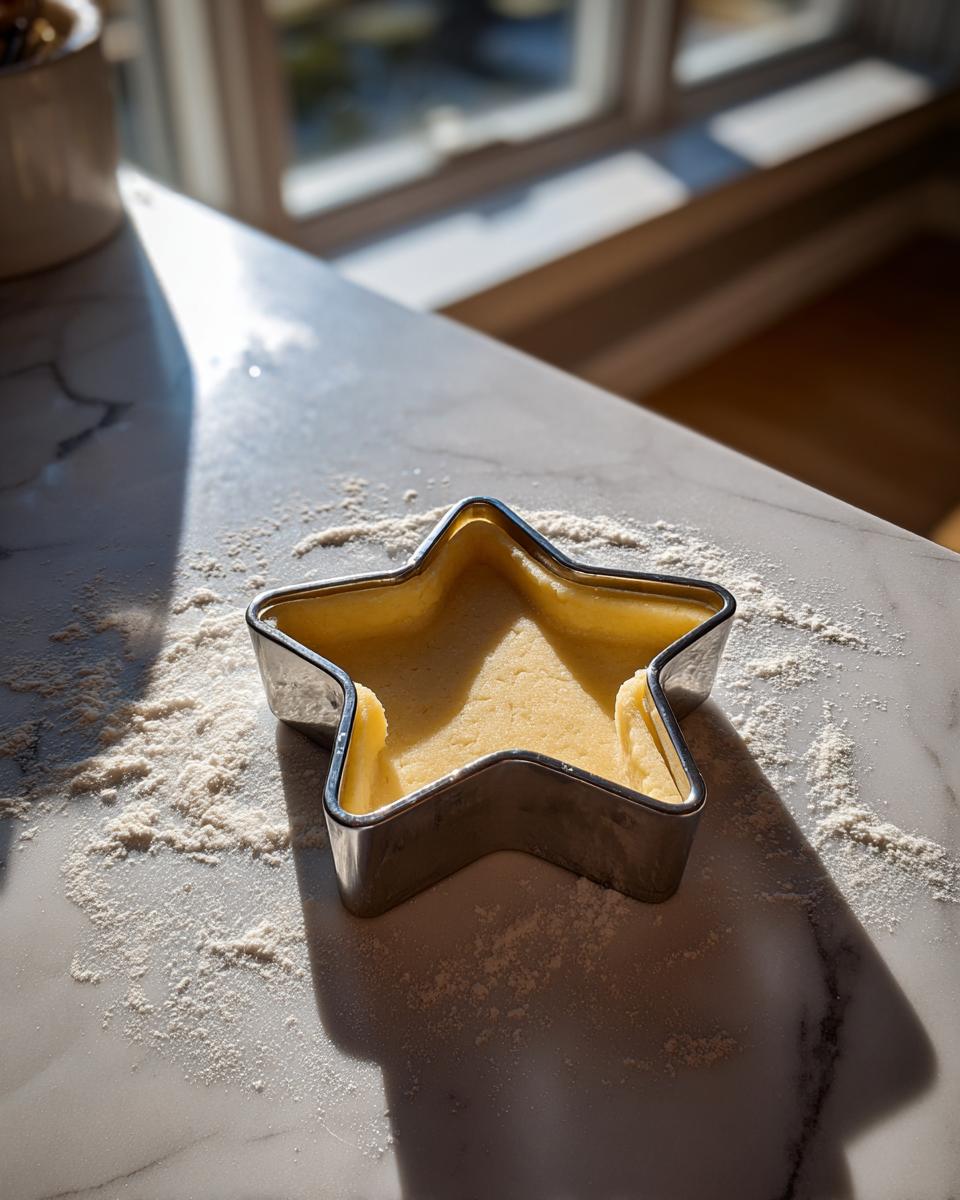
When you’re ready to bake, go ahead and preheat that oven to 375 degrees F (this is a higher heat than many cookies, which helps set the edges fast!). Roll your dough out to about 1/4 inch thickness on a lightly floured surface. Remember, you can find some extra tips on cookie rolling to help keep things steady over at Easy Peasy Recipes if you ever need a visual reference for rolling out that perfect roll out sugar cookie dough. Transfer those beautiful cut-outs onto parchment-lined sheets with about an inch between everything and get ready for baking!
Baking Tips for Soft Sugar Cookies that Don’t Spread
Now that your dough is perfectly chilled—and trust me, it needed that time in the cold friend’s embrace—we move on to the absolute final stage for achieving **Soft Sugar Cookies that Don’t Spread**. Preheat your oven to 375 degrees F (that’s 190 degrees C) before you even think about pulling the dough out of the fridge. This high initial heat helps set those edges fast!
Always line your baking sheets with parchment paper. This helps with even heat distribution underneath, which is crucial for preventing any bottom browning before the centers are done. Roll your dough out to a consistent 1/4 inch thickness. If you get it thinner than that, you risk a crispier cookie, and we want soft and chewy!
Bake time is usually 8 to 10 minutes. Keep an eye on the edges; you’re looking for them to be just barely set and taking on the slightest hint of gold. If you have a particularly powerful oven or are baking a huge batch, rotate those sheets halfway through. This little check ensures every single shape bakes evenly. Once they look done, let them rest on the sheet for five full minutes before moving them to a rack. Patience here keeps them from cracking!
Ingredient Notes and Substitutions for Your Sugar Cookie Recipe
Let’s talk specifics, because those little details are what separates a good cookie from a truly fantastic **chewy sugar cookie recipe**. First, that almond extract? Don’t skip it! Vanilla is lovely, but almond gives these cookies that unmistakable complexity that makes people ask, “What is that incredible flavor?”
I keep stressing the butter temperature because it matters so much for the final texture. If your butter is too warm or melted, you’ll lose the air you whipped into it, and that air is what keeps the cookies soft instead of dense. You want it soft enough to indent slightly, but definitely not greasy feeling.
Now, if you prefer your cookies on the chewier side—which who wouldn’t?—I have two pieces of advice. You can pull them out right at 8 minutes, letting residual heat finish the baking. Or, if you want to lean into the chewiness more structurally, try swapping a scant 1/4 cup of your granulated sugar for brown sugar next time. That small addition of molasses really amps up the moisture and chew!
Making Simple Icing Sugar Cookies: Finishing Your Classic Holiday Sugar Cookies
Once your beautiful shapes have cooled completely—and I mean completely, or you’ll have a melted mess—it’s time for the fun part! These **Classic Holiday Sugar Cookies** are just waiting for their final flourish. Since this recipe focuses on the cookie base, I won’t walk through a full icing recipe here, but these cookies pair perfectly with anything you already love, especially a straightforward royal icing or a fluffy buttercream.
The most important rule? The cookie must be cold to the touch. If you try to frost a warm cookie, the icing just melts right into the buttery surface, which isn’t what we want for clean lines. For those **Simple Icing Sugar Cookies**, just a light glaze works wonderfully, maybe with a dusting of colored sugar right on top. If you’re looking for other simple sweet finishes, I have a recipe for amazing homemade mayonnaise that might inspire some creative savory twists for another day, though for cookies, sticking to the classics is often best! You can check out my easy homemade mayonnaise recipe if you ever decide to branch out from sweets for a bit.
Storage & Reheating Instructions for Homemade Sugar Cookies
Once you’ve finished decorating your **sugar cookies**, keeping them fresh is key! If you haven’t frosted them yet, just stack the plain cookies with parchment paper between layers, seal them up tight in an airtight container, and they’ll be perfect at room temperature for almost a week. Seriously, the chilling step helps them stay sturdy!
For the beautifully decorated ones, let your icing or glaze set totally—sometimes overnight is best depending on how thick it is. Once they are rock solid, store them in a single layer if you can, or use careful spacers like wax paper when stacking. Keep the container sealed and at room temperature. No need for the fridge unless you used a perishable cream cheese frosting, which I usually save for other bakes!
Frequently Asked Questions About Perfect Sugar Cookies Every Time
I know recipe testing can bring up a million little questions, and that’s completely normal! After years of tweaking this **sugar cookie** dough, I’ve collected the main things people ask me. We want you to have total confidence heading into your baking session. If you’re ever looking for fantastic, simple sweets online, I find so many great ideas when I look through easy dessert recipes for inspiration!
Can I skip chilling the sugar cookie dough?
Oh, honey, please don’t try this! If you are aiming for those sharp, beautiful cut-outs, chilling is absolutely non-negotiable. When the butter gets thoroughly chilled, it firms up. When it hits the hot oven, that firm fat melts slower, meaning the cookie sets its shape before it has a chance to spread outwards. Skipping it means flat cookies, every single time.
How do I make these sugar cookies thicker?
This is an easy fix! If you want that wonderfully thick, almost pillow-like cookie—the kind that feels substantial in your hand—just adjust your rolling thickness. Instead of rolling to 1/4 inch, aim for 3/8 inch. Since the dough is thicker, it needs a few extra minutes in the oven, so bump your bake time closer to that 10-minute mark, or even 11, watching those edges carefully!
What is the best way to store undecorated sugar cookies?
Undecorated cookies are absolute champs for making ahead! Once they are totally cooled, you can store them in a single layer, separated by parchment or wax paper, inside a truly airtight container. At room temperature, they stay delicious and fresh for at least a week—sometimes longer! If you need them to last longer than that, they freeze beautifully; just make sure they aren’t frosted yet.
Estimated Nutritional Data for This Sugar Cookie Recipe
Now, I always tell people that baking for joy doesn’t mean obsessing over macros, but providing some general data helps if you’re planning for a gathering. Remember, this is just an estimate based on the ingredients listed. Things like how thick you roll the dough or what kind of icing you use will change the final numbers, of course! Think of this information as a little bonus insight into your delicious **sugar cookie** batch.
For one cookie, based on this recipe (before frosting), you’re looking at approximately:
- Serving Size: 1 cookie
- Calories: 160
- Sugar: 14g
- Fat: 8g (with 5g being saturated fat—that’s our butter working hard!)
- Carbohydrates: 20g
- Protein: 2g
- Sodium: 75mg
It’s a treat, plain and simple, made with real ingredients. If you’re using a thick layer of royal icing, you’ll want to adjust those numbers upward, but honestly, the cookie itself is perfectly balanced for that soft, buttery flavor we worked so hard to achieve!
Share Your Seventh Flavour Sugar Cookie Creations
When you finish decorating these beauties, I truly hope you’ll share them! That’s the Seventh Flavour we talk about—the connection you make when you share something made with love. Please rate this recipe five stars if it worked perfectly for you, and tag me in your photos on social media!
If you ever have a question while you’re baking, don’t hesitate to reach out to me through my contact page. Happy baking!
PrintClassic Soft Cut Out Sugar Cookies That Hold Their Shape
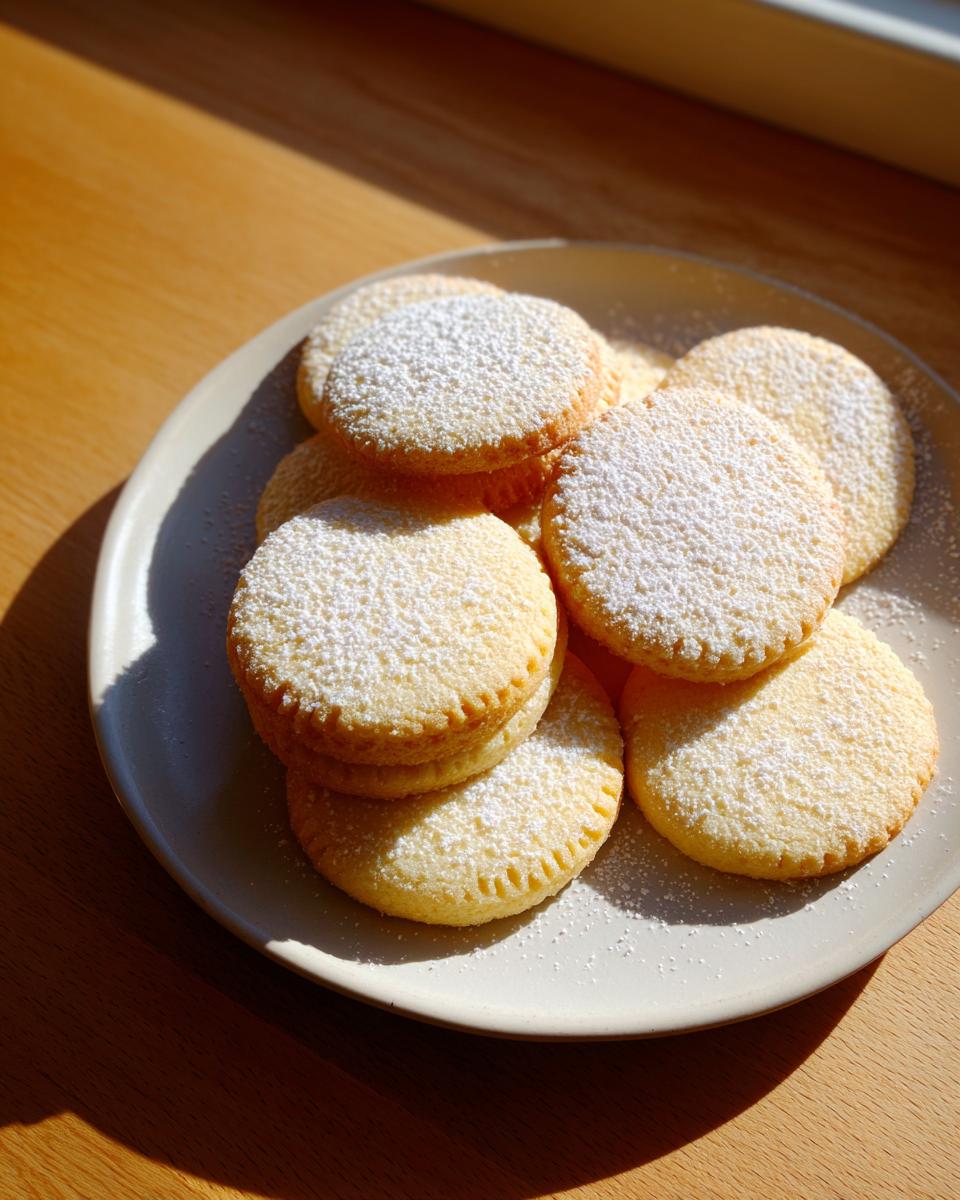
Make the best sugar cookies for decorating. This easy, buttery recipe yields soft, chewy cut out sugar cookies that hold their shape perfectly after baking, making them ideal for holidays or any occasion.
- Prep Time: 25 min
- Cook Time: 10 min
- Total Time: 155 min
- Yield: 24 cookies 1x
- Category: Dessert
- Method: Baking
- Cuisine: American
- Diet: Vegetarian
Ingredients
- 2 3/4 cups all-purpose flour
- 1 teaspoon baking soda
- 1/2 teaspoon baking powder
- 1 cup unsalted butter, softened
- 1 1/2 cups granulated sugar
- 1 large egg
- 1 teaspoon vanilla extract
- 1/2 teaspoon almond extract
Instructions
- In a medium bowl, whisk together the flour, baking soda, and baking powder. Set the dry ingredients aside.
- In a large bowl, use an electric mixer to beat the softened butter and granulated sugar together until the mixture is light and fluffy, about 3 minutes.
- Beat in the egg, vanilla extract, and almond extract until just combined.
- Gradually add the dry ingredient mixture to the wet ingredients, mixing on low speed until a soft dough forms. Do not overmix.
- Divide the dough in half. Shape each half into a flat disk, wrap tightly in plastic wrap, and chill in the refrigerator for at least 2 hours, or up to 2 days. Chilling is key for cookies that hold their shape.
- When ready to bake, preheat your oven to 375 degrees F (190 degrees C). Line baking sheets with parchment paper.
- On a lightly floured surface, roll out one disk of dough to about 1/4 inch thickness. Use your favorite cookie cutters to cut out shapes.
- Carefully transfer the cut-out cookies to the prepared baking sheets, leaving about 1 inch between them.
- Bake for 8 to 10 minutes, or until the edges are just barely set and lightly golden. For thicker cookies, bake closer to 10 minutes.
- Let the cookies cool on the baking sheet for 5 minutes before transferring them to a wire rack to cool completely before decorating.
Notes
- For the best cut-out results, chill the dough thoroughly. If your kitchen is warm, chill the rolled-out dough on the baking sheet for 10 minutes before baking.
- Use both vanilla and almond extract for a classic, complex flavor profile.
- These cookies pair well with simple royal icing or buttercream frosting for decorating.
Nutrition
- Serving Size: 1 cookie
- Calories: 160
- Sugar: 14g
- Sodium: 75mg
- Fat: 8g
- Saturated Fat: 5g
- Unsaturated Fat: 3g
- Trans Fat: 0g
- Carbohydrates: 20g
- Fiber: 0g
- Protein: 2g
- Cholesterol: 30mg