
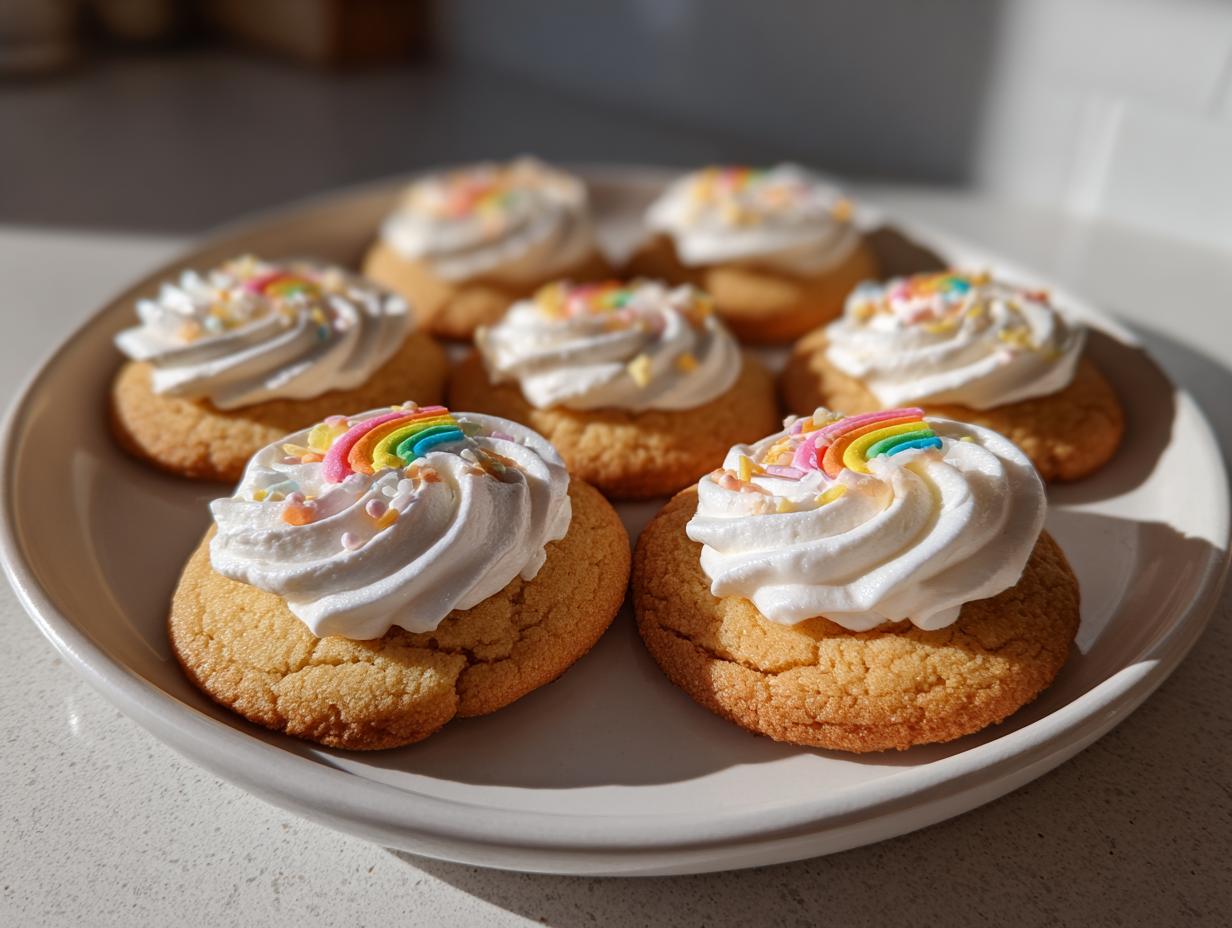
Oh, the absolute *agony* of the sugar cookie that spreads! You know the drill: you’ve carefully rolled your dough, lovingly cut out perfect little stars and snowmen, and then—*poof*—they bake into sad, melted puddles that look more like abstract art than festive treats. I spent years in the corporate marketing world chasing deadlines, but honestly, the most important skill I perfected was making reliable home recipes turn out right the first time. That’s why I poured my heart into creating what I truly believe are the **best soft sugar cookies** you will ever make. These aren’t those brittle, crisp things; these are tender, bakery-style cookies designed to hold their shape beautifully for decorating while delivering that wonderful, soft bite. Trust me, this recipe feels like a secret weapon I learned after leaving the office for good to find that true ‘seventh flavour’ in my own kitchen. You can find more of my favorite reliable recipes here, like my list of easy dessert recipes.
- Why You Need This Recipe for The Best Soft Sugar Cookies
- Ingredients for Perfect Soft Sugar Cookies That Hold Shape
- Essential Equipment for Making Soft Cut Out Sugar Cookies
- How to Prepare Soft Sugar Cookies: Step-by-Step Baking Guide
- Tips for Success: Achieving Bakery Style Soft Sugar Cookies
- Ingredient Notes and Substitutions for Soft Sugar Cookies Recipe
- Storage and Reheating Instructions for Chewy Sugar Cookies
- Frequently Asked Questions About Soft Sugar Cookies
- Sharing Your Homemade Soft Sugar Cookies
Why You Need This Recipe for The Best Soft Sugar Cookies
I know you’ve probably tried loads of cookie recipes that promised perfection and delivered disappointment. But this one? This one is different. If you are searching for that holy grail of texture and form, this is it. You absolutely need this recipe because:
- They stay incredibly soft and chewy long after they leave the oven, giving you that melt-in-your-mouth experience.
- They are truly sugar cookies that hold their shape! Say goodbye to melted edges when you cut them out.
- It’s an easy sugar cookies recipe; simple ingredients, straightforward steps, and zero fuss.
- You get that desirable, thick sugar cookies profile that feels substantial—perfect for frosting!
Ingredients for Perfect Soft Sugar Cookies That Hold Shape
Okay, let’s talk about what goes into these amazing cut-outs. The magic isn’t in 50 fancy inclusions; it’s in the *quality* and *state* of these basic ingredients. Everything needs to be ready before you start! You’ll want the butter fully softened—about two sticks—and your egg needs to be at room temperature so it blends nicely and doesn’t curdle the creamed butter.
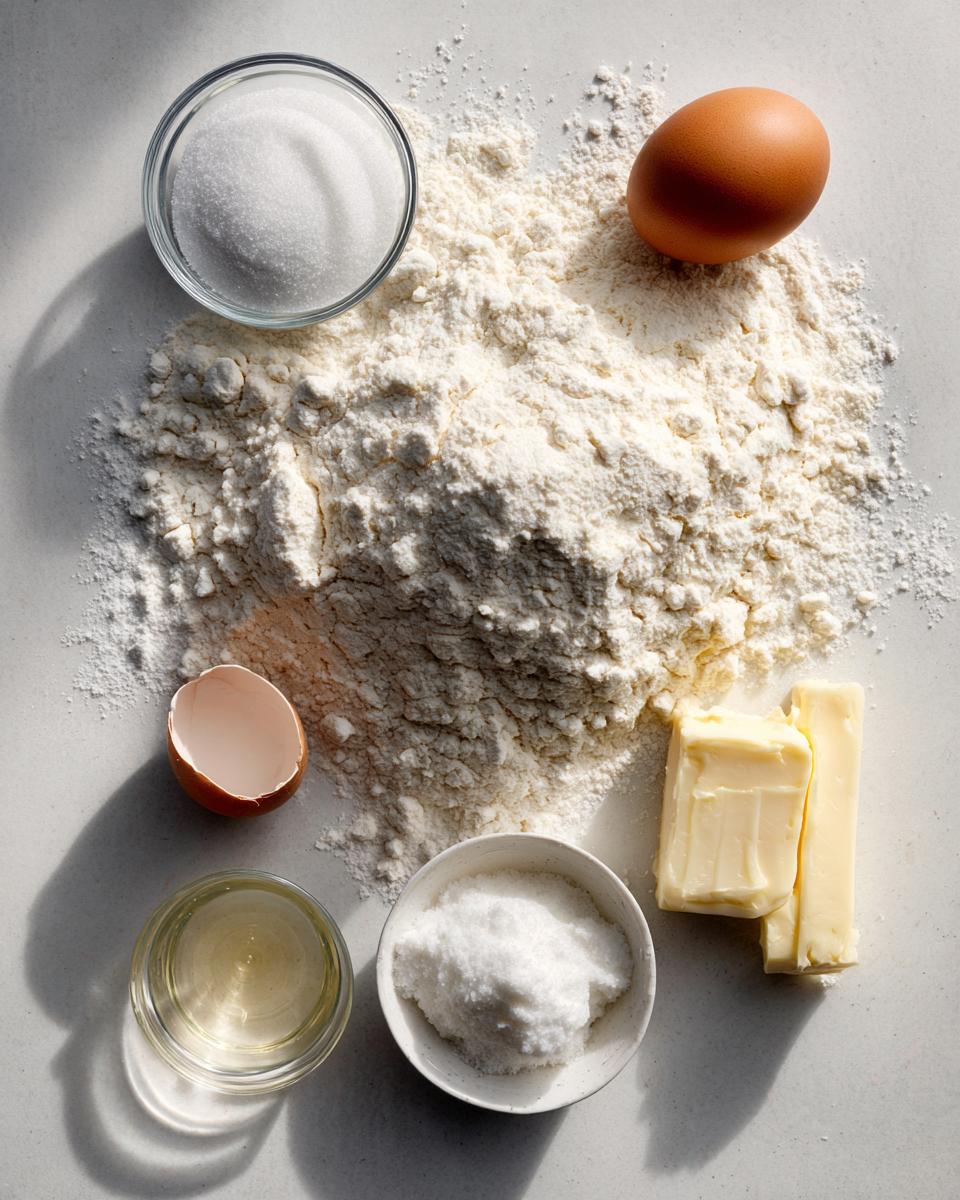
- 2 1/4 cups all-purpose flour
- 1 teaspoon baking powder
- 1/2 teaspoon salt
- 1 cup (2 sticks) unsalted butter, softened
- 1 1/2 cups granulated sugar
- 1 large egg, room temperature
- 1 teaspoon high-quality vanilla extract
See? Simple stuff, but the precision in measuring those dry items is key to keeping our cookies thick, not flat!
Essential Equipment for Making Soft Cut Out Sugar Cookies
You don’t need a professional setup to nail these, thank goodness! Since we aren’t using a complicated method, just reliable science, your standard home tools will do the trick. Make sure you have your electric mixer ready for creaming—it saves your wrists! A good rolling pin and some quality cookie cutters are non-negotiable if you want defined shapes.
My most important tip here, hands down, is to have parchment paper ready. Putting the dough right onto parchment helps the finished cookies lift cleanly without breaking. A wire rack for cooling is also a must, so the bottoms don’t steam themselves soggy while they set up.
How to Prepare Soft Sugar Cookies: Step-by-Step Baking Guide
Okay, this is where the cookie magic starts! We’re going to approach this mix carefully because the texture is everything, right? We want them thick and fluffy, not flat and crispy. If you follow these steps exactly—especially the chilling—I promise you’ll get reliable, bakery style results. If you skip the chill time, don’t come crying to me when they spread! You can check out my easy breakfast recipes while your dough is chilling, by the way.
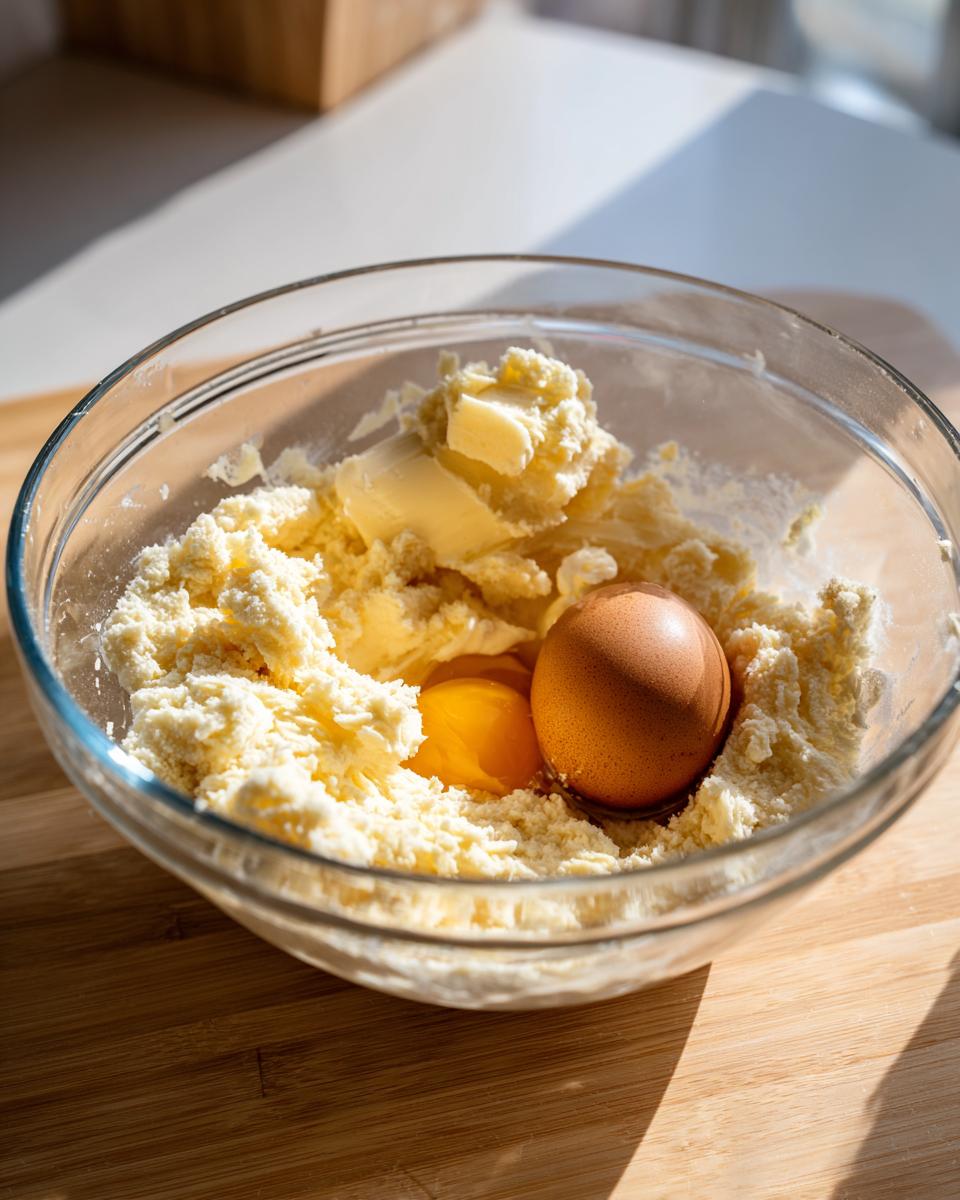
Mixing the Dough for Tender Sugar Cookies
First things first: we need to whip air into that fat! Grab your mixer and beat the softened butter and granulated sugar together until it gets genuinely light and fluffy—we’re talking three full minutes, minimum. It should look pale yellow, almost creamy. Then, just drop in that egg and vanilla and mix it until it’s barely incorporated. Now, take your dry ingredients—the flour, baking powder, and salt—and add them slowly, *gradually*, to the wet stuff. And please, for the love of soft things, stop mixing as soon as the flour streaks disappear. Overmixing develops gluten, and gluten makes cookies tough instead of delivering those fantastic **soft sugar cookies** we’re aiming for.
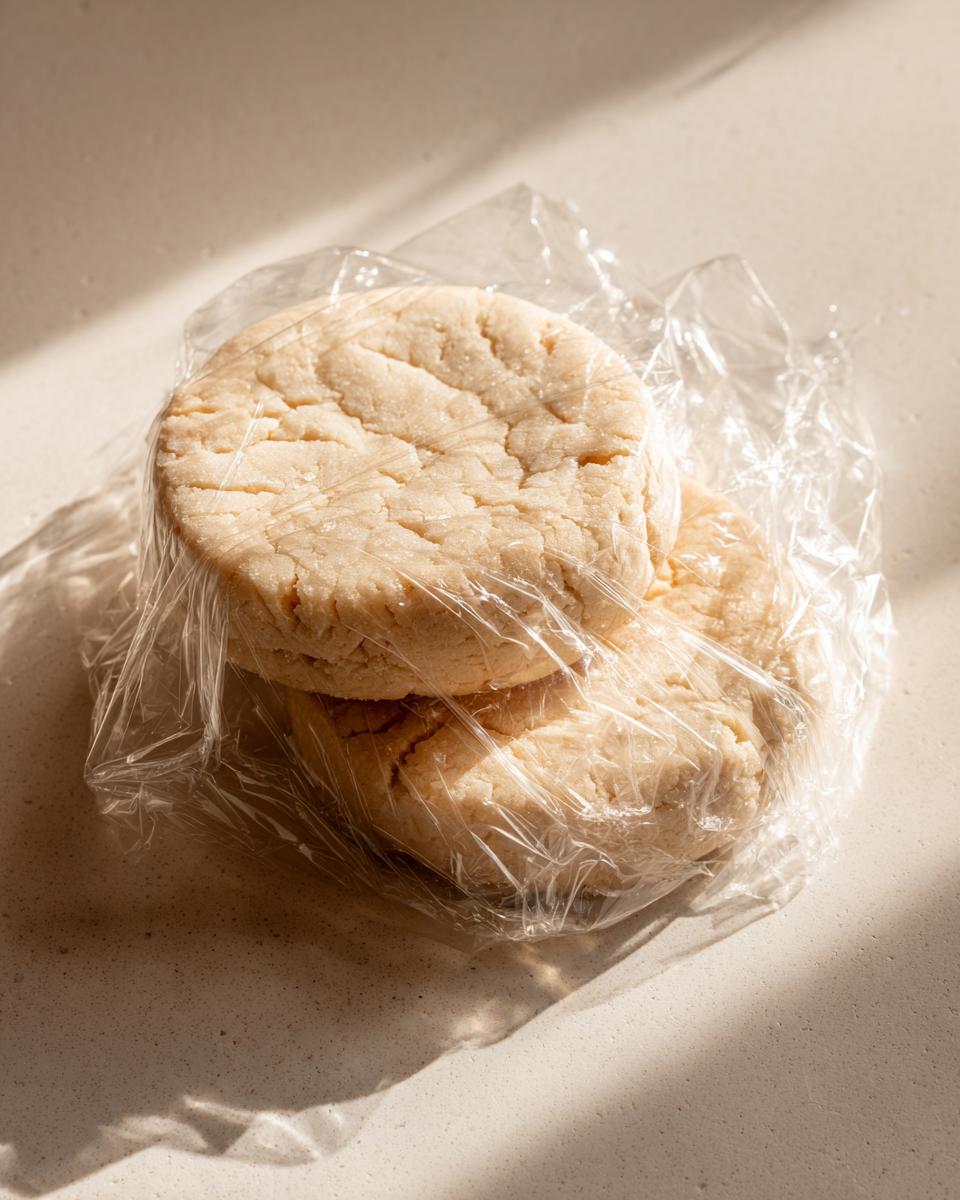
The Crucial Chill Time for Sugar Cookies That Hold Shape
This is the secret step that keeps our cookies beautiful. Once the dough comes together, you need to divide it into two disks, wrap them up tight in plastic wrap, and tuck them away in the fridge. They need at least two solid hours in there. Why? Because chilling solidifies the fat—that butter—so when the dough hits the hot oven, the heat has to spend time melting the fat instead of spreading the dough outwards. If you want **sugar cookies that hold shape**, this chilling part is non-negotiable. It’s the best way to guarantee those clean, crisp edges on your cut-outs.
Rolling, Cutting, and Baking Your Soft Sugar Cookies
Once chilled, preheat your oven to 350°F (175°C) and grab some parchment-lined trays. Lightly flour your counter and roll out one disk to about a quarter of an inch thick. That thickness is important for that beautiful, thick cookie texture! Cut out your shapes and carefully move them onto the trays. Now, keep an eye on them! We are trying to achieve a *soft* cookie, so pull them when the edges look set and firm, but the very center still looks just a tiny bit soft—usually 8 to 10 minutes. That slightly underbaked look is the key to the best, softest **sugar cookies**.
Tips for Success: Achieving Bakery Style Soft Sugar Cookies
After baking for years, I found that the small technical adjustments are what take a good cookie suddenly into the *great* category. You want that true bakery style texture, right? That buttery richness where the cookie feels like it instantly melts the second it hits your tongue. That’s what we’re chasing here!
If you are decorating these, I have one piece of advice that’s non-negotiable for guaranteed shape retention: after you cut out your shapes and place them on the baking sheet, slide the *entire sheet* into the fridge or even the freezer for about ten minutes before they go into the oven. Seriously, this extra chill time locks everything down one last time. This guarantees you get the beautiful, crisp edges you see in professional photos, but because we underbake them slightly, the inside of these **soft sugar cookies** remains pillowy and tender.
Don’t forget that slightly underbaked look is your friend! If you wait until they are golden brown everywhere, you’ve gone too far and you’ll end up with chewy edges and dry centers. When you pull them out, let them set up on the hot pan for a full five minutes—this lets them firm up enough to move without cracking. If you want the inside to be absolutely divine and deliver that true soft and chewy sugar cookies texture, resist the urge to move them too soon.
Also, make sure you’re not tempted to skip the vanilla! I always use pure vanilla extract, never the imitation stuff, because that warm flavour plays perfectly with the butter to create that rich finish. For more reliable kitchen wisdom, you can check out my guide on easy homemade mayonnaise recipe—it’s all about technique!
Ingredient Notes and Substitutions for Soft Sugar Cookies Recipe
I get asked all the time about substitutes, and honestly, with this specific recipe, I urge caution! Since we are aiming for a very specific texture—thick, tender, and yielding—changing core components can seriously derail things. Think of this recipe as a tightly calibrated machine; swapping parts can cause a breakdown!
Let’s start with the butter. Real, unsalted butter that is properly softened is not just a suggestion; it’s an absolute requirement. Margarine or oil just doesn’t emulsify the same way when you cream it with sugar to create those tiny air pockets necessary for a soft cookie. Stick to butter unless you are prepared to test a whole new formula!
The baking powder is also important here—it gives just enough lift to keep these from becoming dense hockey pucks, but without the spread caused by too much baking soda. If you are out of baking powder, you *can* substitute with baking soda, but you need to balance it out by adding a touch of acid, like a teaspoon of cream of tartar to the flour mixture. I wouldn’t recommend it unless you’re desperate, though; you lose some of that classic vanilla sugar cookie taste.
For the vanilla, use the best pure extract you can find. Since sugar cookies are so simple, the vanilla flavor really shines through, contributing to that lovely, **classic sugar cookie recipe** profile. Don’t even think about using clear vanilla if you want that deep, rich aroma we are going for. It makes a world of difference in the final outcome!
Storage and Reheating Instructions for Chewy Sugar Cookies
Once you manage to put these delicious vanilla sugar cookies down, the next question is always: how do I keep them tasting this soft tomorrow? That beautiful texture we worked so hard for won’t last forever just sitting on the counter, but we can definitely stretch that softness out! The key is air control. Keep your un-iced cookies in an airtight container at room temperature—don’t put them in the fridge!
If you need to keep them truly fresh for longer, these doughs freeze like a dream. You can freeze the baked cookies, carefully wrapped, for up to a week, or better yet, freeze the unbaked, cut-out shapes for up to three months! Just let those frozen cut-outs go straight onto the baking sheet and add a minute or two to the baking time to get those perfect **chewy sugar cookies**. For more fast kitchen fixes, check out my guide to quick weeknight dinners. If you want more tips on achieving supreme softness, this piece over at She Is Baking is fantastic!
Frequently Asked Questions About Soft Sugar Cookies
Why did my sugar cookies spread out like pancakes in the oven?
Oh, that’s the classic heartbreak! Usually, spreading happens for two main reasons, and both tie back to letting the dough get too warm. First, your butter might have been too soft when you started creaming it—we want it soft, yes, but not greasy or melty. Second, and this is the big one, you skipped the chilling step! If you go straight from the counter to the oven, the fat melts too quickly, and you get a thin, flat pancake instead of those lovely, thick sugar cookies.
Can I skip chilling the dough? I need these cookies now!
I totally get the impatience! I really do. But seriously, if you are cutting these out, chilling isn’t optional; it’s part of the recipe structure. If you really need to speed things up, roll the dough out *before* you chill it, cut the shapes, and then chill the cut-out shapes on the cookie sheet for 20 minutes. This is the fastest way to guarantee those sugar cookies that hold shape because it firms up the butter right before the heat hits it. Even a short chill is better than no chill!
How thick should I roll the dough to get that melt in your mouth texture?
For that perfectly pillowy, bakery style center and the best results when decorating, I find that rolling them to a solid 1/4-inch thickness is the sweet spot. If you roll too thin, they dry out fast in the oven, even if you pull them early. Rolling them thicker lets the center stay gorgeously soft and tender while the edges just barely set, giving you that delightful melt in your mouth cookies sensation.
How do I make sure these stay soft for the holidays if I bake them early?
They actually stay soft surprisingly well if you follow my storage notes! The trick is to *not* frost them until you are ready to serve, especially if you are using crumbly royal icing or a simple powdered sugar dusting. Keep them in an airtight container—plastic or metal—at room temperature for up to four days. If you need to keep them longer, freeze the un-iced cookies between sheets of parchment paper. When you’re ready for dessert, just pull them out, let them thaw on the counter, and they’ll be just as delicious. If you have questions about substitutions, feel free to reach out on my contact page!
Sharing Your Homemade Soft Sugar Cookies
Now that you’ve mastered the art of the perfectly sculpted, buttery, and wonderfully soft sugar cookie, I really want to know how it went! Did you get those clean edges on your cut-outs? Did they truly stay soft the next day? Don’t keep that baking joy to yourself!
Please hop down to the comments below and leave me a rating based on texture and shape retention. Did you use a festive shape? Weaving homemade cookies into family traditions is what the Seventh Flavour is all about, and I love hearing about everyone’s triumphs in the kitchen. If you ended up decorating them, please tag me on social media! Seeing your creations—whether they are simple festive designs or elaborate works of art—is genuinely the highlight of my day. You can check out a bit more about my journey and philosophy near my about page!
PrintThe Best Soft Sugar Cookies That Hold Their Shape

Follow this easy recipe to make bakery-style soft sugar cookies that stay wonderfully tender and chewy, even after cooling. These cut-out cookies hold their shape perfectly for decorating.
- Prep Time: 25 min
- Cook Time: 10 min
- Total Time: 155 min
- Yield: 3 dozen 1x
- Category: Dessert
- Method: Baking
- Cuisine: American
- Diet: Vegetarian
Ingredients
- 2 1/4 cups all-purpose flour
- 1 teaspoon baking powder
- 1/2 teaspoon salt
- 1 cup (2 sticks) unsalted butter, softened
- 1 1/2 cups granulated sugar
- 1 large egg
- 1 teaspoon vanilla extract
Instructions
- In a medium bowl, whisk together the flour, baking powder, and salt. Set aside.
- In a large bowl, beat the softened butter and granulated sugar with an electric mixer until light and fluffy, about 3 minutes.
- Beat in the egg and vanilla extract until just combined.
- Gradually add the dry ingredients to the wet ingredients, mixing on low speed until just combined. Do not overmix.
- Divide the dough in half, flatten each half into a disk, wrap tightly in plastic wrap, and chill in the refrigerator for at least 2 hours. Chilling is crucial for shape retention.
- Preheat your oven to 350°F (175°C). Line baking sheets with parchment paper.
- On a lightly floured surface, roll out one disk of dough to about 1/4-inch thickness. Use cookie cutters to cut out shapes.
- Carefully transfer the cut-out cookies to the prepared baking sheets, leaving about 1 inch between them.
- Bake for 8 to 10 minutes, or until the edges are set but the centers still look slightly soft. For thicker cookies, bake closer to 10 minutes.
- Let the cookies cool on the baking sheet for 5 minutes before moving them to a wire rack to cool completely.
- Decorate with your favorite frosting once fully cooled.
Notes
- For the softest texture, do not overbake the cookies; pull them out when the edges look set.
- If you plan to decorate, chilling the cut-out shapes on the baking sheet for 10 minutes before baking helps prevent spreading.
- This dough freezes well. Wrap chilled, unbaked cut-outs tightly and freeze for up to 3 months.
Nutrition
- Serving Size: 1 cookie
- Calories: 150
- Sugar: 15
- Sodium: 85
- Fat: 8
- Saturated Fat: 5
- Unsaturated Fat: 3
- Trans Fat: 0
- Carbohydrates: 18
- Fiber: 0
- Protein: 2
- Cholesterol: 30