
Oh, the agony! You spend all that time cutting out perfect shapes, baking them to a golden brown, and then—disaster. You frost them with what you *thought* was a good glaze, but hours later, it’s still gummy, sticky, and totally impossible to stack for gifting. Trust me, I’ve been there, covered in sticky mess more times than I care to admit before realizing I needed a serious upgrade!
That’s why, here at Seventh Flavour, we perfected the recipe that solves this problem once and for all. This is my signature, foolproof royal icing that hardens perfectly, giving your decorated cookies that smooth, glossy finish you see in bakeries. As Aria Sterling, I’ve spent years testing and re-testing in my own kitchen, finding the perfect balance so you get reliable results.
Forget the runny disappointment! This simple and powerful sugar cookie icing uses just a few core ingredients, whipped exactly right, to deliver a hard, durable coating. It’s my way of bringing professional-level confidence right into your home kitchen, no fancy culinary school required!
- Why This is the Best Sugar Cookie Icing Recipe That Hardens Perfectly
- Ingredients for Foolproof Sugar Cookie Icing
- How to Make Sugar Cookie Icing That Sets Hard: Step-by-Step Instructions
- Tips for Achieving Velvety Smooth Cookie Icing and a Glossy Finish
- Drying and Setting Your Sugar Cookie Icing
- Making Quick Sugar Cookie Frosting for Last-Minute Decorating
- Frequently Asked Questions About Sugar Cookie Icing
- Serving Suggestions for Your Decorated Sugar Cookie Icing Creations
- Share Your Perfect Sugar Cookie Icing Results
Why This is the Best Sugar Cookie Icing Recipe That Hardens Perfectly
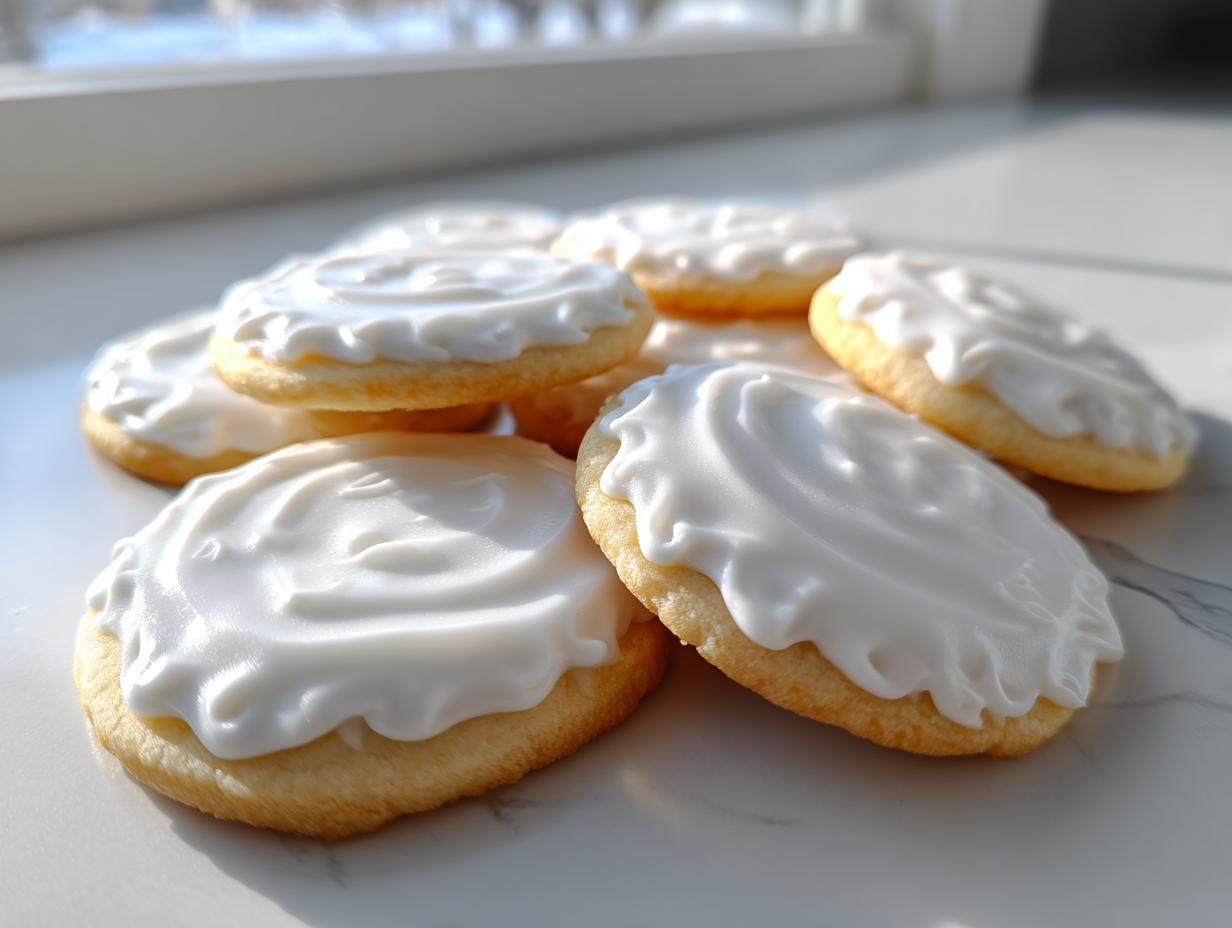
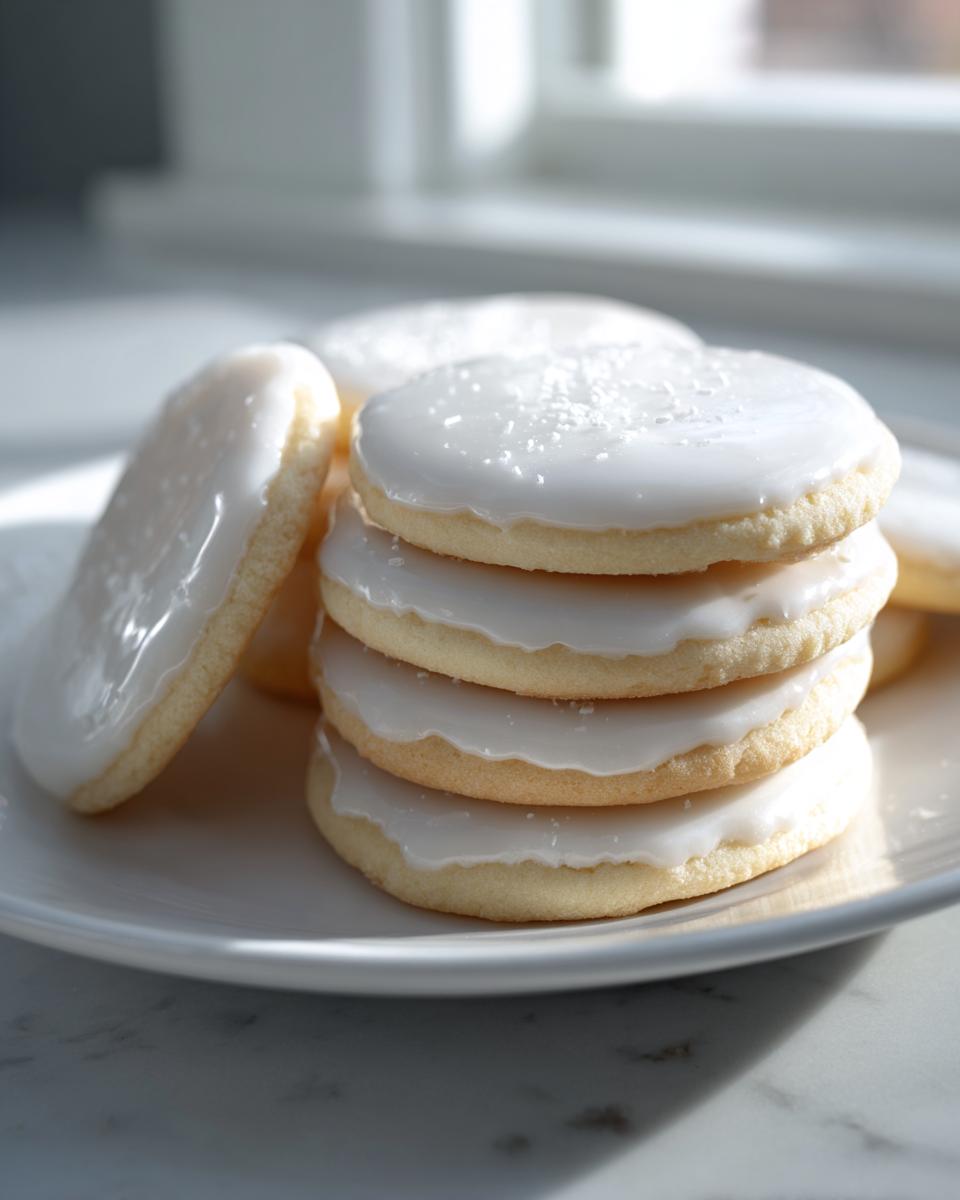
What truly sets this recipe apart is its incredible reliability. You are getting a true sugar cookie icing that hardens completely once it’s dried. Seriously, no more worrying about your beautiful designs smudging when you stack them up for gifting—this stuff sets solid!
That dense, stiff structure gives you that highly sought-after smooth glossy cookie frosting look that just screams professional. I call this my no fail cookie icing recipe because the egg whites, when mixed correctly with the sugar, create a stable base. It’s the science of true royal icing that hardens, but made here with simple pantry staples instead of complicated ratios. It’s fast, it’s strong, and honestly, it tastes fantastic!
Ingredients for Foolproof Sugar Cookie Icing
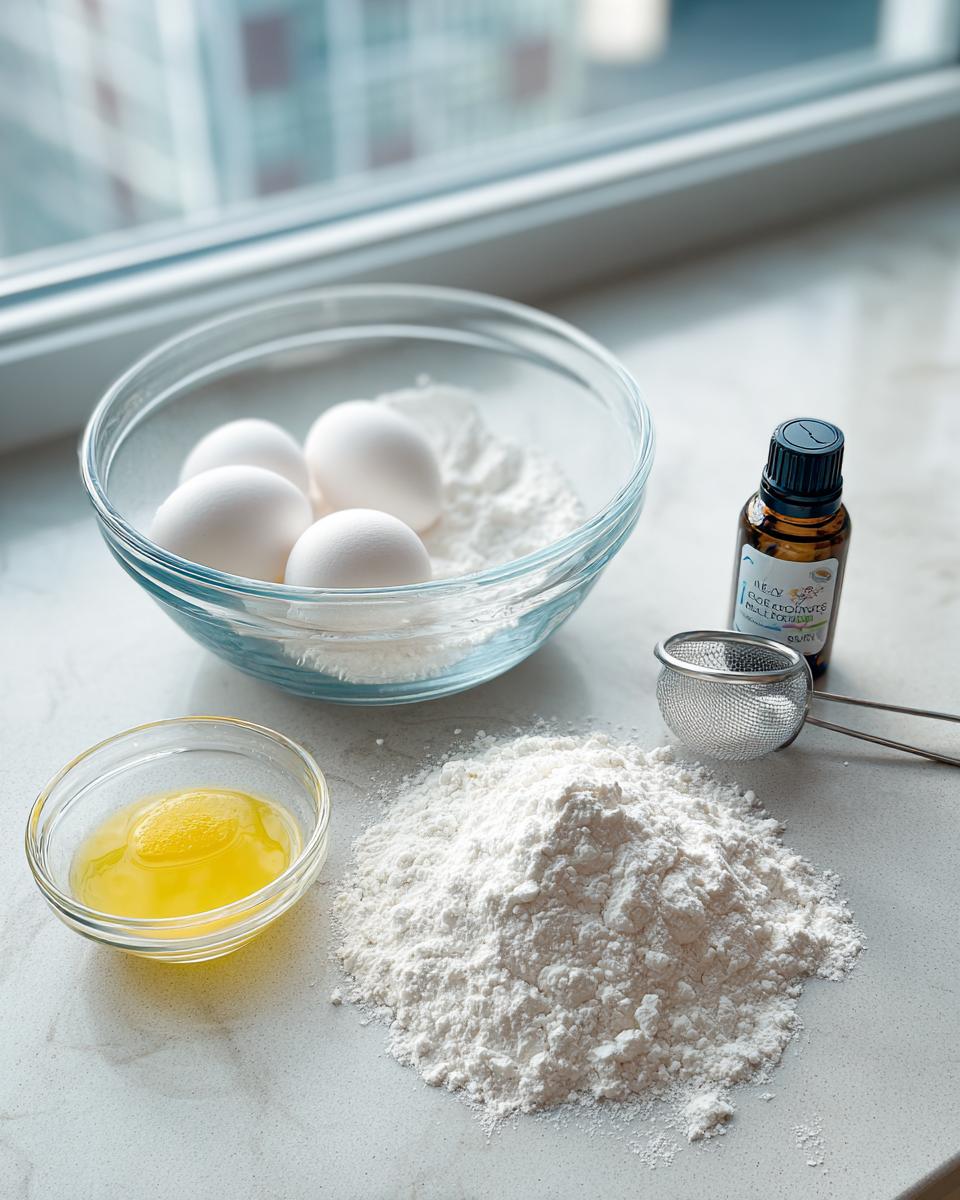
The beauty of this recipe is how few things you actually need! It’s a genuine 4 ingredient cookie icing base that gives you maximum impact. I want you to have these amounts written down exactly, because precision really matters here when we’re aiming for that perfect hard shell.
You’ll need:
- 4 large egg whites
- 4 cups powdered sugar, sifted
- 1 teaspoon vanilla extract
- 1/2 teaspoon lemon juice
See? That’s it! No weird specialty ingredients unless you want them, and certainly no corn syrup in sight, which is one of the things my readers always ask about.
Ingredient Notes and Substitutions for Sugar Cookie Icing
Okay, a few quick notes before you dive in. First, that sifted powdered sugar? Don’t skip it! Sifting is key to getting that velvety smooth cookie icing result we’re chasing. Second, for coloring, you absolutely must stick to gel food coloring. Liquid dye is way too wet and will turn your stiff icing runny almost instantly—we want this to dry hard, remember?
That tiny bit of lemon juice might seem random, but that acid is crucial. It actually helps the protein in the egg whites firm up better, giving you that strong structure and helping the icing set. If you’re curious about leaving out the egg whites entirely, this recipe isn’t your best bet—it relies on that albumen for its strength. However, if you are looking for an icing recipe without corn syrup for cookies, this Royal Icing setup is exactly what you need to get that durable, glossy finish.
How to Make Sugar Cookie Icing That Sets Hard: Step-by-Step Instructions
This isn’t a bake-and-wait situation; the magic in making icing for sugar cookies that sets happens right here in the mixer, usually in under ten minutes! We need to whip this mixture just right so it delivers that professional edge. I always use my stand mixer for this, honestly, because I need clean hands for measuring the powdered sugar. It makes the whole process so much easier.
- First, take your egg whites and get them buzzing in the mixer bowl on medium speed until they look nice and foamy. Not stiff, just bubbly!
- Now, the sugar. You have to add the sifted powdered sugar slowly, about a cup at a time. If you dump it all in once, you’ll end up with a sugary cloud explosion—trust me, I learned that the hard way! Mix well after each cup goes in.
- Once everything is combined, splash in your vanilla and that little bit of lemon juice.
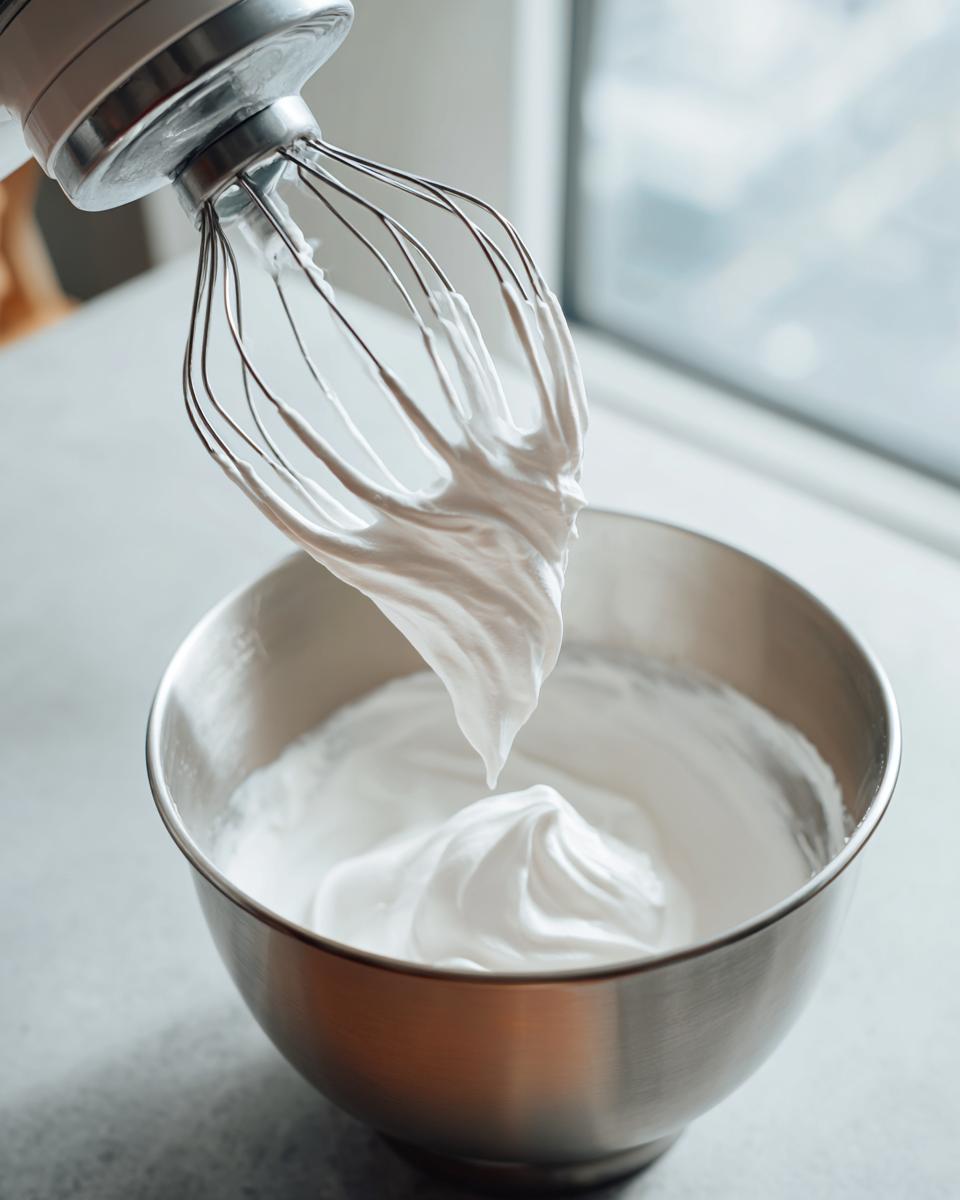
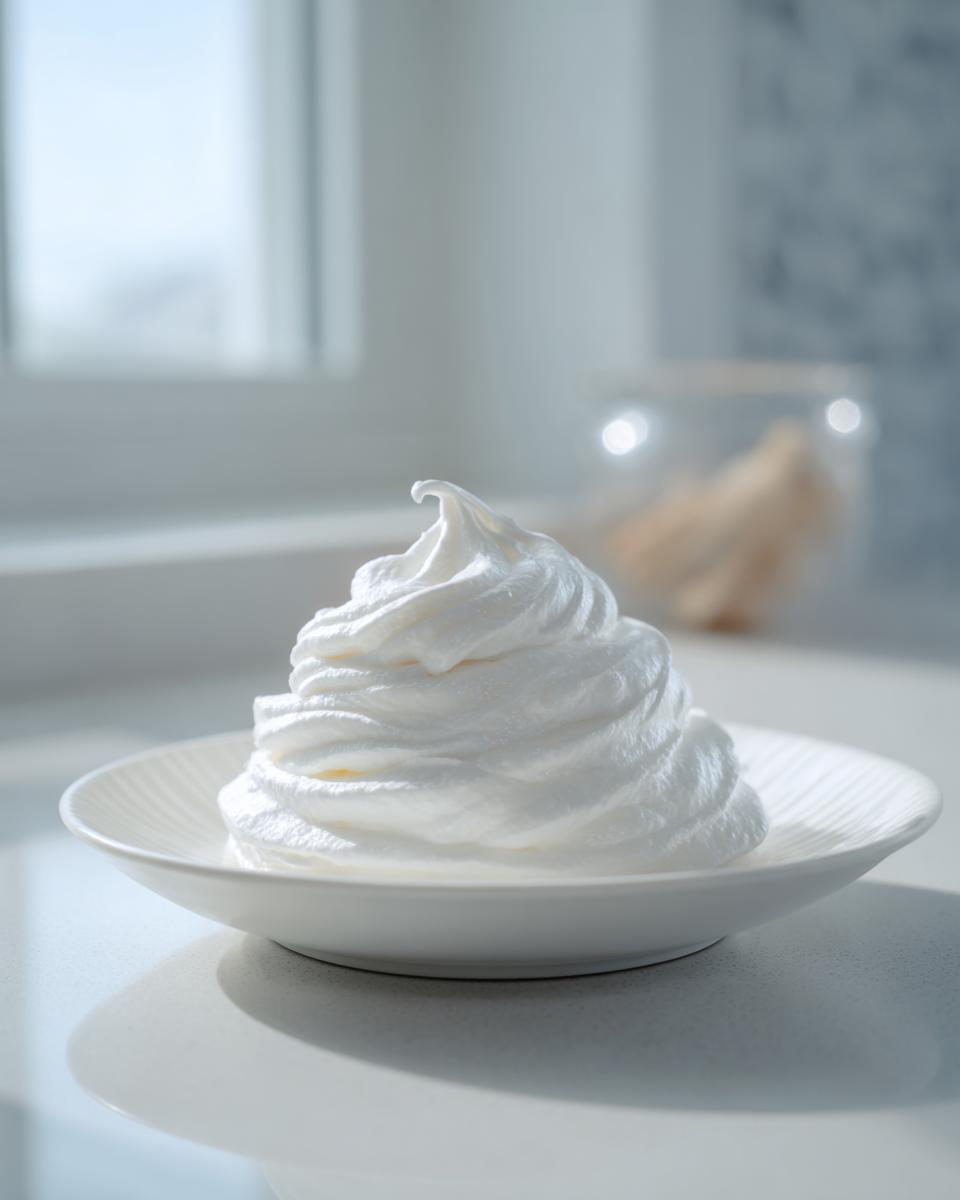
- Crank that speed up to medium-high. This is where the patience comes in! You need to beat this sugar cookie icing for a solid five to seven minutes. We’re looking for stiff, glossy peaks. When you pull the whisk out, the peak should stand straight up without drooping over at all.
- If you plan to use it for filling outlines—what we call ‘flood’ consistency—you need to thin it slightly. Add water just a teaspoon at a time, beating briefly after each addition. The goal here is the ribbon test: when you lift the whisk, the line of icing dripping back into the bowl should hold its shape for about ten seconds before sinking back in.
Once you hit that perfect consistency, you have to use it quickly! Just let the cookies air dry completely, uncovered, until they are rock hard. That might take hours, or sometimes overnight if the day is super humid.
Achieving Perfect Piping and Flooding Consistency in Your Sugar Cookie Icing
Consistency is everything when you’re aiming for that professional look, especially when using this as your beginner cookie decorating icing. For outlining your cookies—the very first step—you want that stiff peak icing. If it’s not stiff, it won’t hold the line when you pipe it, and all your flood icing will just run right out onto your counter. That’s the consistency we hit after that full 5-7 minute beat time!
For filling in those outlined areas, that’s called “flooding.” It needs to flow smoothly, which is why we thin it down carefully with water, one teaspoon at a time. For a quick test, Aria always says to grab a scrap, undecorated cookie, fill a small bowl with the flood icing, and dip the tip of a clean, dry knife into it. If the trail you make across the icing slowly disappears within about ten seconds, you’ve nailed it! If it disappears instantly, it’s too thin. Add a tiny bit of powdered sugar to thicken it back up if you overdo it!
Tips for Achieving Velvety Smooth Cookie Icing and a Glossy Finish
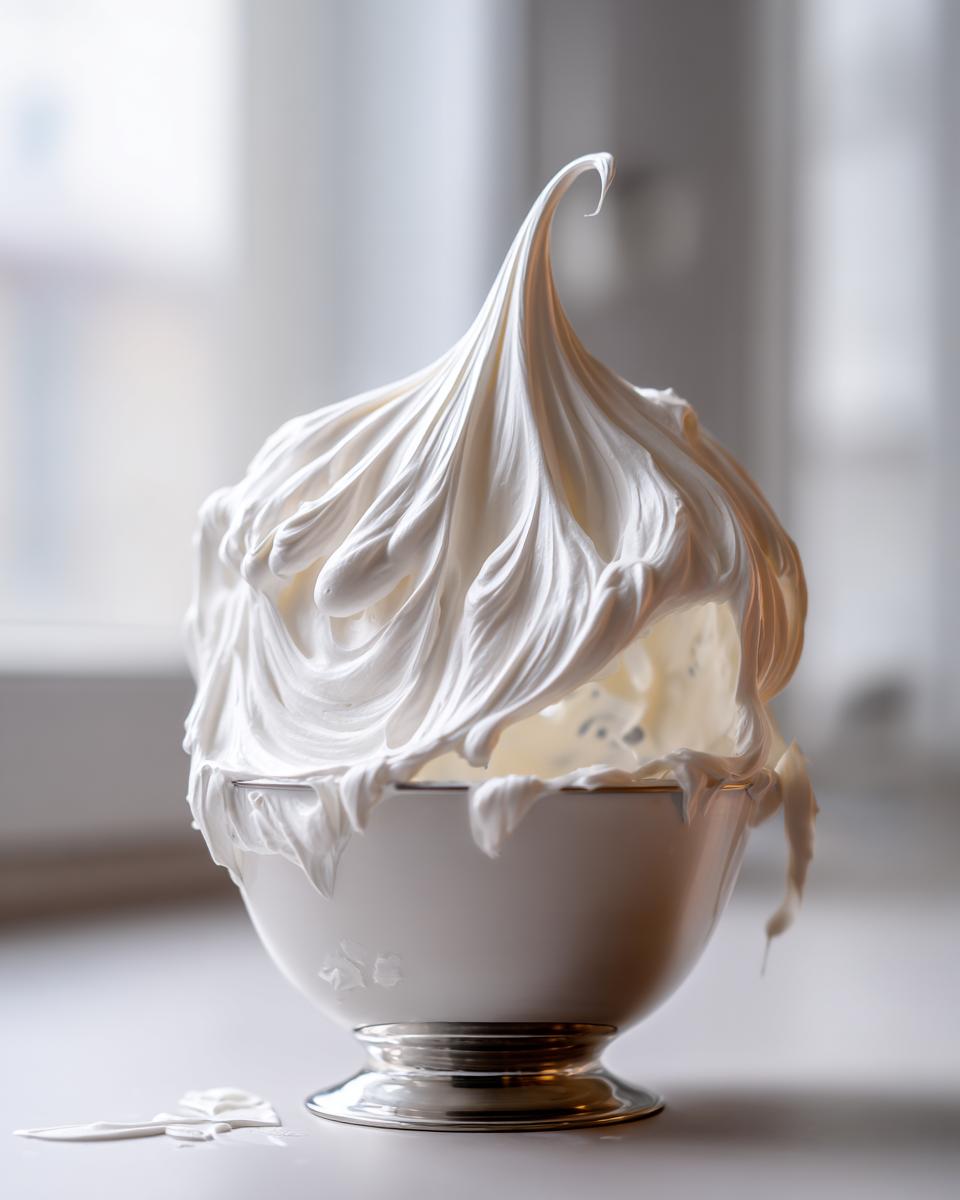
Now that we’ve covered the basic mixing, let’s talk about turning that stiff white mixture into something truly spectacular. If you want that bakery-quality look, you need to focus on texture during the mixing process. Seriously, the difference between lumpy icing and velvety smooth cookie icing comes down to a couple of small, but mighty, details.
The absolute first defense against lumps is sifting your powdered sugar. I know, it feels like an extra chore, but powdered sugar clumps up faster than anything else in the pantry, and those little dry pockets will ruin the appearance of your final decoration. Take the extra minute to push it through a fine-mesh sieve before it ever meets the mixer.
Next is the speed you use when mixing. Once you add all the sugar, whipping it on high speed isn’t just about combining; it’s about beating air into the mixture. That incorporated air is what gives the final coat that beautiful, reflective shine—it’s what provides that smooth glossy cookie frosting effect! Keep it on medium-high for those full five to seven minutes we talked about until it looks almost fluffy.
One last thing I learned the hard way when dealing with this humidity in the Pacific Northwest: the weather matters! If you are decorating on a rainy or super humid day, your drying time is going to be significantly longer, and sometimes the surface seems a little tacky, even when fully dry underneath. On days like that, I actually speed up the mixing time just slightly—maybe an extra minute—to try and force more air in, which helps it set up a bit more firmly against the damp air. Don’t try to rush the drying by putting them near a vent; that just causes cracking! Patience is key for that perfect, hard finish.
Drying and Setting Your Sugar Cookie Icing
Okay, you’ve piped the cute little flowers, flooded the centers, and finished your masterpiece. Now comes the hardest part of all: waiting! This is Royal Icing, and the whole reason we rely on this recipe is because it’s true icing for sugar cookies that sets like cement—but you have to let it do its job.
The most important thing to remember is that this icing does not bake hard; it *air dries* hard. You need to let your decorated cookies sit out on a flat surface, completely uncovered. If you try to cover them up too soon, that trapped moisture is going to make them stay soft and sticky, and then all your hard work is wasted!
Depending on how thick you went with the flood icing and how humid your kitchen is, drying can take anywhere from a few hours to a full overnight stint. Don’t touch them until they are completely firm to the touch. This time commitment is non-negotiable if you want that perfect stackable cookie!
Now, what about the leftover frosting you didn’t use? Because this is egg-white based, you can’t just toss it in the fridge; that will ruin the texture. If you have extra sugar cookie icing, scrape it into a small container, press a layer of plastic wrap directly onto the surface of the icing—touching it!—and then put the lid on tight. It stays perfectly good at room temperature for about three days. When you bring it out again, you might need to beat it for just 30 seconds to bring back the gloss before you use it.
Making Quick Sugar Cookie Frosting for Last-Minute Decorating
I know the feeling! Sometimes you decide you need beautifully decorated sugar cookies *right now*, and you don’t have hours to stand over a double boiler or spend ages melting things down. That’s the beauty of this recipe—it’s lightning fast to mix up. You can go from empty bowl to perfectly whipped icing base in about ten minutes flat. It really is that quick sugar cookie frosting dream!
I’ve whipped this up before a cookie exchange when I realized I forgot to prep the icing the night before. The mixing part is done before you can even finish rinsing your measuring spoons. You are literally ready to pipe outlines almost instantly after you turn the mixer off. It feels like cheating, it’s so effortless!
But here is where I need you to listen closely, because this manages expectations for any ‘quick sugar cookie frosting’ need: while mixing is quick, the setting time is not. You cannot rush the drying process. If you need this frosting to harden and stack nicely for gifting by dinner time, you might be a little disappointed.
If you only have an hour before you need to move these cookies, you’re going to get beautiful, glossy, *wet* icing. Think of it like this: the four minutes of machine time gets you the perfect consistency, but nature has to do the rest of the work to make the surface rock hard. So, yes, it’s quick to make, but it demands patience on the backend if you want that professional, non-sticky finish we talked about earlier. Check out the details on the mixing time over at this great source if you want to see similar ways people keep their frosting prep fast!
Frequently Asked Questions About Sugar Cookie Icing
I always get so many questions about this recipe, which tells me you all demand an icing for sugar cookies that sets reliably because we all hate sticky messes! Royal icing can seem intimidating, but honestly, once you know these little tricks, it’s the easiest way to get that professional look. Here are some of the most common things folks ask me about achieving the best decorating results.
Why is my sugar cookie icing not hardening?
This is the number one question, and usually, we are looking at two culprits robbing you of that perfect, hard finish. The first is humidity! If it’s raining or muggy outside, the moisture in the air slows down the drying process significantly. If you absolutely must decorate on a humid day, you might need to let them dry for almost 24 hours, or keep them in a very dry, cool room.
The second, and more common issue, is not beating the icing long enough! Remember, for the stiff outline consistency, you need to hit that full 5 to 7 minutes, looking for those rock-solid, glossy peaks. If you stop mixing too early, you haven’t beaten enough air in, and the structure just won’t firm up properly once it’s on the cookie. Make sure you beat it until it’s seriously stiff!
What is the best way to color this sugar cookie icing?
If you want bright, beautiful colors that don’t bleed or smear, you have to use gel paste food coloring. Period. This recipe is truly the best cookie decorating icing base for vibrant hues, but liquid dye is its enemy. Liquid dye is mostly water, and adding too much water—which you inevitably do when trying to color a small batch—throws off the stiffness we worked so hard to achieve during the mixing process. Gel colors are highly concentrated, so one tiny toothpick dip gives you amazing color saturation.
When coloring, try to mix a slightly deeper color than you think you need at first. Why? Because the color often lightens just a tiny bit as the icing dries and sets. Also, if you’re making multiple colors, only tint small portions of your prepared icing. If you dump all the coloring into the main bowl, you’ll ruin the consistency for everything else!
Serving Suggestions for Your Decorated Sugar Cookie Icing Creations
Now that you’ve gone through the magic of making your sugar cookie icing—and it’s finally set beautifully!—we have to talk about showing them off! Because this icing dries so hard and glossy, these cookies are absolute showstoppers ready for any occasion.
For everyday moments, I absolutely love setting a few of these iced cookies out on a simple white platter with a steaming mug of good coffee. The sharp snap of the icing breaking as you take a bite, followed by the soft cookie, is just the perfect little afternoon treat. It makes even a regular Tuesday feel special, doesn’t it?
When it comes to holidays—whether it’s winter parties or summer picnics—this is your go-to holiday cookie decorating icing. When you do intricate piping, these cookies look incredible stacked high on a tiered display stand. Because the icing is so durable, you don’t have to worry about them sticking together or colors bleeding onto each other, which is a huge win.
They also make fantastic, personalized gifts! Wrap a trio in small cellophane bags tied with a pretty ribbon. Since the icing is firm, you can even mail a few across the country without too much worry about breakage. Seriously, the presentation you get from this icing is truly next level, and it’s all down to those few simple ingredients we mixed together!
Share Your Perfect Sugar Cookie Icing Results
Alright, my friends, this is where the Seventh Flavour community really comes alive! I have handed over all my hard-won secrets for achieving that silky, sugar cookie icing that dries hard as a rock. Now it’s your turn to take the wheel and show me what you’ve created!
I truly want to see how your piping turned out. Did you manage those tiny detailed lines? What colors did you choose for your latest holiday cookies? Head down to the comments section—I’m waiting for you there! Tell me how the icing held up to drying, and if you found this to be the fastest, most reliable recipe you’ve ever used.
Please, if this recipe saved your sanity or finally gave you the cookie finish you’ve always dreamed of, leave a little star rating right below the recipe card. Those ratings are how I know I’m guiding you correctly and that we’re keeping up the standard for professional-looking, but totally homemade, treats here at Seventh Flavour. Happy decorating, and I can’t wait to see those perfectly glossy, stackable creations!
PrintFoolproof Royal Icing That Hardens Perfectly for Smooth, Glossy Sugar Cookies

Learn the simple method for making royal icing that hardens completely, giving your decorated sugar cookies a smooth, professional, and glossy finish suitable for stacking and gifting.
- Prep Time: 10 min
- Cook Time: 0 min
- Total Time: 10 min
- Yield: Covers approximately 2 dozen medium cookies 1x
- Category: Baking
- Method: Mixing
- Cuisine: American
- Diet: Vegetarian
Ingredients
- 4 large egg whites
- 4 cups powdered sugar, sifted
- 1 teaspoon vanilla extract
- 1/2 teaspoon lemon juice
Instructions
- Place the egg whites in the bowl of a stand mixer fitted with the whisk attachment. Beat on medium speed until foamy.
- Gradually add the sifted powdered sugar, one cup at a time, mixing well after each addition.
- Once all the sugar is incorporated, add the vanilla extract and lemon juice.
- Increase the speed to medium-high and beat for 5 to 7 minutes until the icing forms stiff, glossy peaks. This is your stiff consistency icing, perfect for outlining cookies.
- To achieve a thinner ‘flood’ consistency for filling in areas, add water, one teaspoon at a time, beating briefly after each addition until the icing flows slowly off the whisk in a ribbon that holds its shape for about 10 seconds.
- Use immediately for decorating. Let cookies dry uncovered at room temperature until the icing is completely hard, which may take several hours or overnight depending on humidity.
Notes
- For coloring, use gel food coloring, as liquid colors can change the icing consistency.
- If the icing becomes too thick while you are working, add water half a teaspoon at a time until the desired flow returns.
- Store unused icing in an airtight container at room temperature for up to three days; do not refrigerate.
Nutrition
- Serving Size: 1/4 cup
- Calories: 155
- Sugar: 38g
- Sodium: 35mg
- Fat: 0g
- Saturated Fat: 0g
- Unsaturated Fat: 0g
- Trans Fat: 0g
- Carbohydrates: 39g
- Fiber: 0g
- Protein: 1g
- Cholesterol: 0mg