
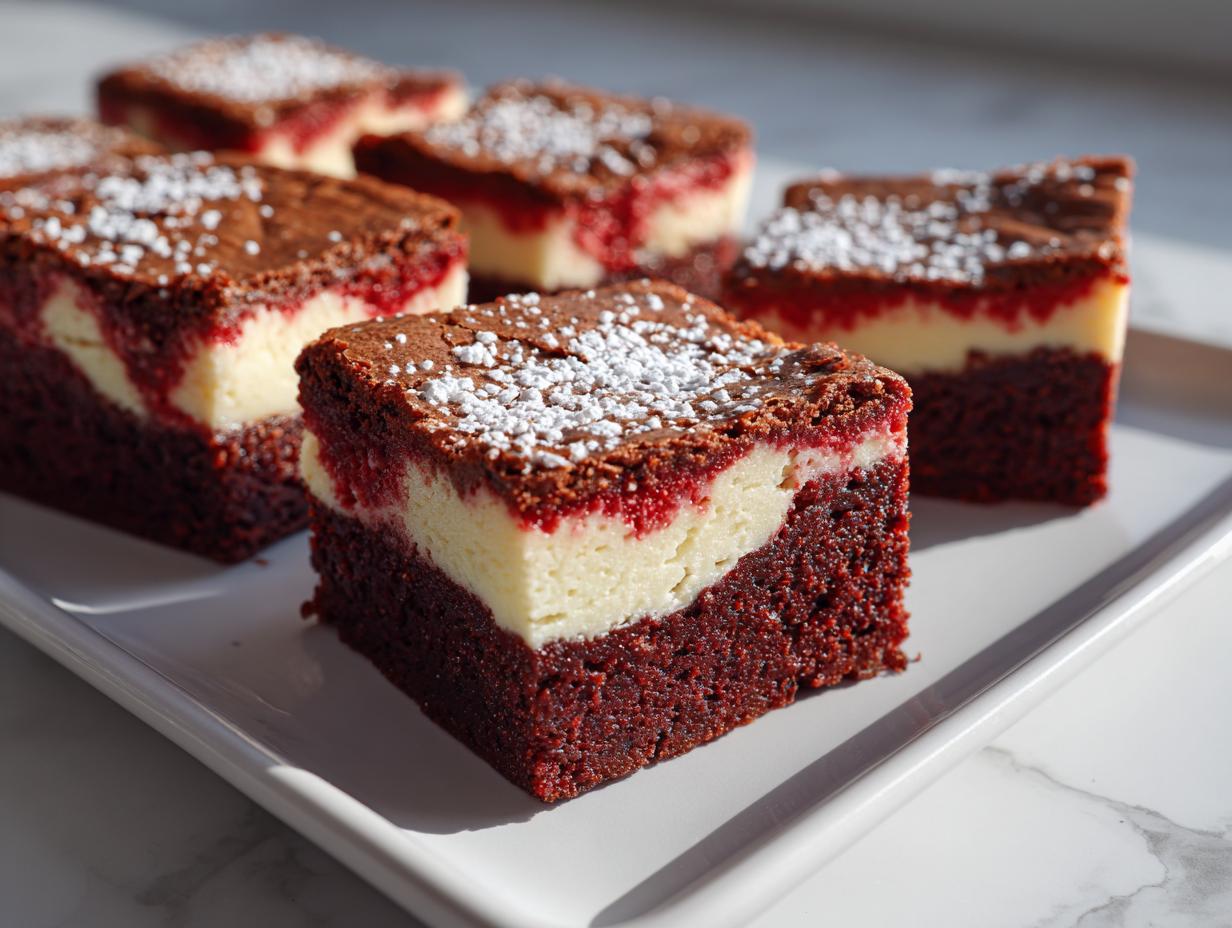
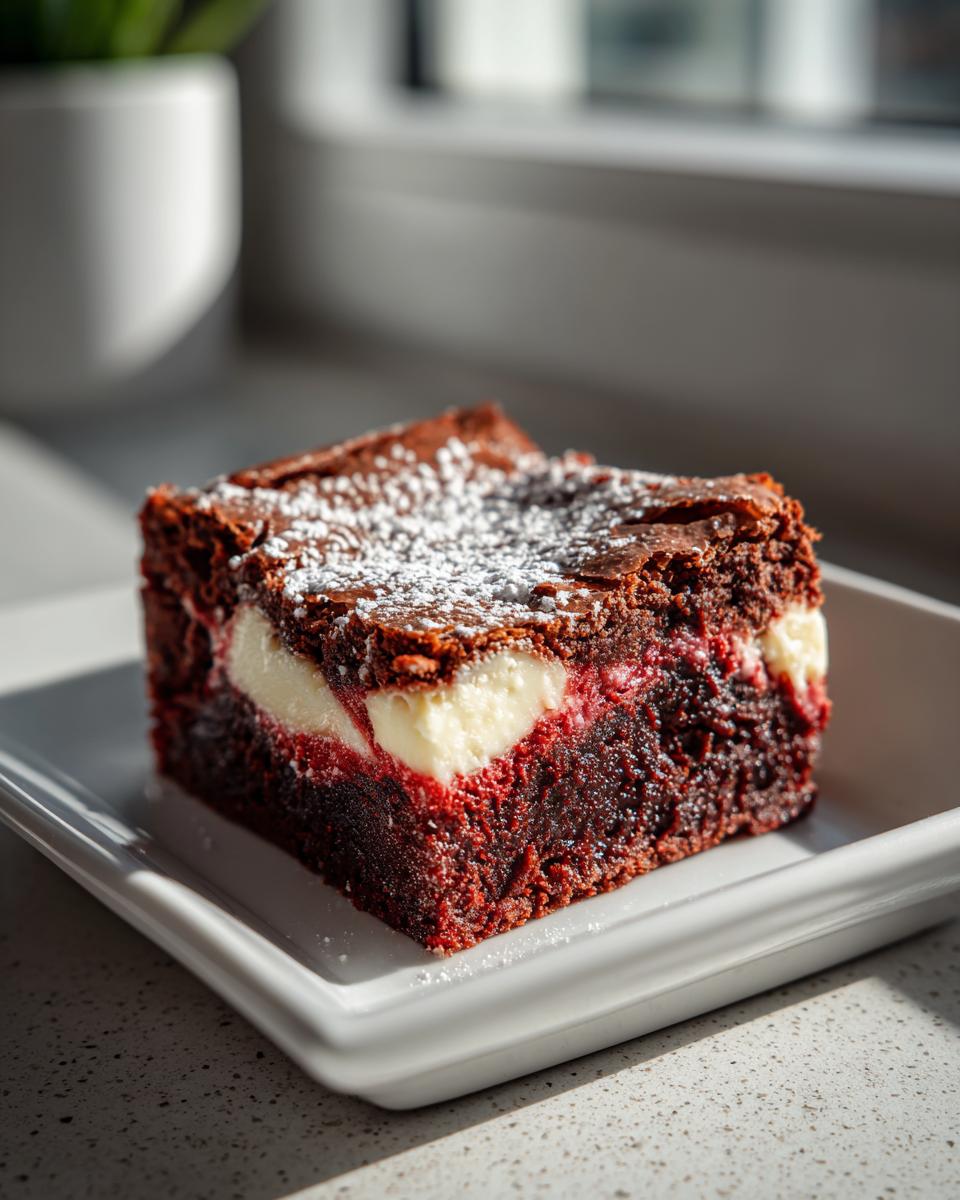
When I think about true indulgence, it’s not just about sweetness; it’s about texture and that wow factor when you bring something stunning to the table. That’s exactly what we’re doing today with these incredible, showstopping **red velvet cheesecake brownies**! This recipe merges the deep, rich flavor of a fudgy, cocoa-infused brownie with the cool, tangy luxury of a cream cheese swirl. Here at Seventh Flavour, I truly believe that the kitchen is where we make our strongest connections, and these layered bars are visual proof of that love. If you’re looking for more beautiful treats, be sure to check out my collection of easy dessert recipes. After years of testing, I promise you, the balance here is perfect—the fudgy base pulls away just right, setting up the most beautiful marbled effect for all your special gatherings.
- Why You Will Make These Red Velvet Cheesecake Brownies Again and Again
- Essential Ingredients for Perfect Red Velvet Cheesecake Brownies
- Step-by-Step: How to Prepare Your Red Velvet Cheesecake Brownies
- Tips for Showstopping Red Velvet Cheesecake Brownies
- Variations on Your Red Velvet Dessert Recipes
- Serving Suggestions for Your Creamy Dessert Bars
- Storage and Reheating Instructions for Cheesecake Brownie Bars
- Frequently Asked Questions About Red Velvet Cheesecake Brownies
- Share Your Decadent Dessert Creations
Why You Will Make These Red Velvet Cheesecake Brownies Again and Again
Honestly, these squares hit every single craving mark, which is why they keep popping up in my rotation! You’re going to love them because they deliver maximum impact with minimal stress. Forget disappointing, cakey brownies; these are built for textural bliss.
- You get that deep, fudgy texture everyone craves, baked right into the red velvet base.
- The creamy swirl cuts through the richness beautifully, adding that essential tanginess.
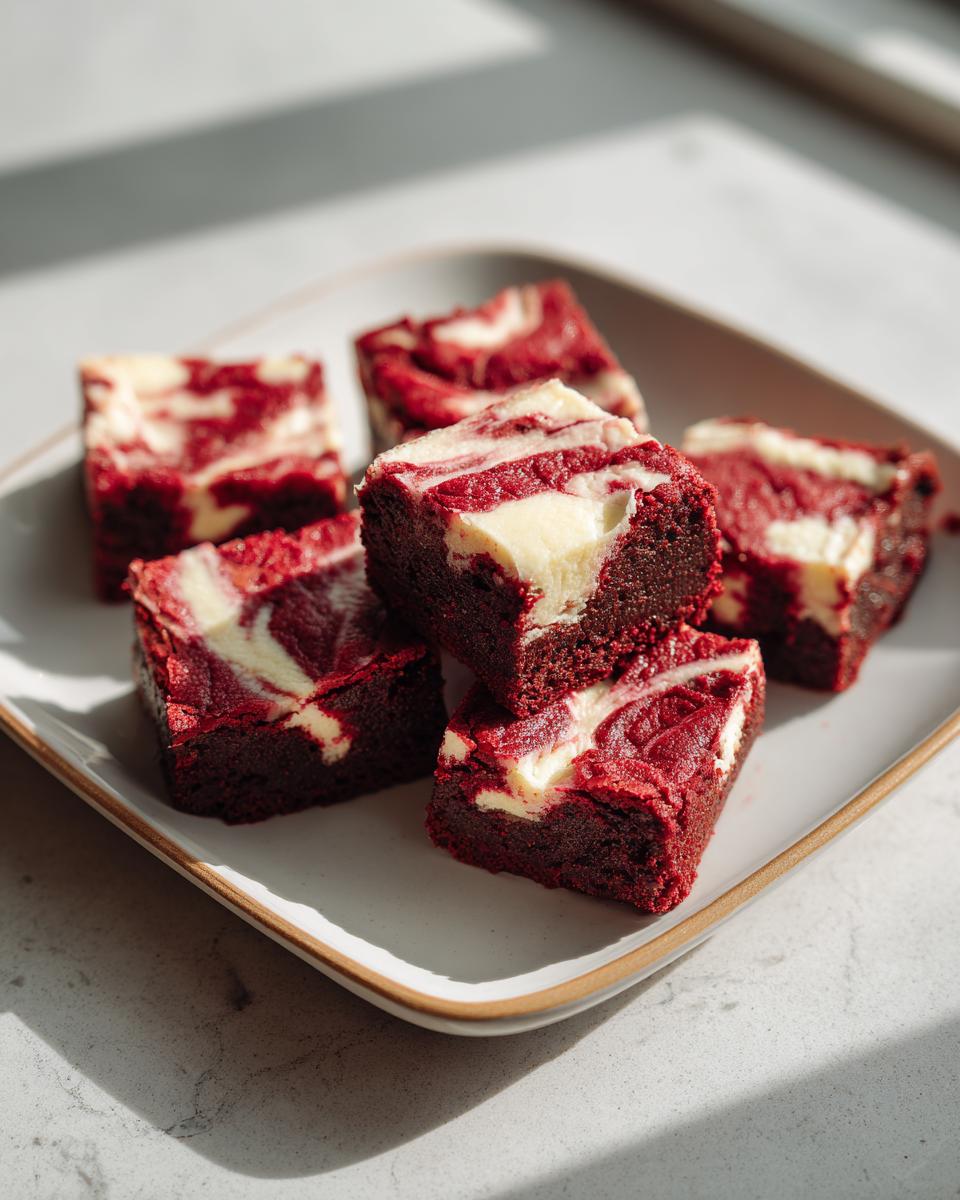
- They are genuinely showstopping—the red and white marble looks incredible on any dessert tray.
- They travel well and hold their shape perfectly, even when cut into generous portions.
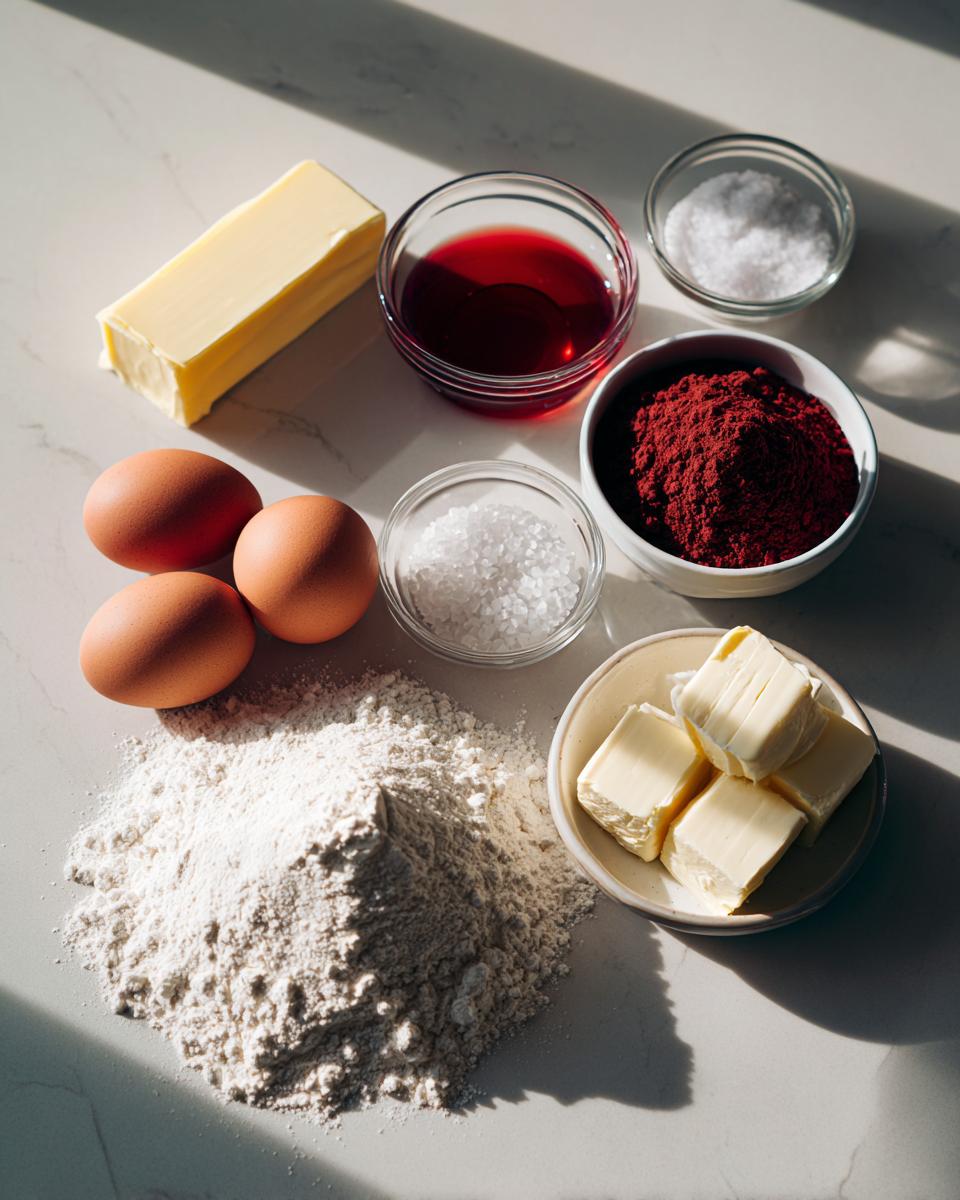
Essential Ingredients for Perfect Red Velvet Cheesecake Brownies
To get that deep, dramatic color and the fudgy crumb everyone raves about, we can’t just toss things together randomly. Trust me, the difference between a good brownie and these truly decadent chocolate desserts comes down to respecting the ingredients and making sure they’re prepped right. We need everything hitting that perfect temperature for the best texture when we combine them. I always pull my eggs out well ahead of time—room temperature eggs mix smoothly into both layers. If you want those deep cocoa notes, using Dutch process is key, so don’t skip that detail!
For the Fudgy Red Velvet Brownie Batter
This is where we build the foundation for those fantastic fudgy bakery style brownies. Feel free to check out how I treat ingredients in my sugar cookie recipe; the prep mindset is similar!
- 1/2 cup unsalted butter, melted
- 1 cup granulated sugar
- 2 large eggs, chilled eggs are a disaster here! They must be at room temperature.
- 1 1/2 teaspoons red food coloring (Gel coloring gives you the best punch!)
- 2 teaspoons vanilla extract
- 1/2 teaspoon salt
- 3/4 cup all-purpose flour
- 3 Tablespoons Dutch process cocoa powder—this is for that rich, darkly colored base.
For the Creamy Cheesecake Swirl
This layer needs to be velvety smooth so it marbles beautifully into the batter without any lumps sneaking in. The softened cream cheese and room temperature egg are non-negotiable for a seamless texture.
- 8 ounces cream cheese, make sure this is actually soft!
- 1 large egg, room temperature, just like the ones in the brownie mix.
- 1/3 cup granulated sugar
Step-by-Step: How to Prepare Your Red Velvet Cheesecake Brownies
Okay, now for the fun part! Turning those gorgeous ingredients into what might be the most beautiful bar recipe you’ve ever made. Because we’re dealing with two distinct textures—the rich, fudgy brownie layer and the smooth cheesecake on top—we need to move with a little bit of intention. Don’t worry, though; even if you think you’re terrible at baking, I’m going to walk you through getting that perfect two-tone look.
Preparing the Pan and Brownie Base
First things first: Get that oven preheated to 350°F (175°C). You want it ready to go! Next, line a 9×9 inch pan with parchment paper, making sure you leave some overhang on the sides. We call that a sling, and it’s a lifesaver for pulling these out later. Grab a bowl and start whisking your melted butter with that cup of sugar until it’s just coming together. Then, beat in your two room temperature eggs, then the bright red food coloring and vanilla. It should look stunningly red at this stage! In a separate bowl, quickly whisk your flour, cocoa powder, and salt. Now, here’s the crucial bit: add the dry stuff to the wet stuff gradually. Mix only until you see no more streaks of flour. Seriously, stop mixing! Overmixing makes chewy brownies cakey, and we absolutely want fudgy here. Check out my brownie cookie post if you need a visual on handling that batter!
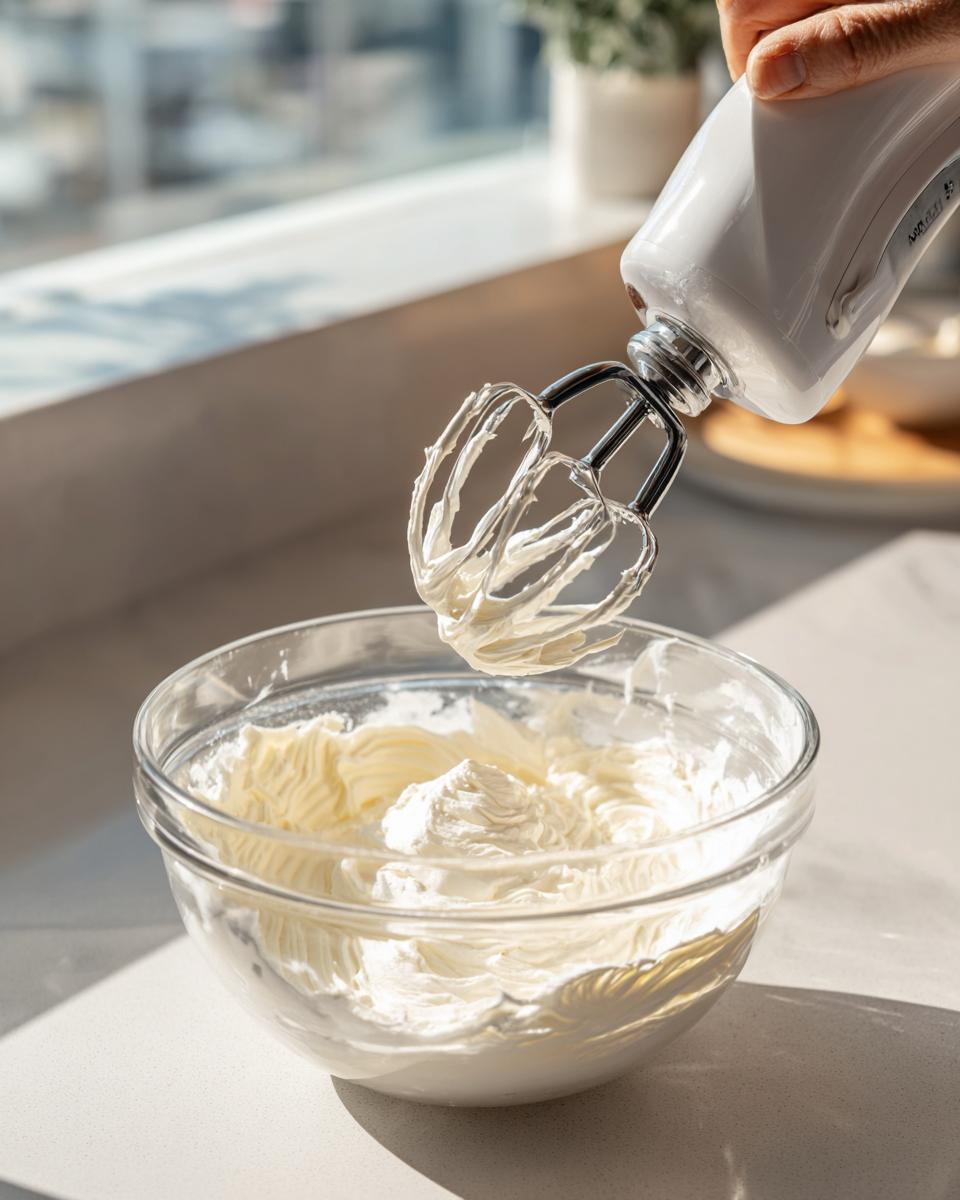
Mixing the Cream Cheese Swirl
While the brownie batter is resting (don’t worry, it’s very patient!), we whip up the tangy layer. You’ll need an electric mixer for this part to get it perfectly smooth. Beat that softened cream cheese with the 1/3 cup of sugar and that final room temperature egg. We are beating this until it’s completely creamy and lump-free—aim for that smooth, luxurious paste you’d expect on top of any cake. This needs zero graininess!
Layering and Creating the Perfect Swirl
This is where the magic happens for that marbled, showstopping dessert quality! Spread about half of your gorgeous red velvet batter evenly into that prepared pan. Next, take spoonfuls of the cream cheese mixture and dollop them randomly right on top of the brownie base. Don’t try to cover the whole surface; just drop them in clusters. Then, pour the rest of the red velvet batter gently over the top of those cream cheese dollops. Now for the swirl itself: take a butter knife or a thin skewer and gently drag it through the batters, moving it back and forth just a couple of times, maybe four or five strokes total. You want distinct ribbons of red and white! If you mix it too much, you lose the red velvet separation completely. We are aiming for clear marbling, not pink batter.
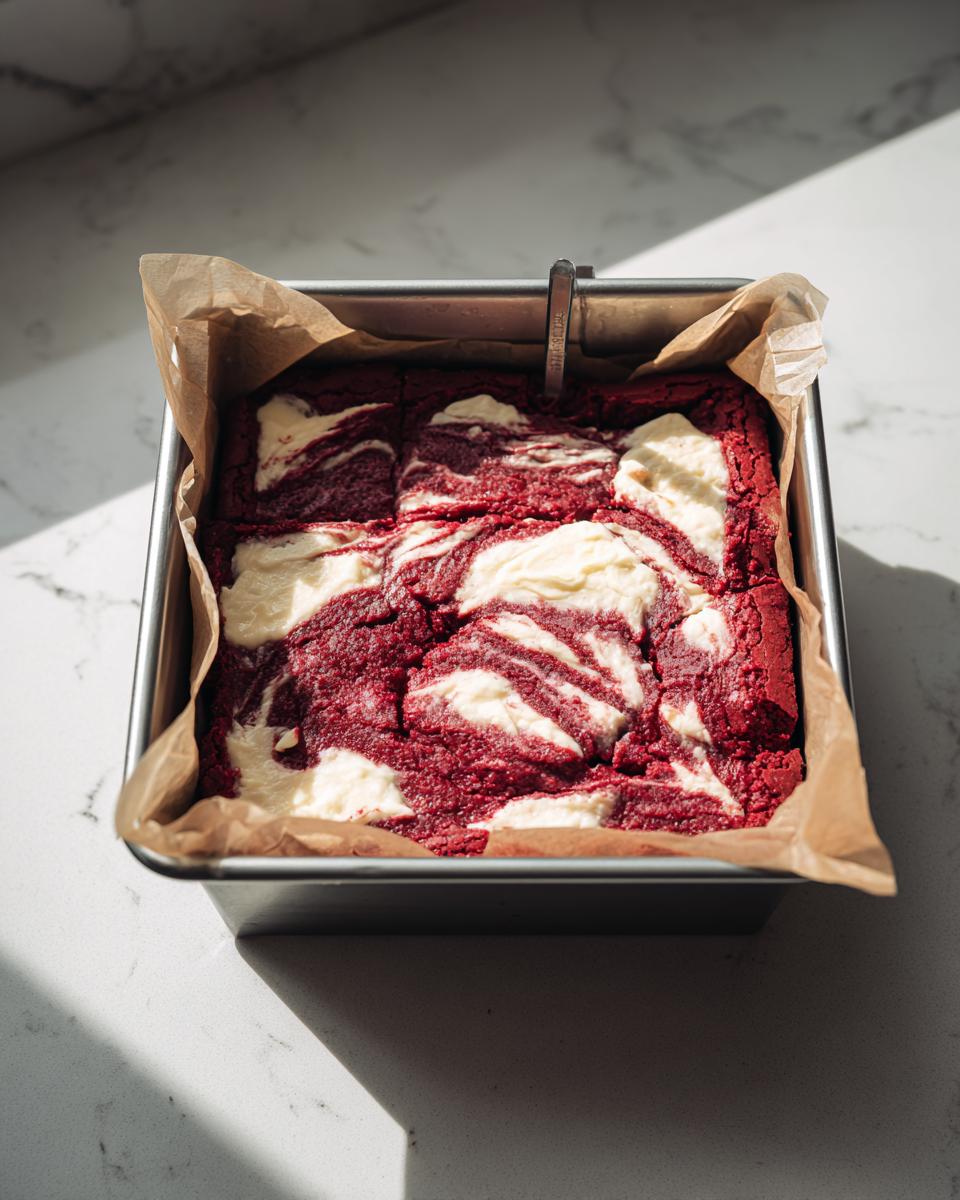
Baking and Cooling for Fudgy Texture
Pop the pan into your 350°F oven and let it bake for 30 to 35 minutes. You’re looking for that key test for true fudginess: when you insert a toothpick near the center, it should come out with moist crumbs clinging to it—not wet batter, but definitely not bone dry either. Once they are pulled out, you *must* let them cool completely on a wire rack. I know it’s torture, but this time lets those cheesecake brownie bars set up perfectly. If you try to cut them warm, they will turn into a beautiful, messy puddle. Once 100% cool, use those parchment paper slings to lift the whole slab out, and then slice them into 16 perfect squares.
Tips for Showstopping Red Velvet Cheesecake Brownies
Listen, making these look as good as they taste is half the fun, right? I’ve picked up a couple of secrets over the years that really make these red velvet cheesecake brownies next-level, especially if you are trying to impress folks at a party. For the most electric red, you absolutely have to use a gel-based red food coloring, not the cheap liquid drops from the grocery store aisle. Those drops water down the batter and give you a weak pink, which just isn’t the vibe we’re going for!
Also, remember the chilling step I mentioned? Don’t skip that! If you chill the brownies—say, wrapped tightly in plastic wrap—for at least two hours before slicing, you’ll get those impossibly clean, bakery-style cuts. It makes them so much easier to serve. For perfectly shaped bars, treat your cooling phase with the same respect you give the creaming stage of my favorite sugar cookies!
For ultra-clean release when using a standard 9×9 metal pan, I highly recommend using parchment paper that is slightly lighter than usual. This makes cleanup a breeze and ensures the edges don’t stick and tear when you lift them out later. It’s a little insurance for your beautiful bake. If you want an extra layer of tang, try adding a tiny pinch of lemon zest to your cheesecake swirl mixture—it brightens everything up beautifully!
Variations on Your Red Velvet Dessert Recipes
While these red velvet cheesecake brownies are amazing just as written, I always encourage you to make a recipe your own! If you’re looking to tone down the artificial color but still want that classic flavor profile, try swapping out the red food coloring for two tablespoons of fine beet powder. It gives a lovely natural tint. Or, if you just want to load up on the chocolate factor, toss in about a half-cup of white chocolate chips or dark chocolate chunks into that brownie batter right before you layer it in the pan.
If you’re looking for more red velvet inspiration in general, I’ve got an amazing red velvet cupcake recipe that is pure heaven! For another take on two-tone bars, you can certainly peek at what others have done with similar recipes, like what you might find at Cheff Recipes, but I think you’ll find this fudgy version is hard to beat!
Serving Suggestions for Your Creamy Dessert Bars
These red velvet cheesecake brownies are so rich they honestly shine all by themselves, but for a real dinner party moment, you need a little something extra. Since the brownie is fudgy and the cheesecake is cool and creamy, I love hitting it with a temperature contrast.
My absolute favorite way to serve these beautiful creamy dessert bars is warm—just slightly warmed in the microwave for about 15 seconds so the fudgy center melts just a hair. Then, top it with a big scoop of high-quality vanilla bean ice cream, maybe drizzled with a touch of homemade chocolate sauce. If you’re eating them cold from the fridge, a very light dusting of powdered sugar looks elegant, too. You won’t need the complex sauces I sometimes use for my savory creations, just simple elegance!
Storage and Reheating Instructions for Cheesecake Brownie Bars
Because these have that wonderful cream cheese layer, we absolutely have to treat them right! For the best, sharpest cuts, I always recommend wrapping your cooled cheesecake brownie bars tightly in plastic wrap and tucking them into the fridge for at least a few hours. That chilling time makes all the difference when you slice them. They stay totally fresh stored in an airtight container in the refrigerator for up to five days. If you want to eat them slightly warmed up—which makes the brownie center extra gooey—just pop one square in the microwave for about 15 seconds. I actually adore the texture best when they come straight from the fridge, though! For more tips on handling rich, dense bakes, check out my favorite refrigerator cake guide.
Frequently Asked Questions About Red Velvet Cheesecake Brownies
I get so many questions about these beauties! It makes sense; they look fancy, but people need assurance on nailing the texture and color, especially if they are new to these kinds of cream cheese swirl desserts. Don’t sweat it; I’ve answered the most common queries right here so you can bake with total confidence!
Can I make these red velvet cheesecake brownies without Dutch process cocoa powder?
You certainly can, but I really encourage you to try the Dutch process if you can find it! Dutch process cocoa is treated to look darker and has a more mellow, deep chocolate flavor. If you use regular, non-Dutched cocoa, your brownies will tend to look lighter—more milk-chocolatey red rather than deep crimson red. It still tastes great, of course, but it slightly changes the visual punch we were aiming for with this showstopping dessert.
How do I get that perfect, distinct swirl in my swirled brownies recipe?
The secret here is restraint! Honestly, less is more when swirling. You need to alternate dollops of the cheesecake mixture and the brownie batter, making sure you don’t fully cover the layer underneath. Then, when you take that knife and make those gentle Figure-eights on top, only dip it about an inch down. If you drag the knife too far, you completely mix the layers, and it just ends up looking like a single, muddy color instead of distinct ribbons. A gentle touch gives you those gorgeous veins!
Are these decadent chocolate desserts better baked in a glass or metal pan?
I’m a metal pan gal through and through for brownies, especially when I’m aiming for those satisfyingly chewy edges. Metal conducts heat faster and more evenly, which helps crisp up the edges of your brownies perfectly. Glass pans take longer to heat up, which sometimes causes the edges to overbake before the center is set—and we are trying to avoid a dry center at all costs! If you do use a glass pan, just drop the baking time down by about 5 minutes initially and check frequently. For more reliable baking, check out my general guide to easy brownie recipes for pan comparisons.
Share Your Decadent Dessert Creations
This is where our kitchen story connects with yours! Making these rich **red velvet cheesecake brownies** should bring you a huge wave of joy, and I genuinely want to see how they turn out in your oven. Did you master that perfect swirl? Did the deep red color really pop?
Please, bake them, share them, and tell me all about it in the comments below! If you snap a picture of your beautiful bars, tag me on social media—there is nothing better than seeing one of my favorite recipes find a happy home across town. Your feedback helps me keep refining these recipes, always striving for that Seventh Flavour feeling.
If you loved the mix of fudgy and creamy, don’t forget to give this recipe a star rating, and if you’re looking for more decadent inspiration, you can always reach out directly through my contact page. And hey, if you want to see other amazing takes on this rich idea, check out what others are doing with their showstopping dessert recipes online!
PrintRich and Fudgy Red Velvet Cheesecake Brownies with a Perfect Cream Cheese Swirl
Make these stunning red velvet cheesecake brownies that combine a fudgy, cocoa-infused base with a creamy, tangy cheesecake layer swirled throughout. This recipe delivers a showstopping dessert perfect for holidays or special occasions.
- Prep Time: 20 min
- Cook Time: 35 min
- Total Time: 1 hour 55 min
- Yield: 16 servings 1x
- Category: Dessert
- Method: Baking
- Cuisine: American
- Diet: Vegetarian
Ingredients
- 1/2 cup unsalted butter, melted
- 1 cup granulated sugar
- 2 large eggs, room temperature
- 1 1/2 teaspoons red food coloring
- 2 teaspoons vanilla extract
- 1/2 teaspoon salt
- 3/4 cup all-purpose flour
- 3 Tablespoons Dutch process cocoa powder
- 8 ounces cream cheese, softened
- 1 large egg, room temperature (for swirl)
- 1/3 cup granulated sugar (for swirl)
Instructions
- Preheat your oven to 350°F (175°C). Grease and line a 9×9 inch baking pan with parchment paper, leaving an overhang for easy removal.
- Prepare the brownie batter: In a medium bowl, whisk together the melted butter and 1 cup of sugar.
- Beat in the 2 room temperature eggs one at a time until just combined. Stir in the red food coloring and vanilla extract.
- In a separate small bowl, whisk together the flour, cocoa powder, and salt. Gradually add the dry ingredients to the wet ingredients, mixing until just combined. Do not overmix.
- Prepare the cream cheese swirl: In another bowl, use an electric mixer to beat the softened cream cheese, 1/3 cup sugar, and the remaining egg until the mixture is smooth and creamy.
- Spread half of the red velvet brownie batter evenly into the prepared pan.
- Carefully dollop spoonfuls of the cream cheese mixture over the brownie layer.
- Pour the remaining brownie batter over the cream cheese layer.
- Use a knife or skewer to gently swirl the cheesecake layer into the brownie batter, creating a marbled effect. Do not over-swirl.
- Bake for 30 to 35 minutes, or until a toothpick inserted near the center comes out with moist crumbs attached, but not wet batter.
- Let the brownies cool completely in the pan on a wire rack. This step is important for fudgy texture.
- Once cool, use the parchment overhang to lift the brownies out of the pan. Cut into 16 squares.
Notes
- For the deepest red color, use a high-quality gel-based red food coloring instead of liquid drops.
- Ensure your cream cheese and eggs for the swirl are at room temperature to prevent lumps.
- For bakery-style clean cuts, chill the cooled brownies for at least two hours before slicing.
Nutrition
- Serving Size: 1 square
- Calories: 310
- Sugar: 28g
- Sodium: 180mg
- Fat: 18g
- Saturated Fat: 11g
- Unsaturated Fat: 7g
- Trans Fat: 0.5g
- Carbohydrates: 33g
- Fiber: 1g
- Protein: 4g
- Cholesterol: 75mg